Operational: June 2022 – April 2023 (recovered in September 2023, but no longer operational)
Named for the general term of flying foxes found in various countries. Built as a replacement for the lost Shadowfax, so it has very similar build constructs. Lost on a massive scree field after encountering video, gps and signal failure, and then recovered six months later.
Highlights to make it a stronger build:
- 3D printed tray for routing motor wiring and holding RX and buzzer (link here)
- 3D printed tail component for holding antenna and battery connector (link here)
- ViFly mini buzzer in case of battery disconnect (learning from Death of a drone by trees)
VTX currently analogue, but FC and layout designed for accepting HDZero in future- Upgraded to Walksnail Avatar Digital VTX; the build pictures reflect analog edition
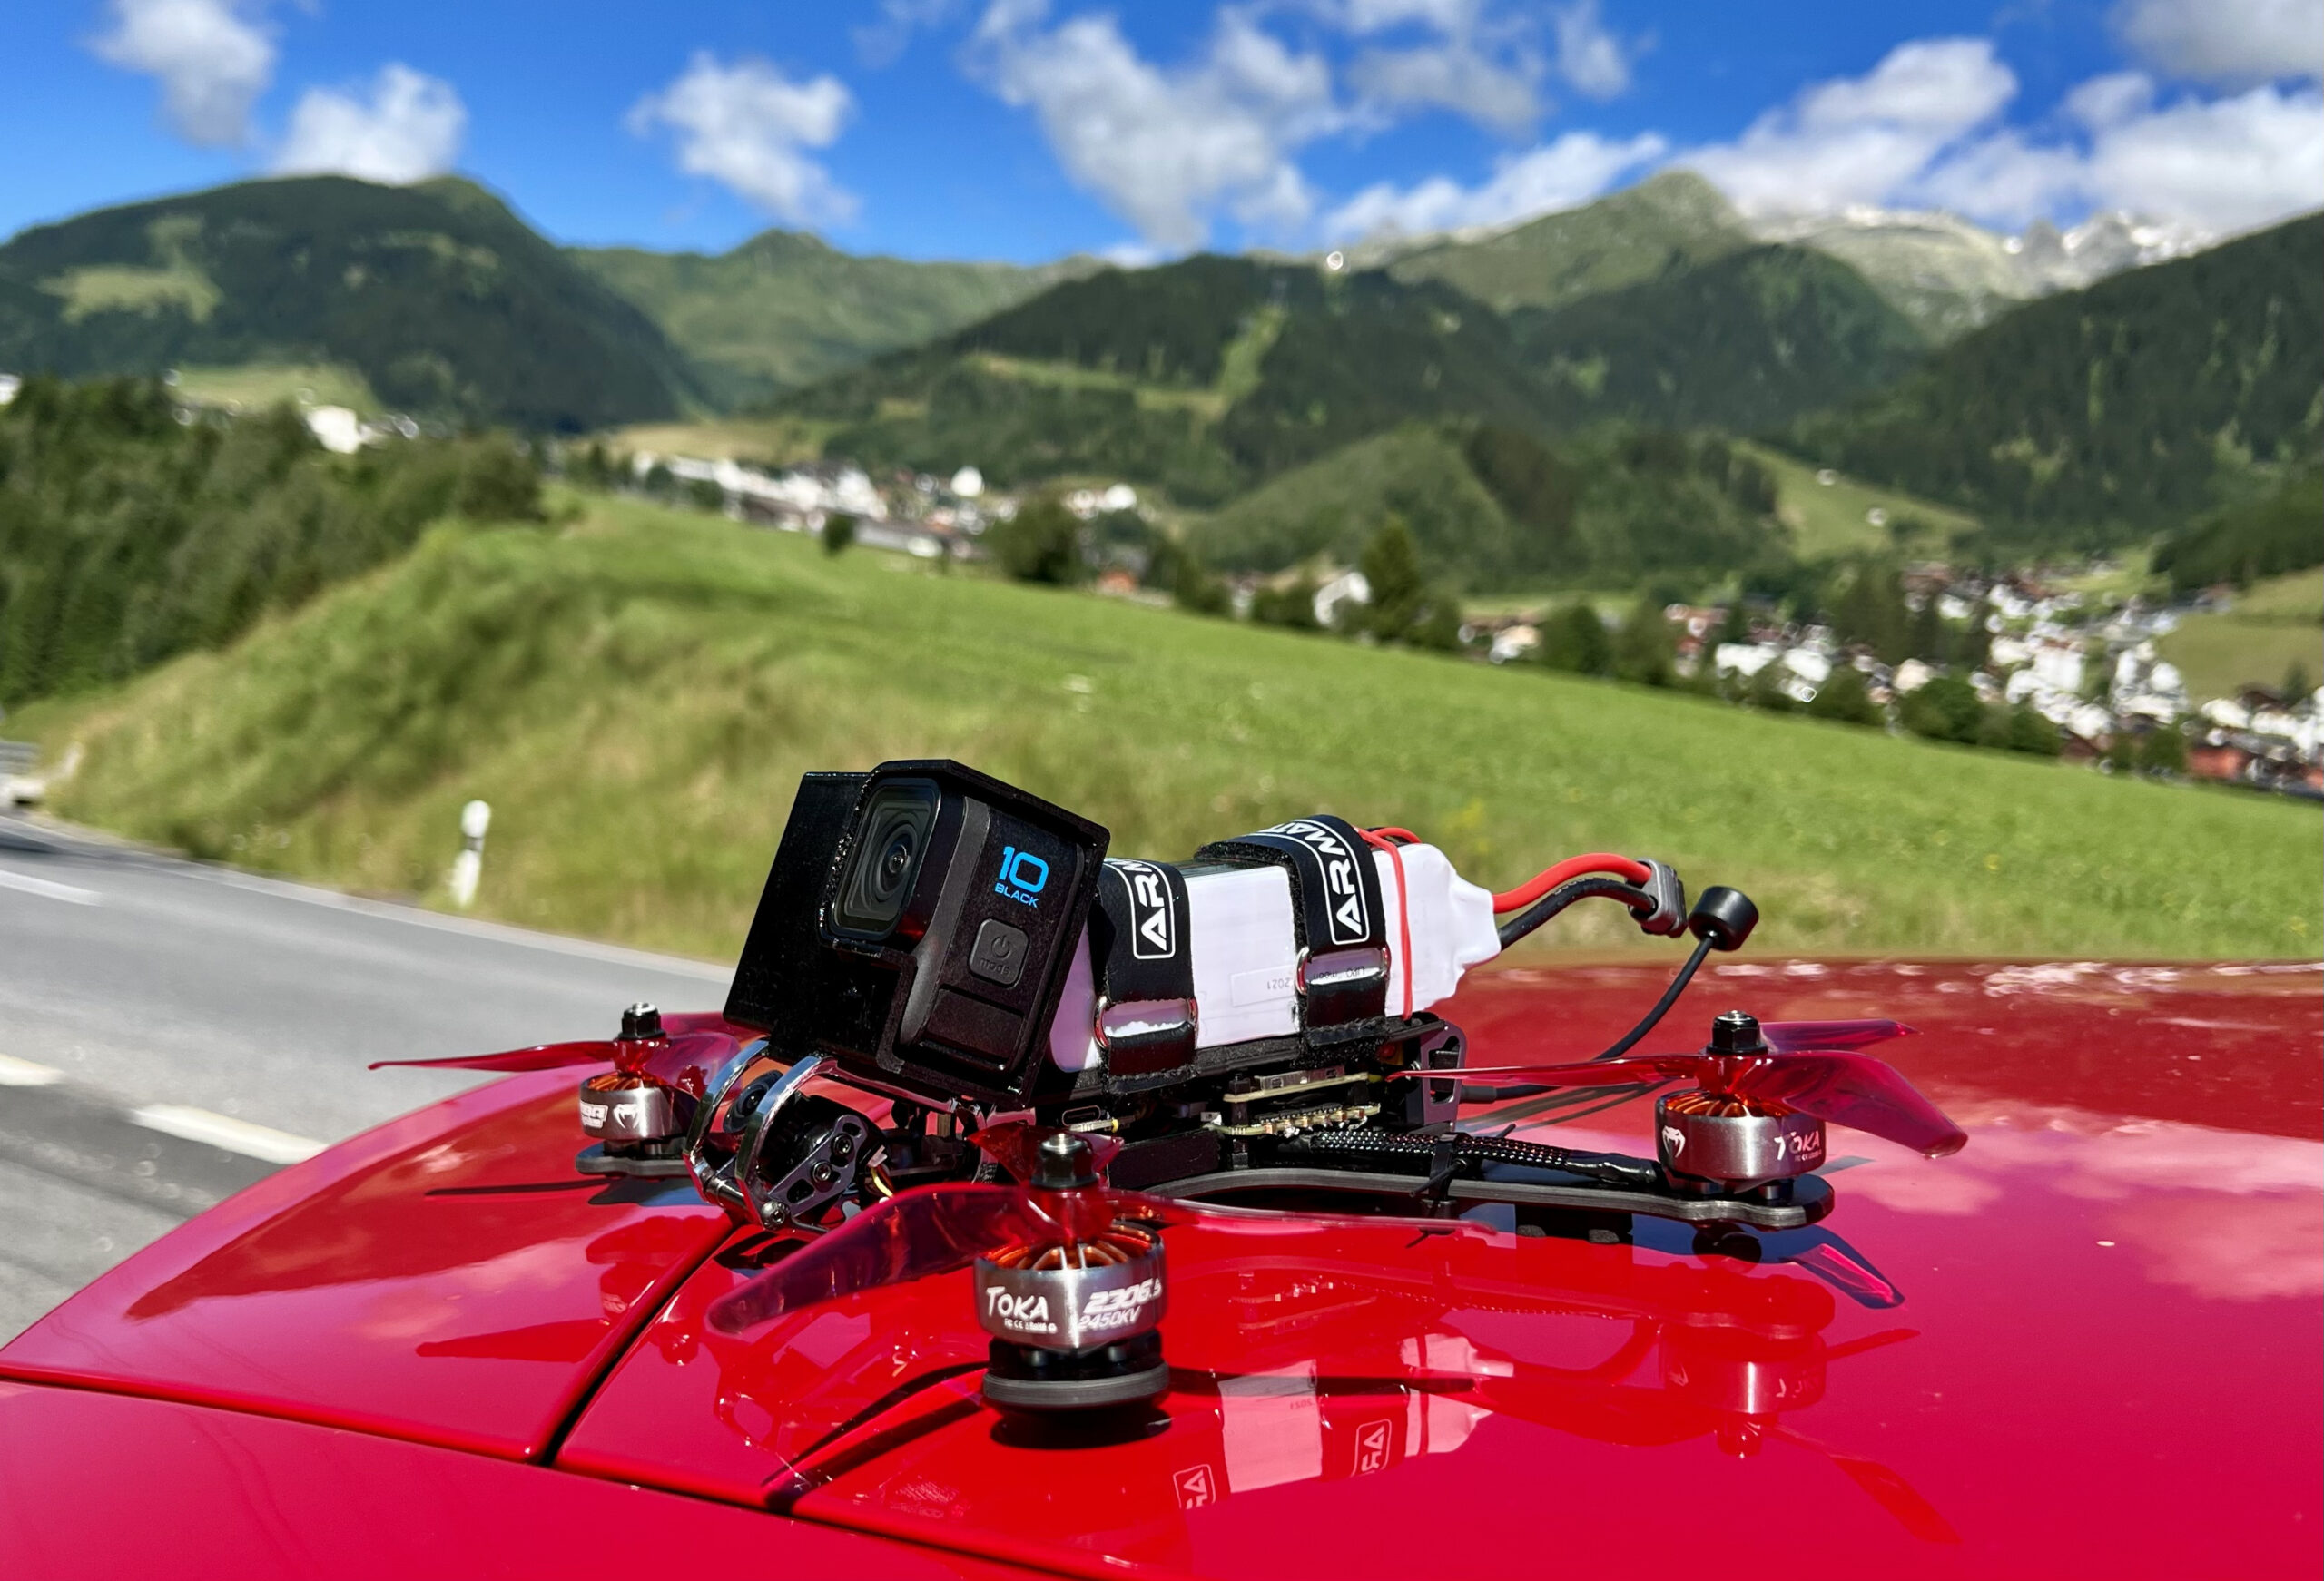
- GoPro Hero 10 for freestyle movies
Summary of components:
| Attribute | Description |
|---|---|
| Frame | Armattan Marmotte 5″ |
| Flight Controller | Flywoo Goku Versatile F745 Pro |
| ESCs | Flywoo F745 Goku 50A ESC |
| Motors | Diatone Mamba TOKA 2306.5 2450KV Racing motor |
| VTX | Walksnail Avatar HD (with micro-format camera) |
| Receiver | TBS Crossfire Nano RX |
| GPS | iFlight M8Q-5883 GPS Module |
| Buzzer | Vifly mini buzzer |
| Extras | RAD 3D printed Gopro Hero 10 mount for Armattan Marmotte / Badger XT60 connector (male) for power |
| Weight | 409 grams (with GoPro 10 564 grams, with GoPro 10 & 2600 mAh battery 854 grams) |
Posts
Posts related to Megabat.
Construction
First up is figuring out the wiring logistics for all the components. This makes it easier later on when routing cables and cross-checking everything is correct. The wiring heavily relies upon the requirements of the FC. The ESC wiring isn’t shown – it’s connected via a ribbon cable. Motors are wired to the ESC.
Analog Wiring – which is featured in the build photographs:

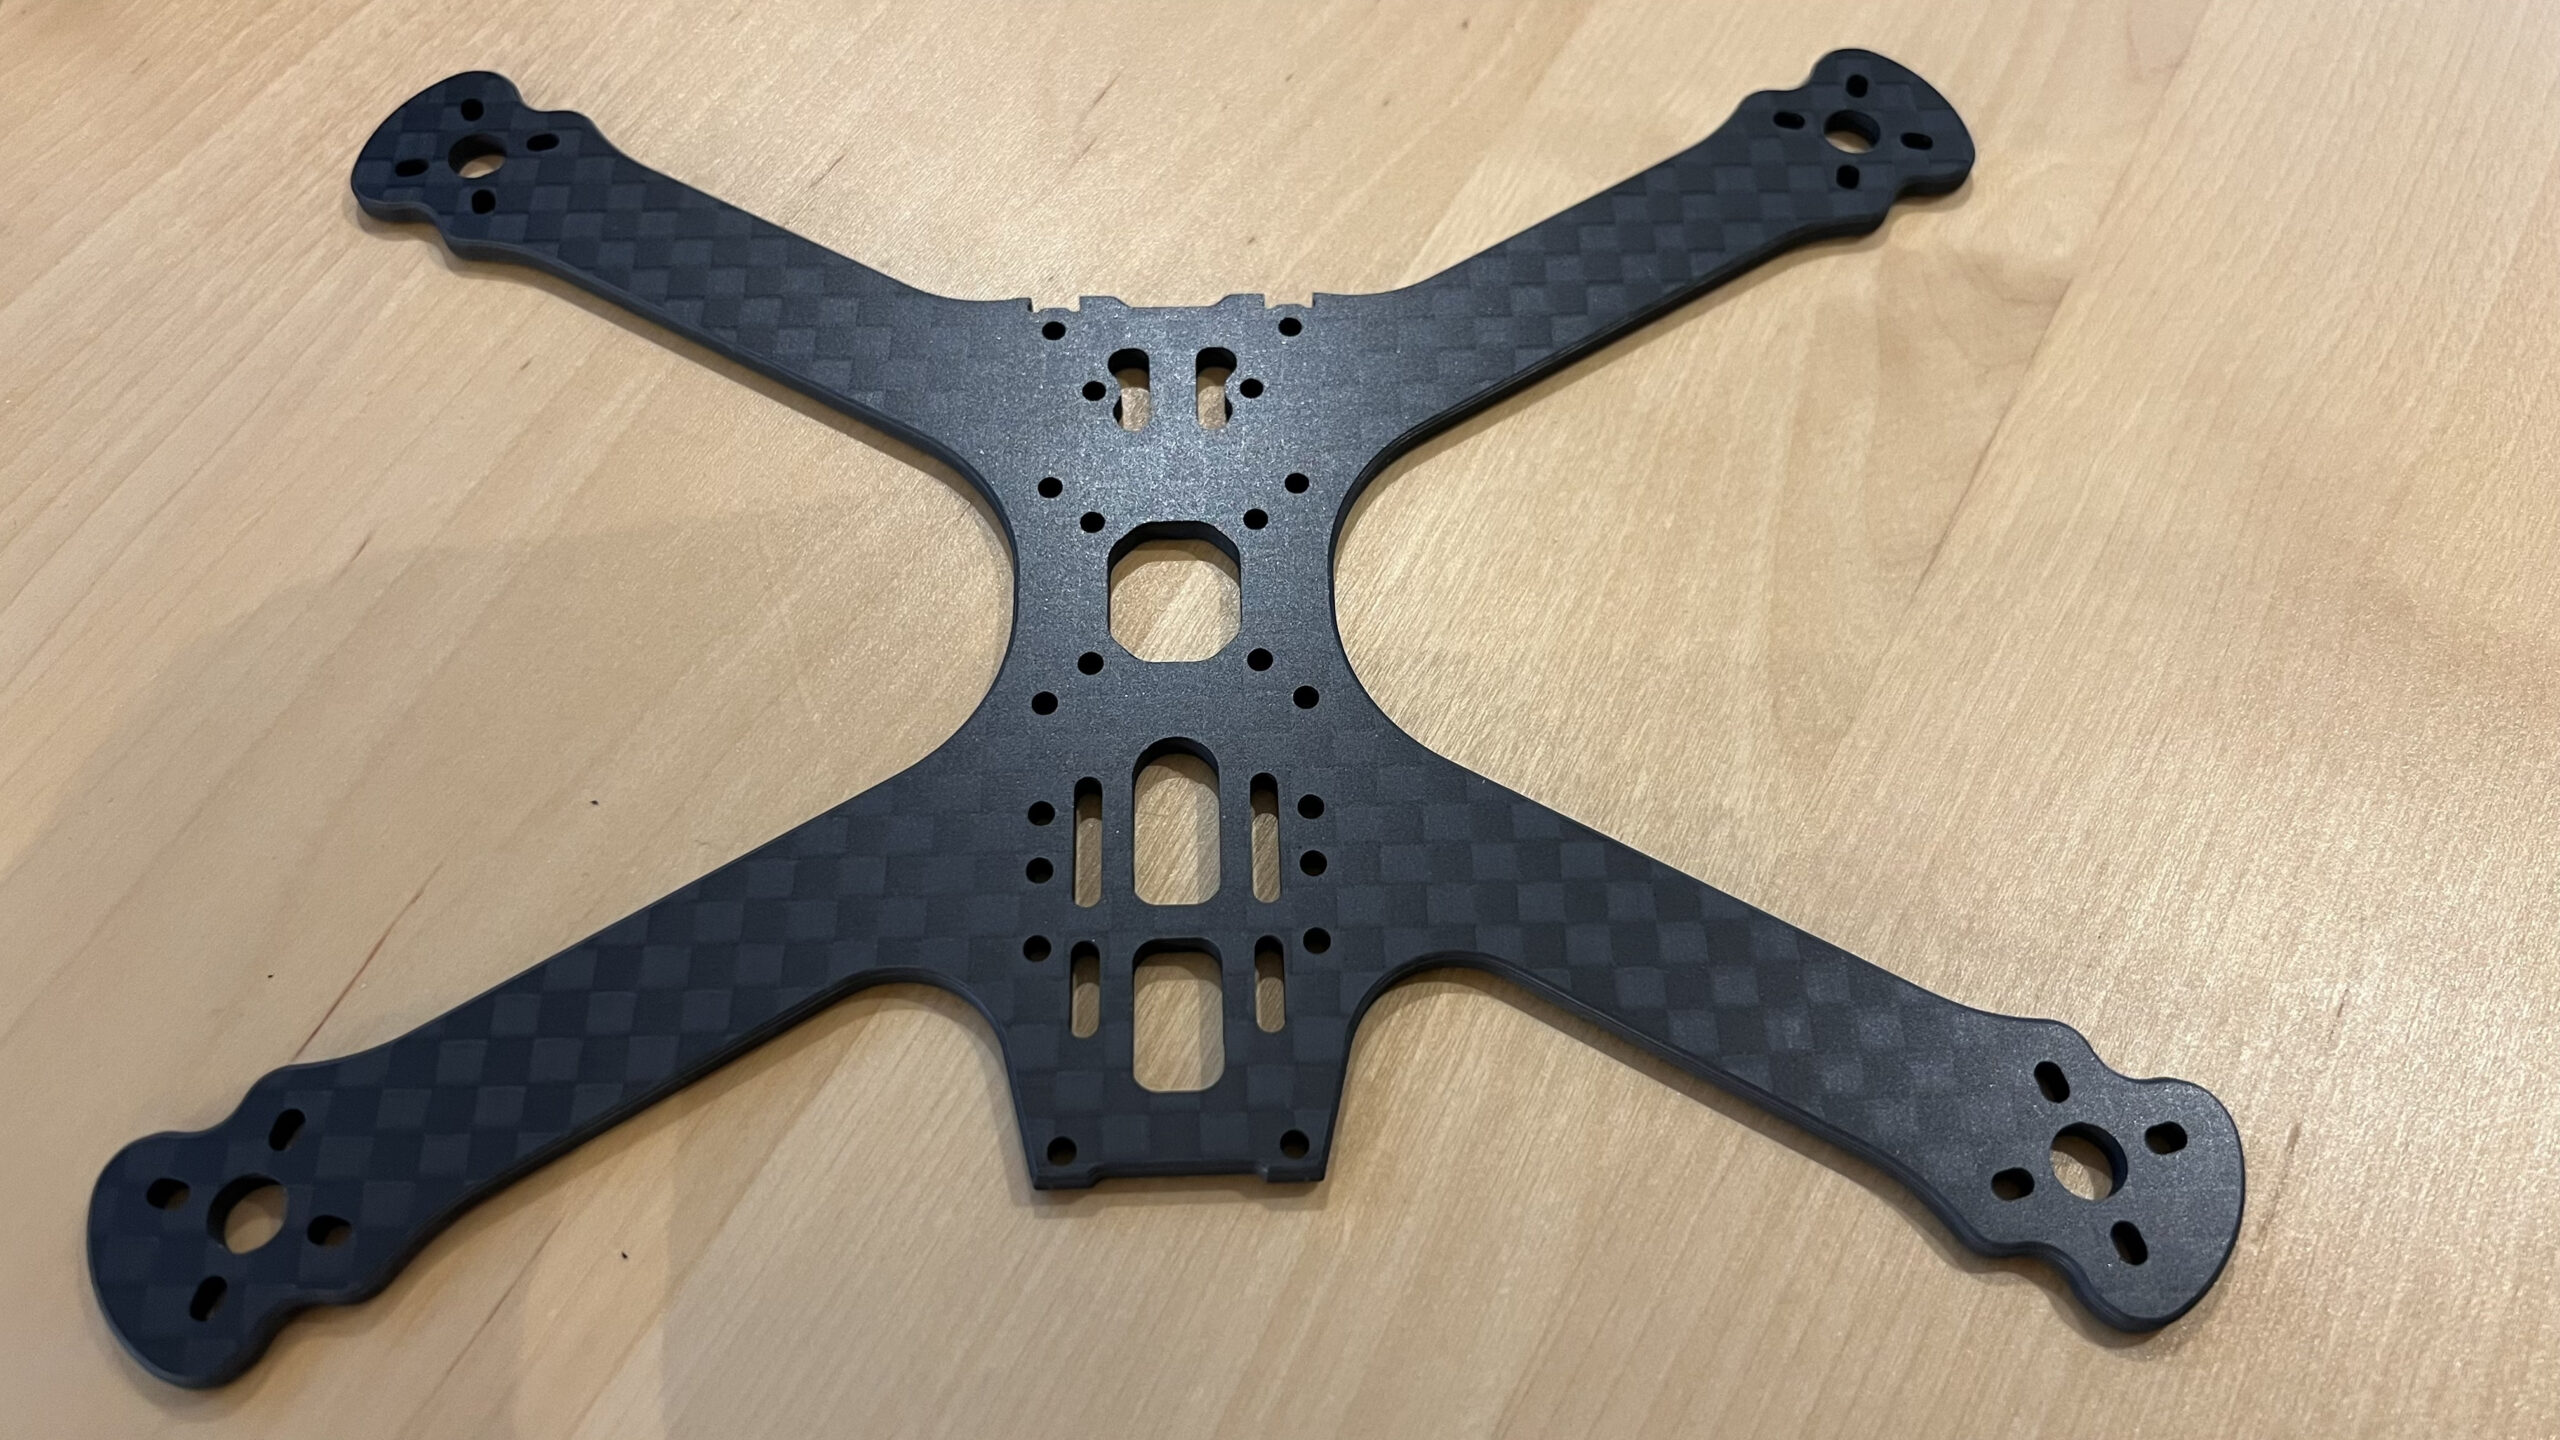
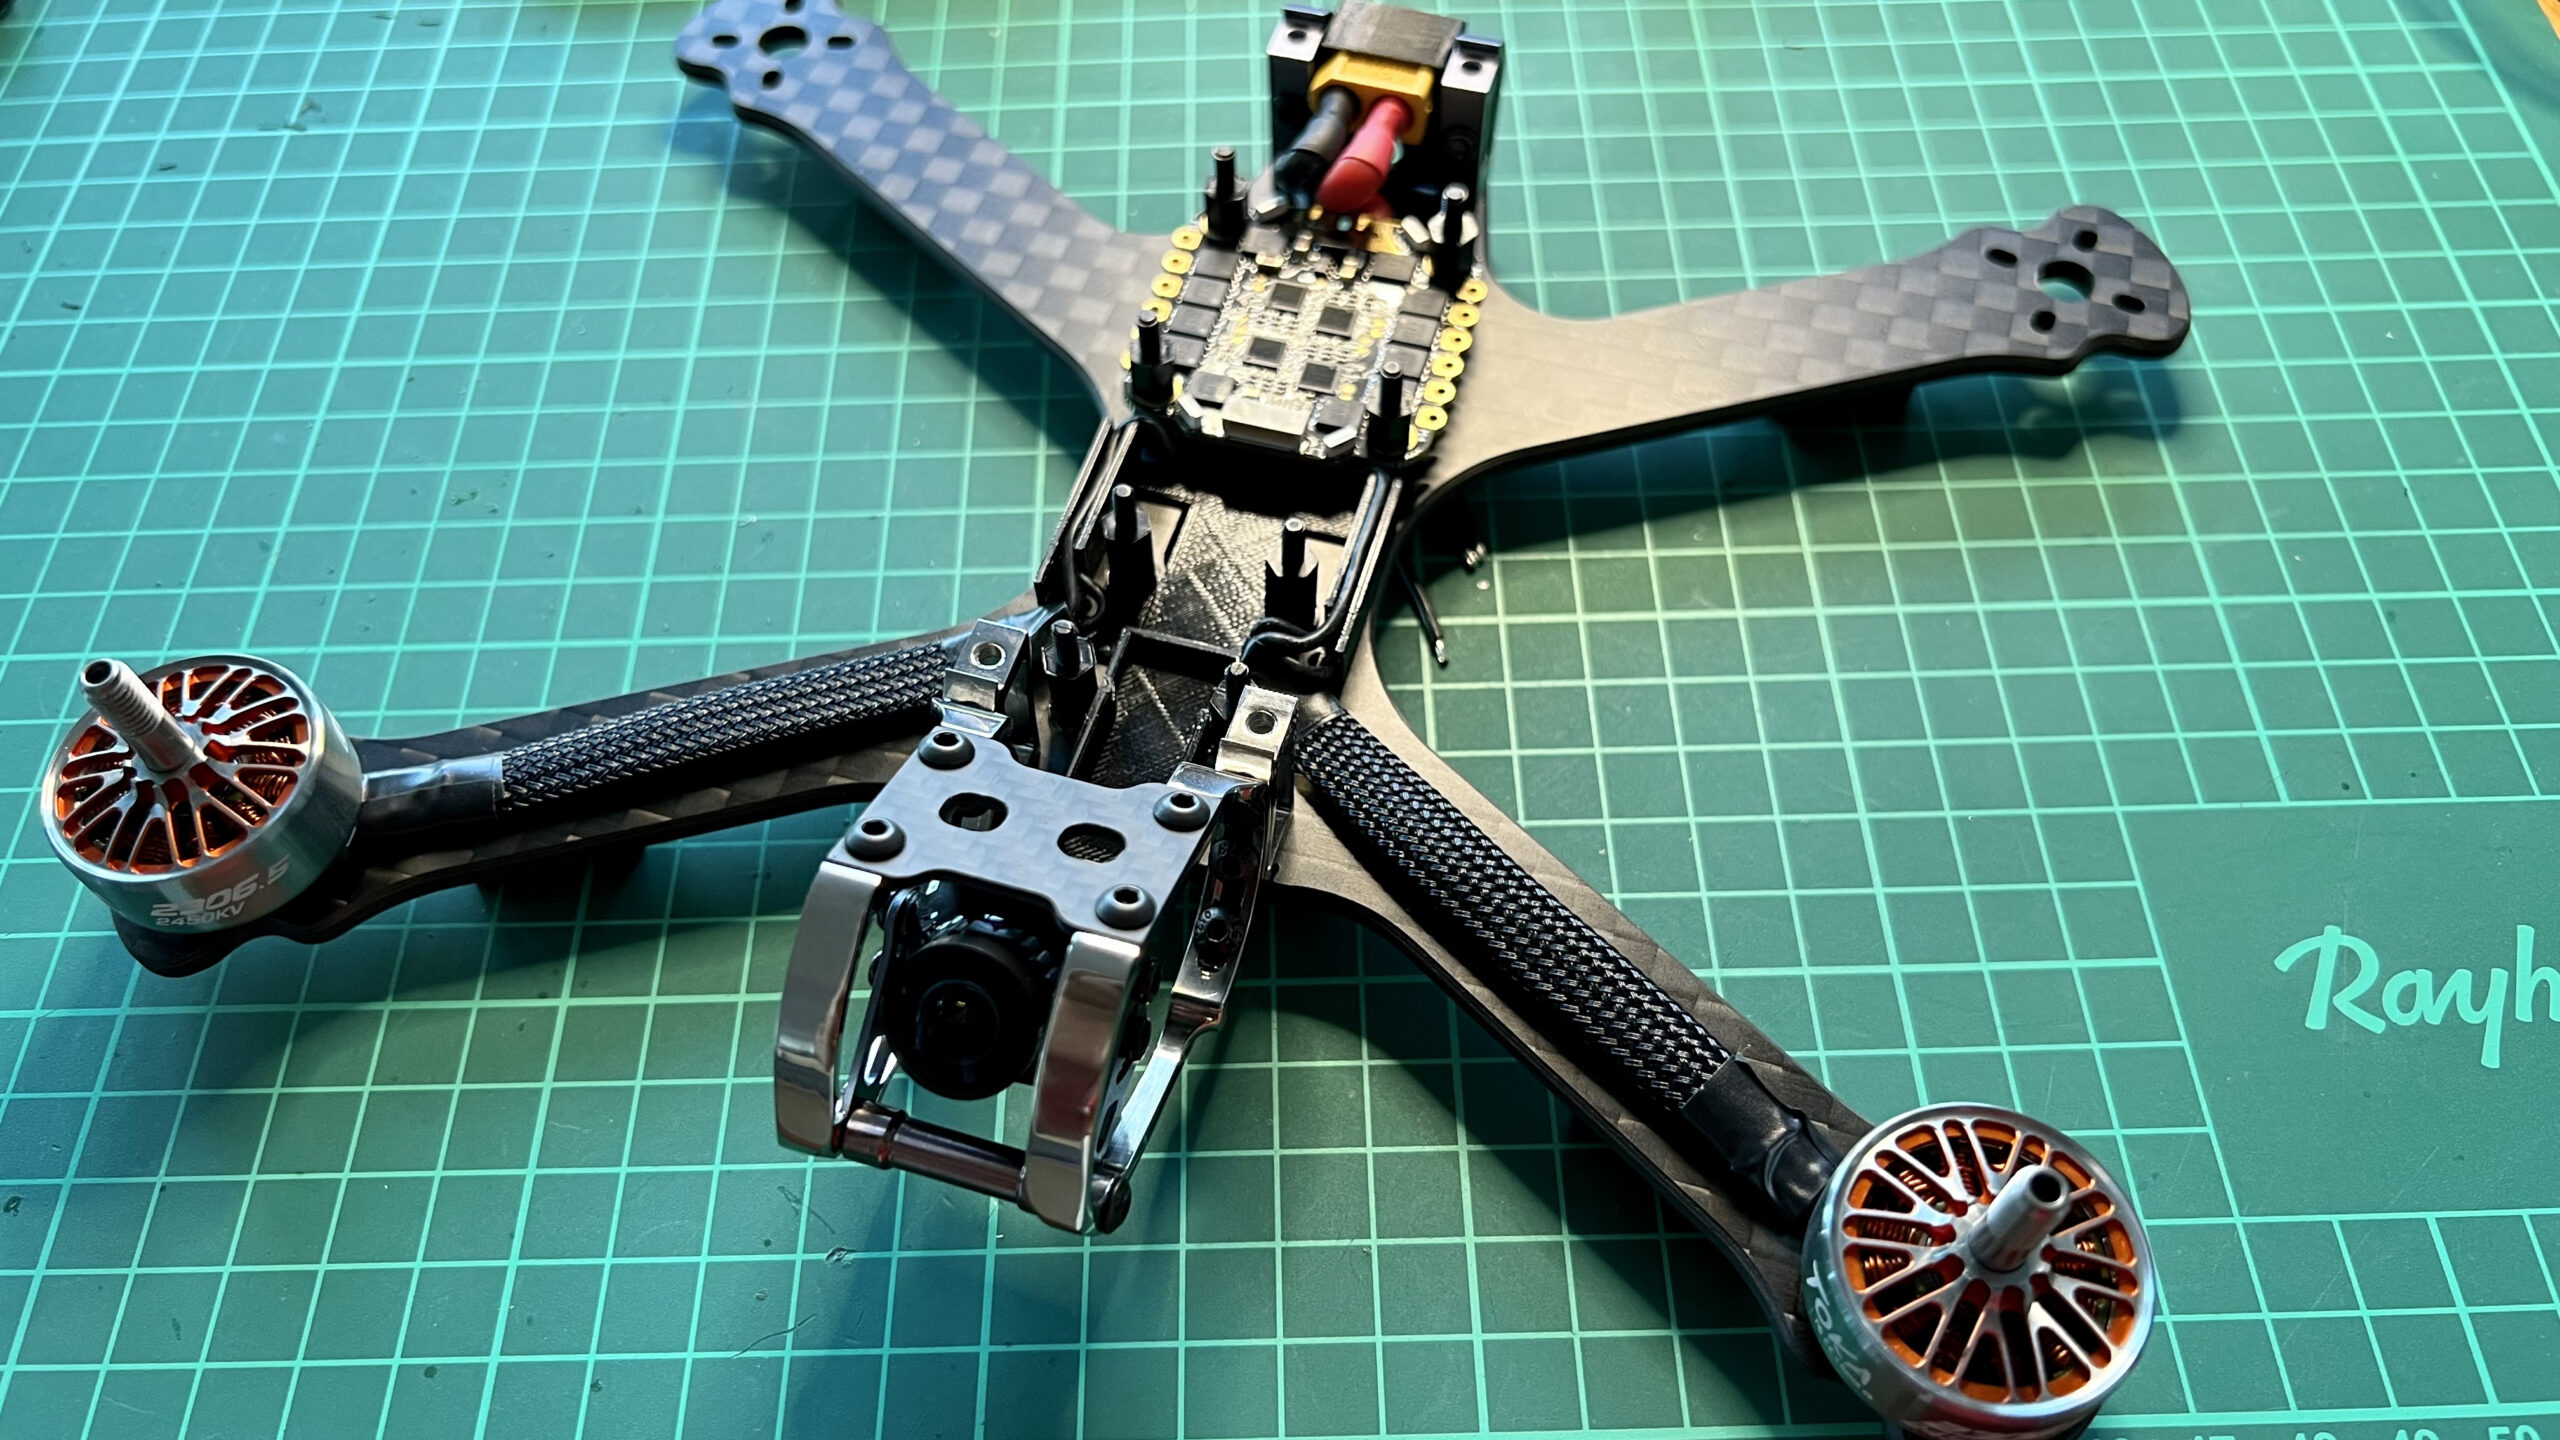
I hunted around for different alternative frames, but I ended up returning to the Armattan Marmotte frame, as I wanted a strong vibration-free chassis and an easy way to mount a sleeve-style 3D mount for a GoPro. Here’s the frame:
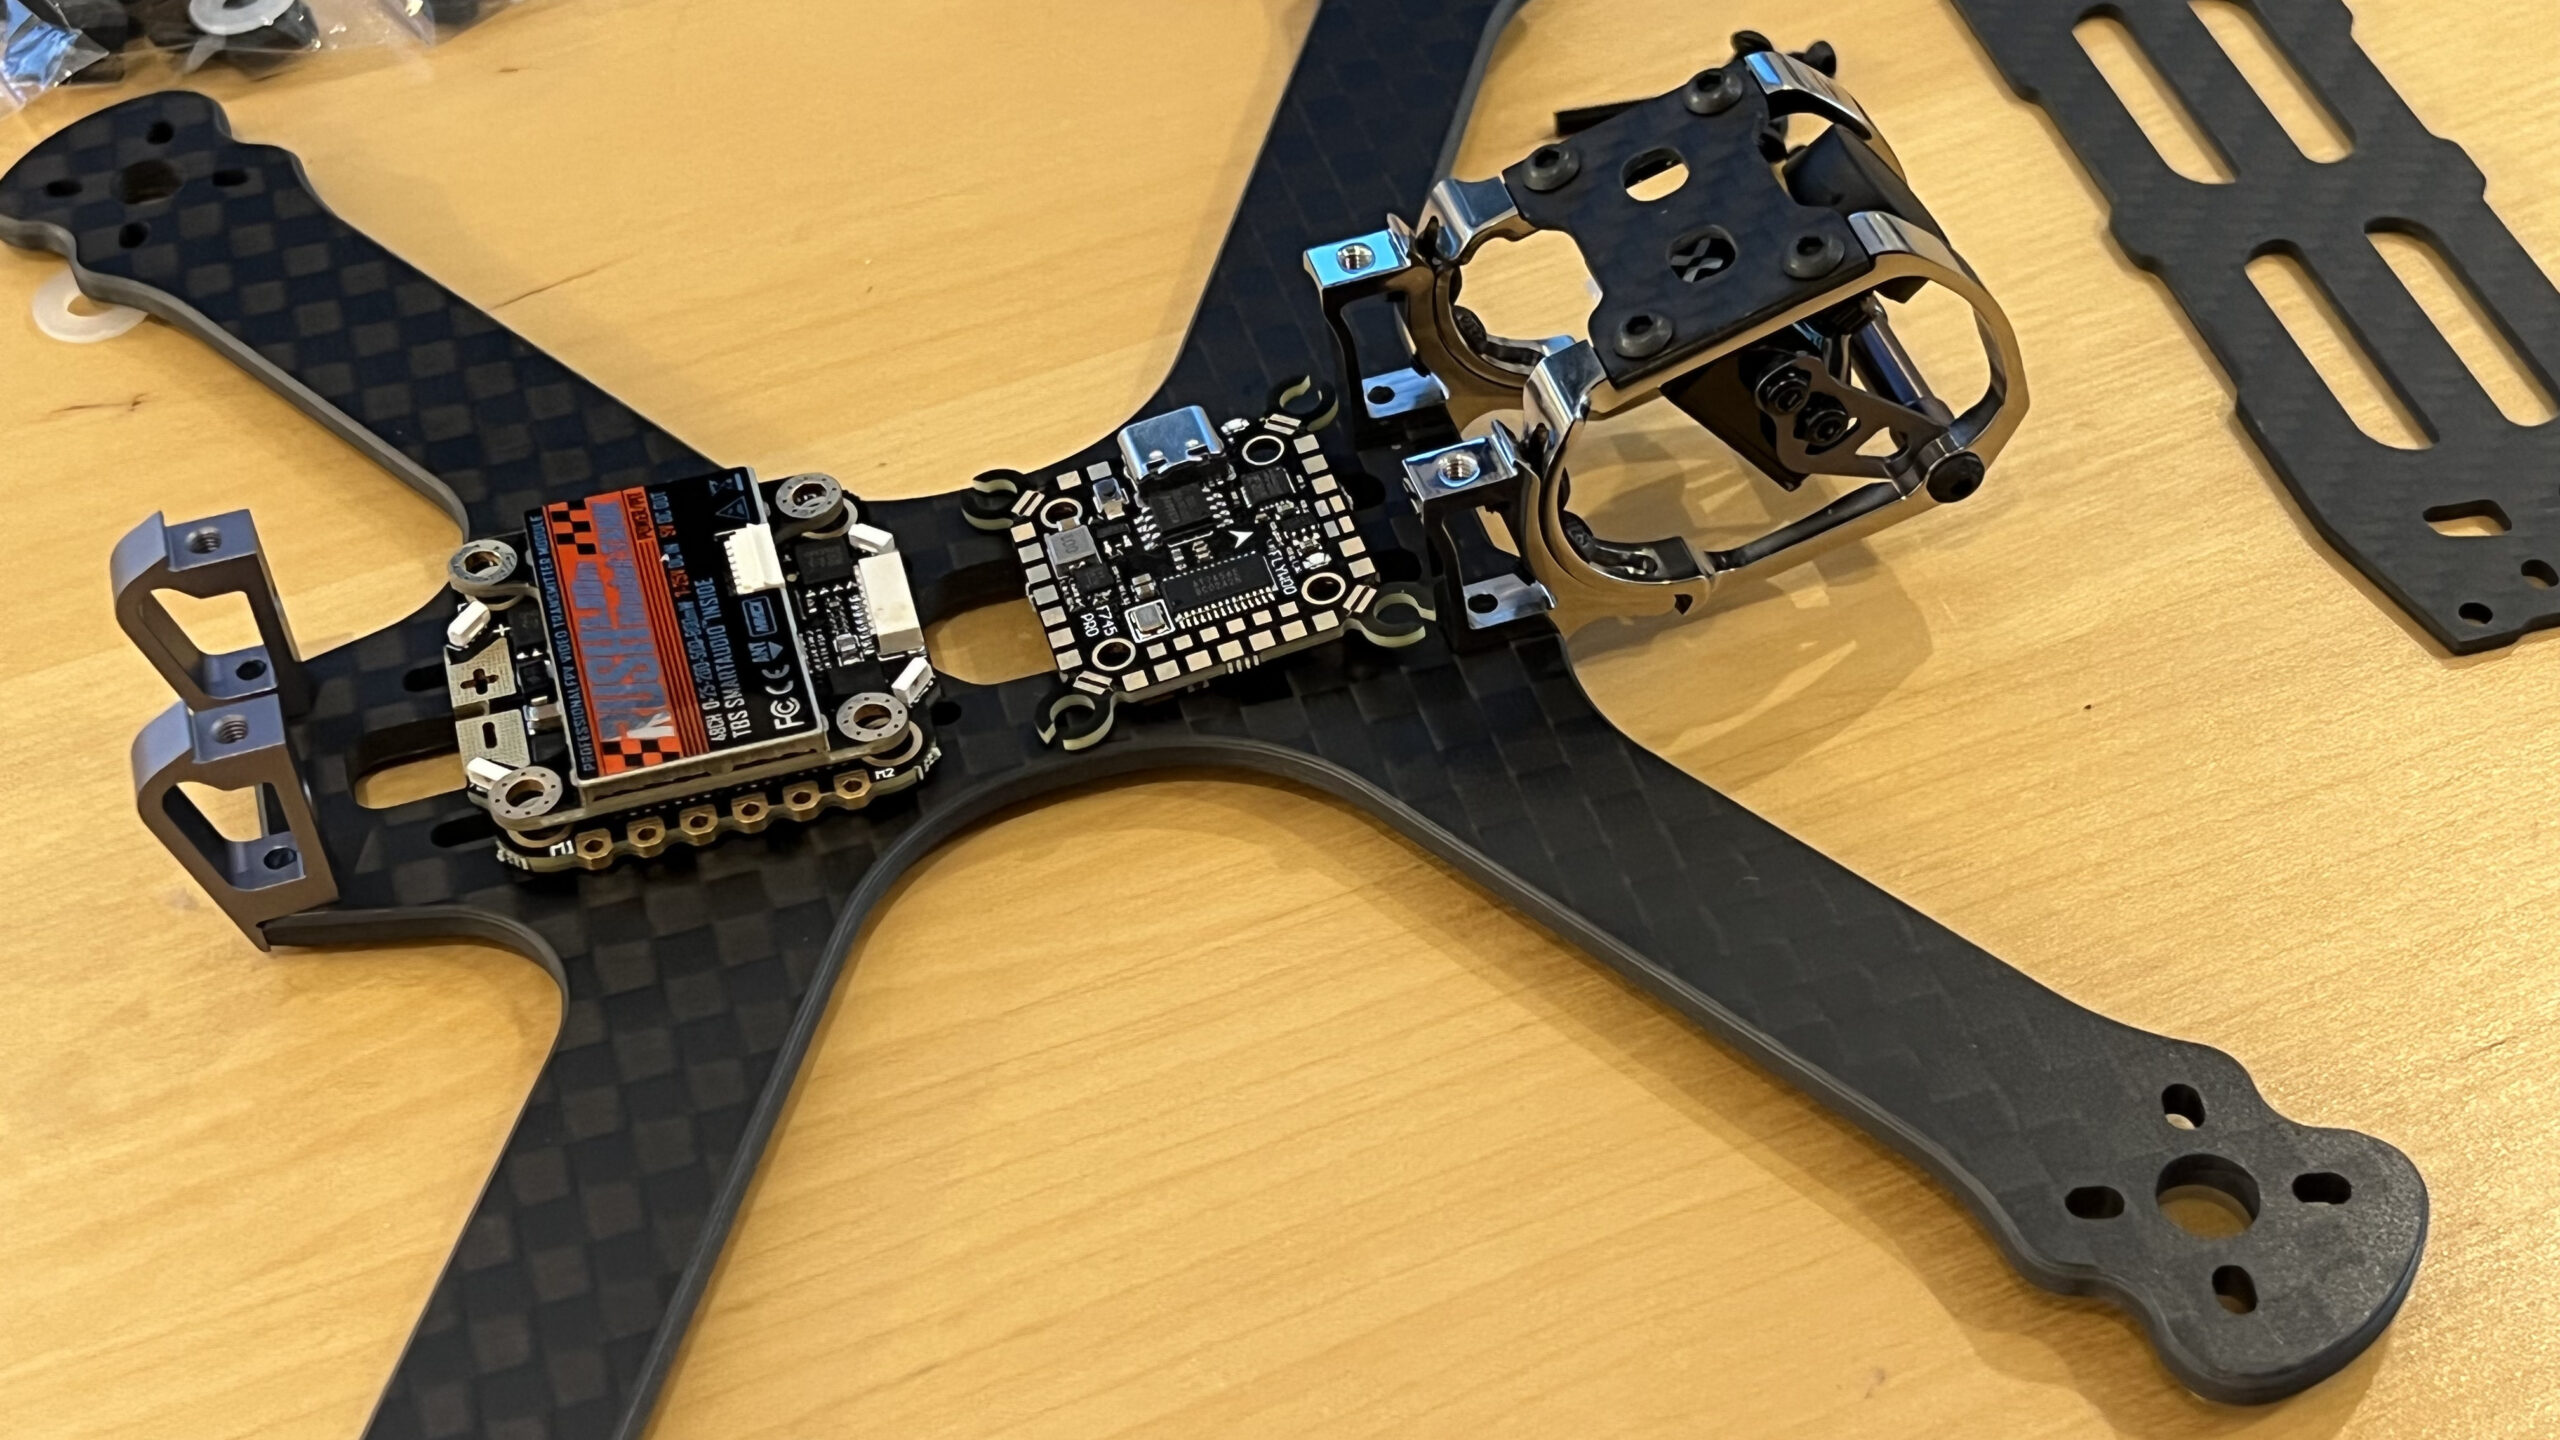
Now it’s time to draft fit the placing of the components. I place the large 4-in-1 ESC at the rear, as it overhangs at the front. It also falls in place with my idea to wire the XT60 connector at the rear:
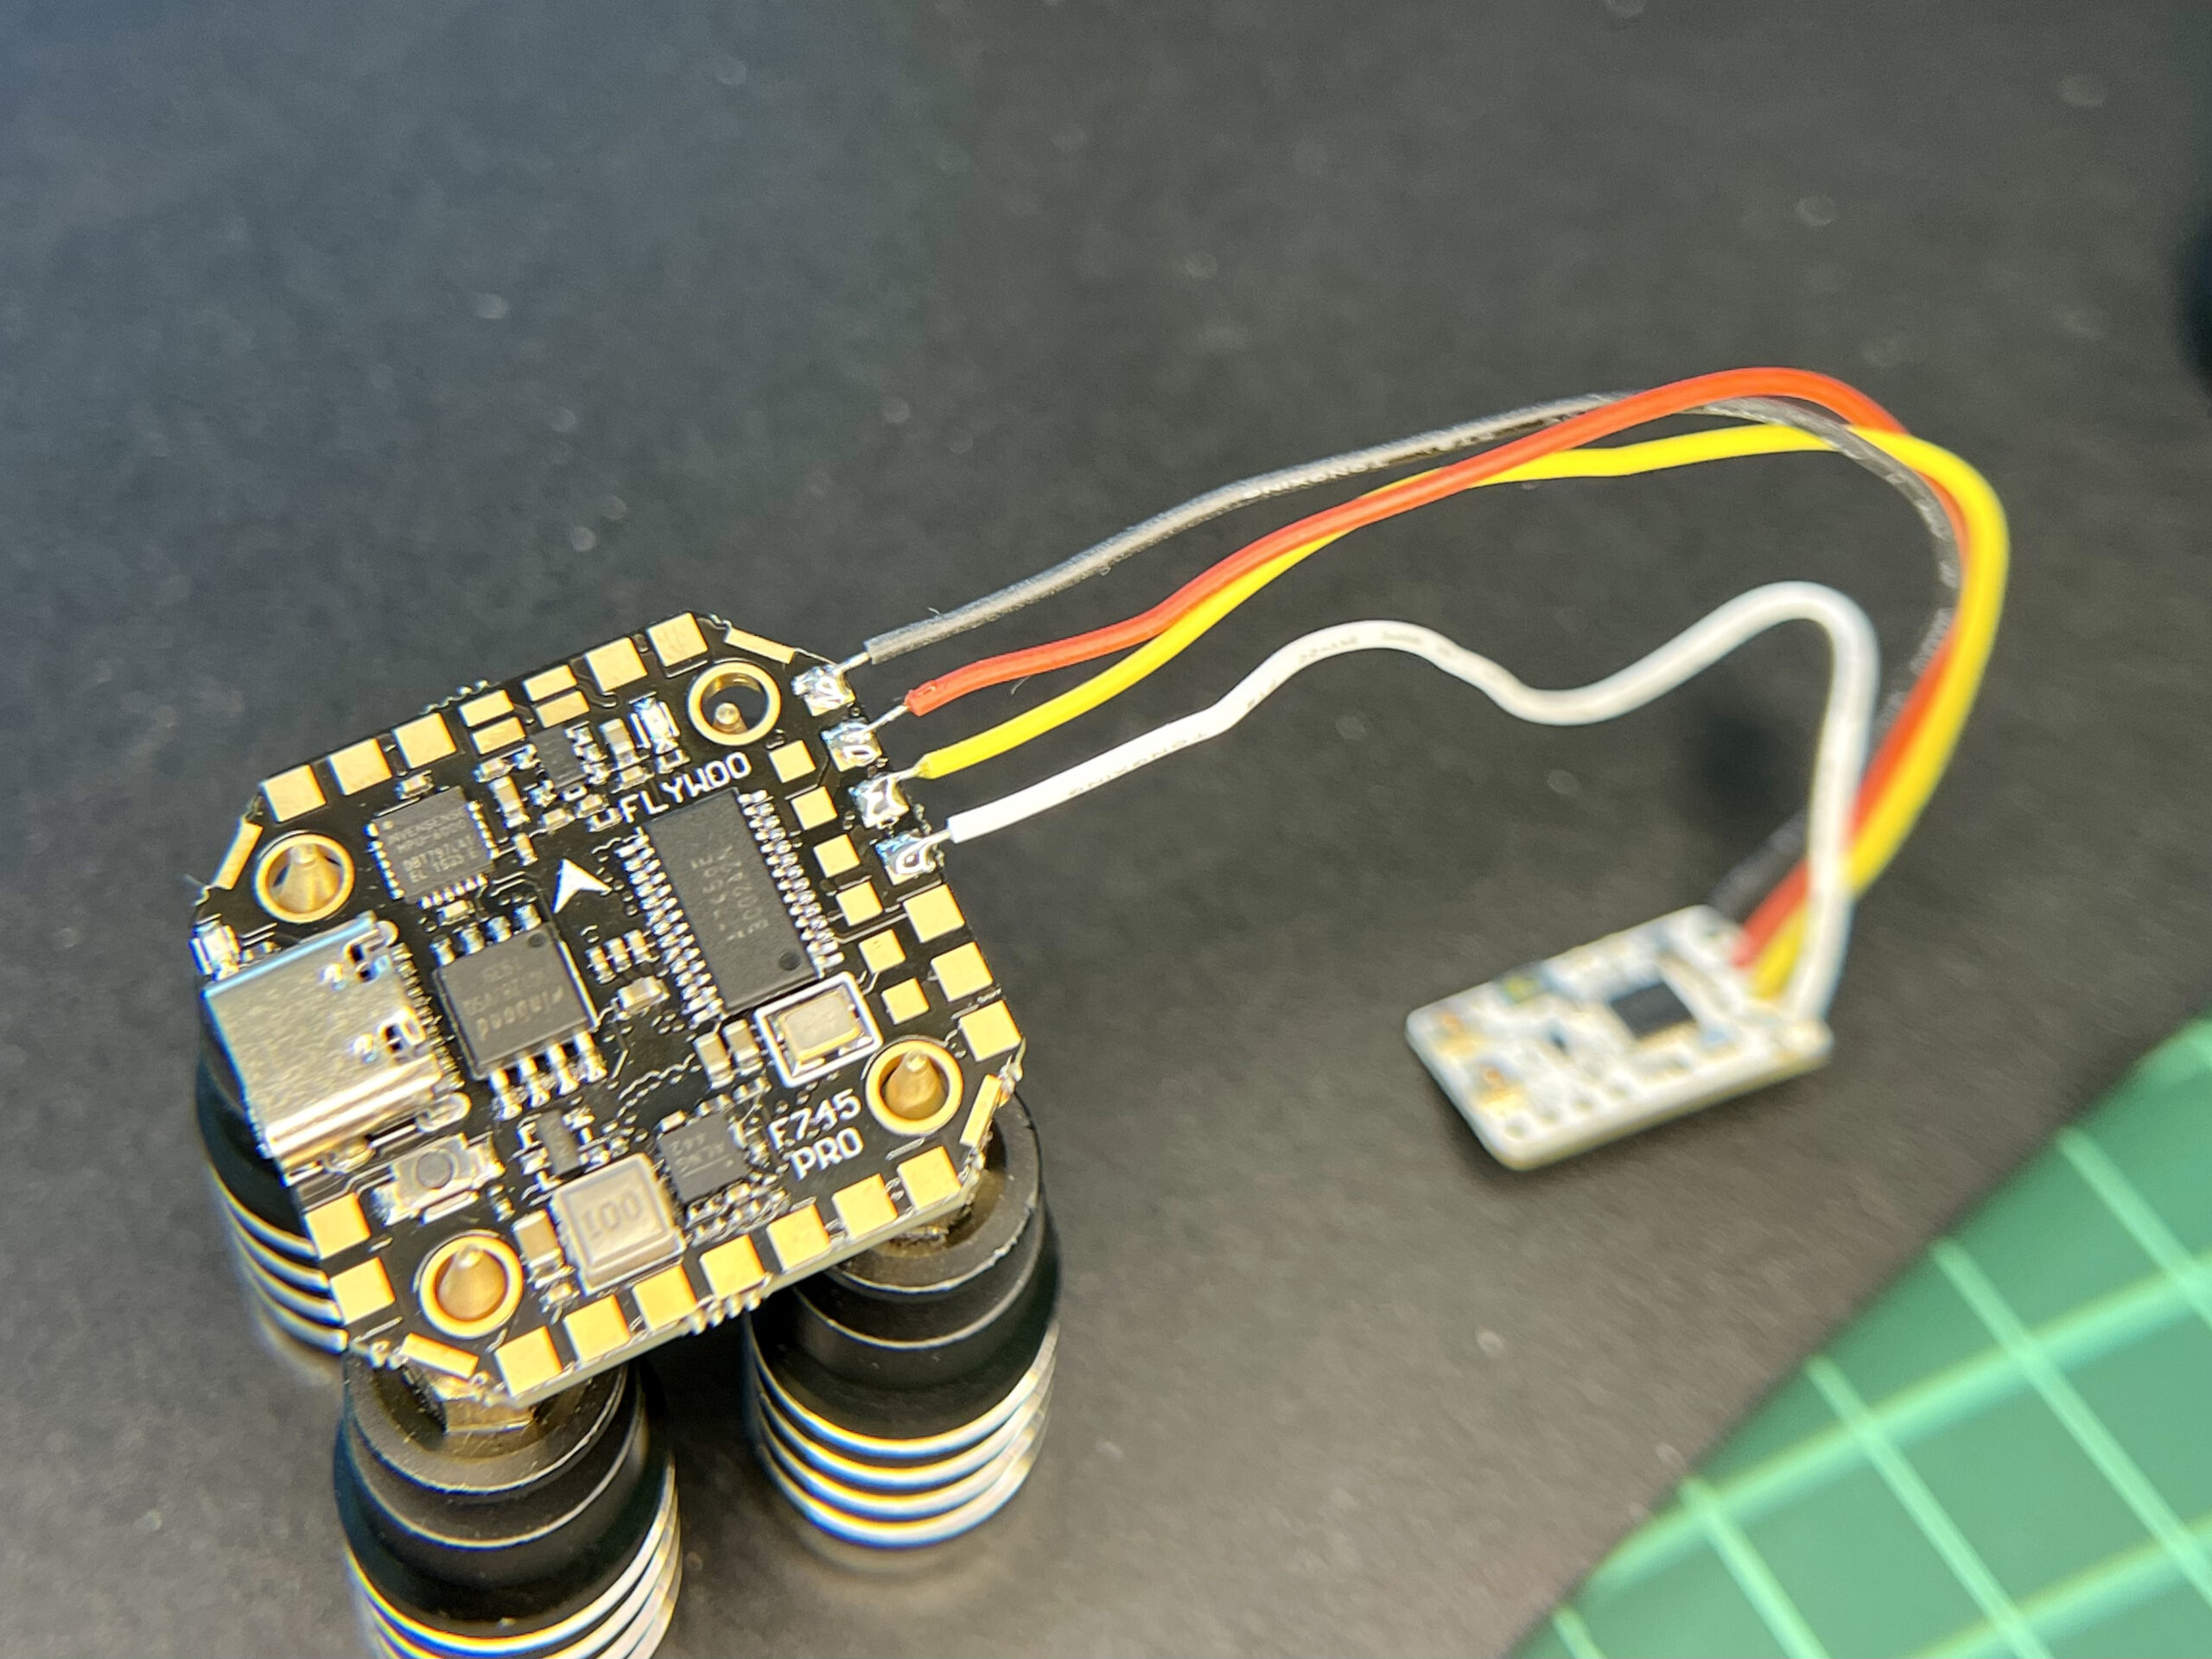
Now on to wiring up the Goku F745. I trimmed the unwanted bolt holes, and connected it to the TBS Tracer, in order to set up the software configuration in Betaflight. I’ll refactor the length of the cables later on.
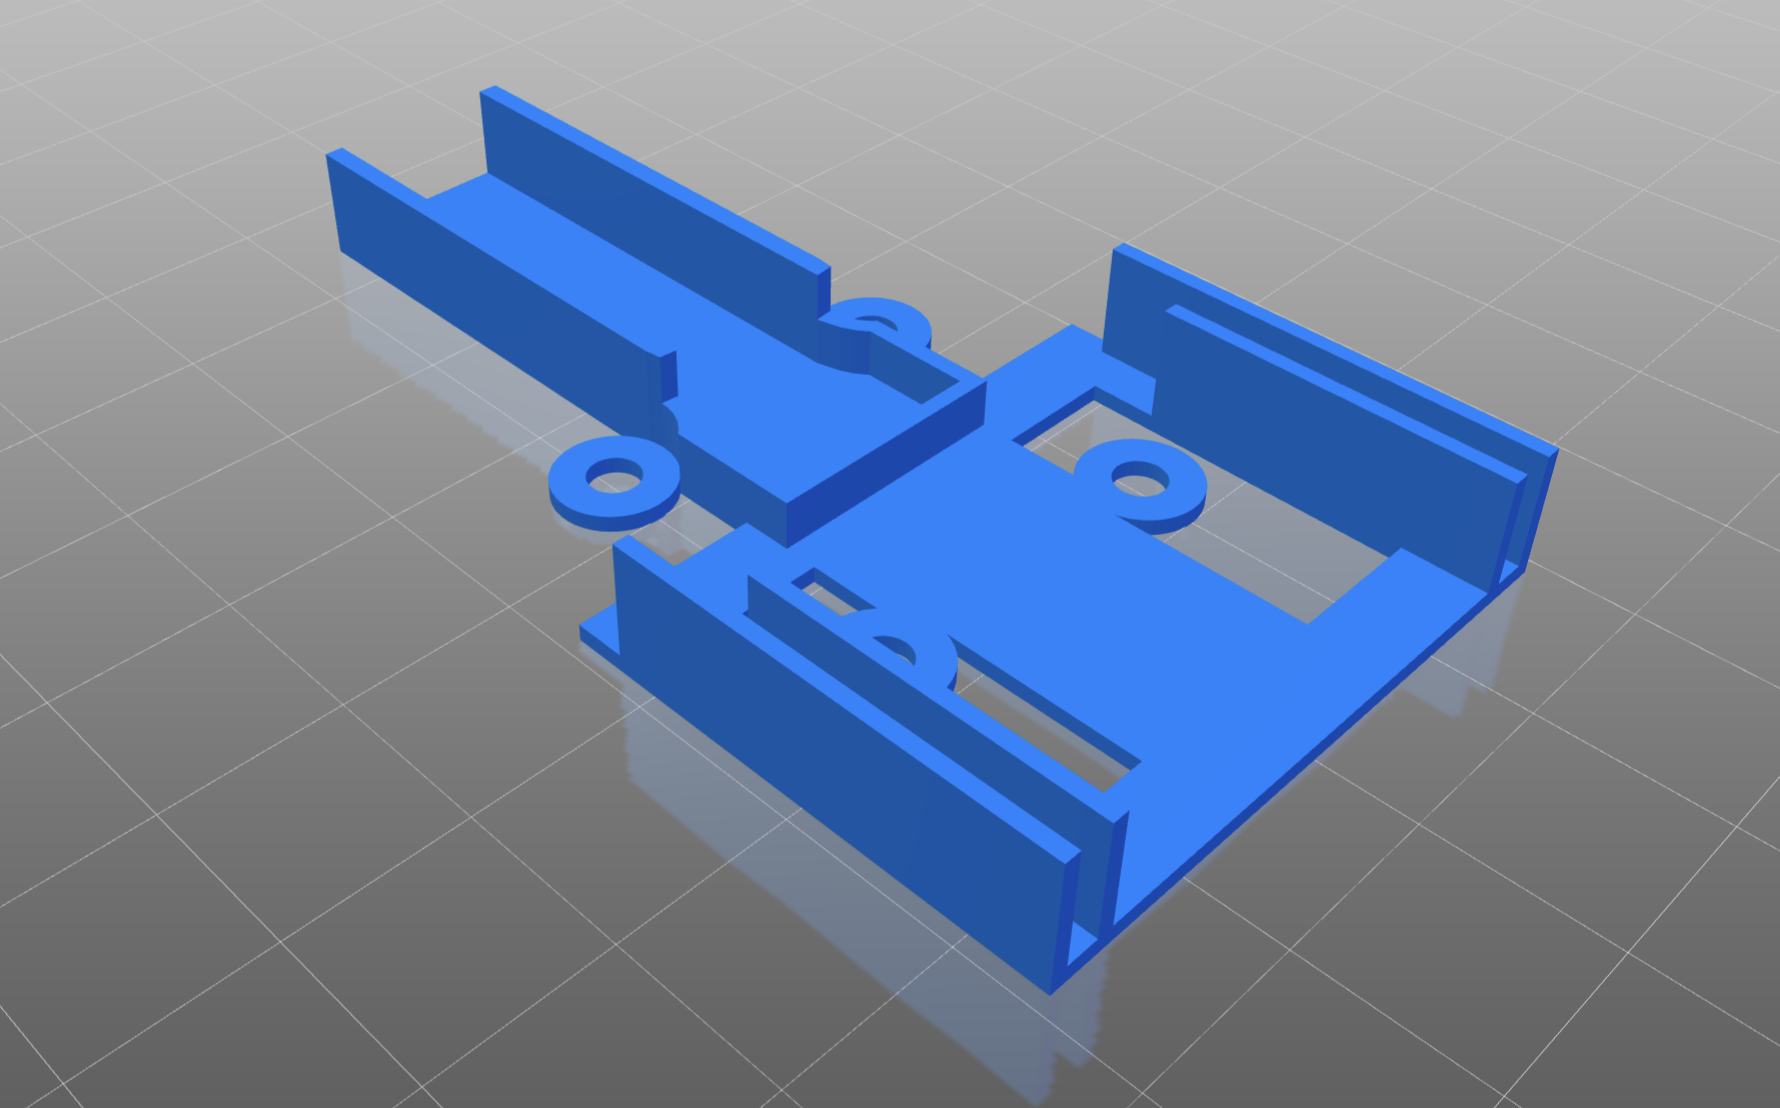
To fit components into the drone I 3D designed & printed some components. I constructed a front wiring tray (link here) to route motor wiring and hold the buzzer, and built a XT60/SMA rear end connector (link here) to make mounting the antenna & battery connector a bit easier:

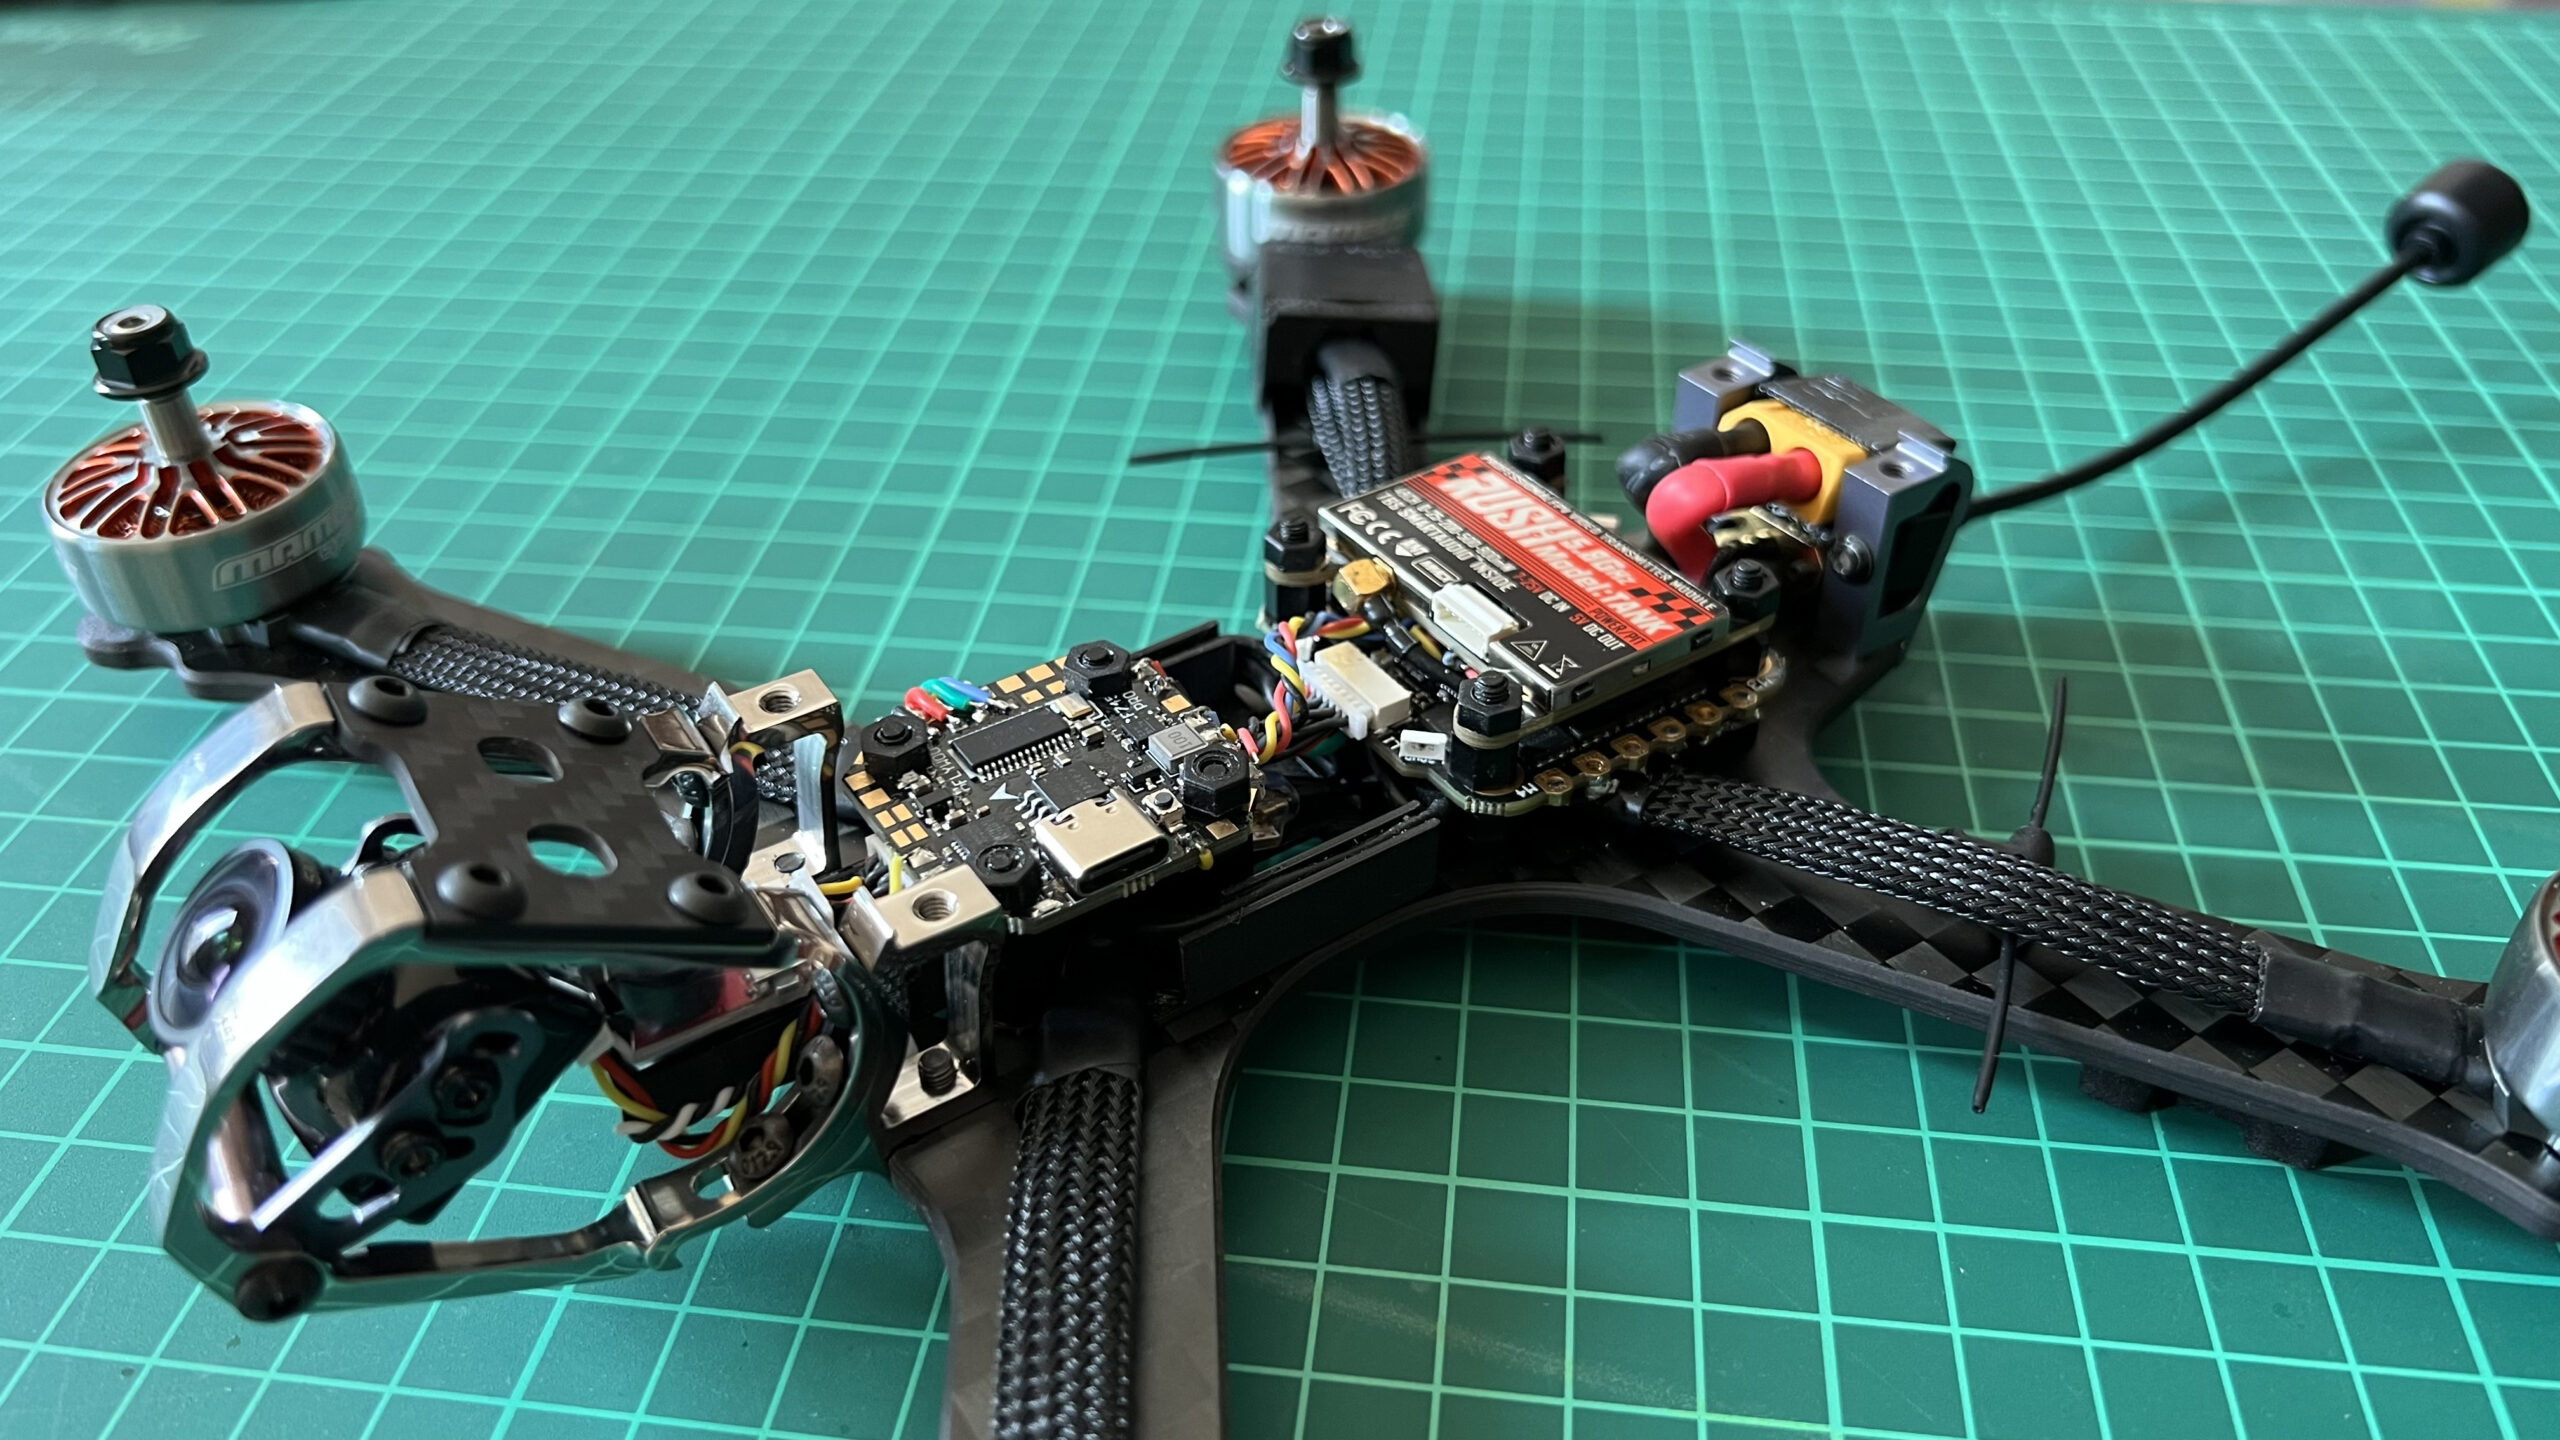
Now on to the ESC power connector and rear mount. This is tight fitting, but just squeezes in. The VTX will sit on top of the ESC, and the TBS Tracer will go beneath the FC on the 20x20mm front screws. The buzzer will be at the front so it’s nice and loud:

The motors can now be wired up to the ESC pins. I’m routing the front motor wires along the sides of the tray, and soldering underneath the ESC so the wires are out of snagging way. It also looks more elegant!
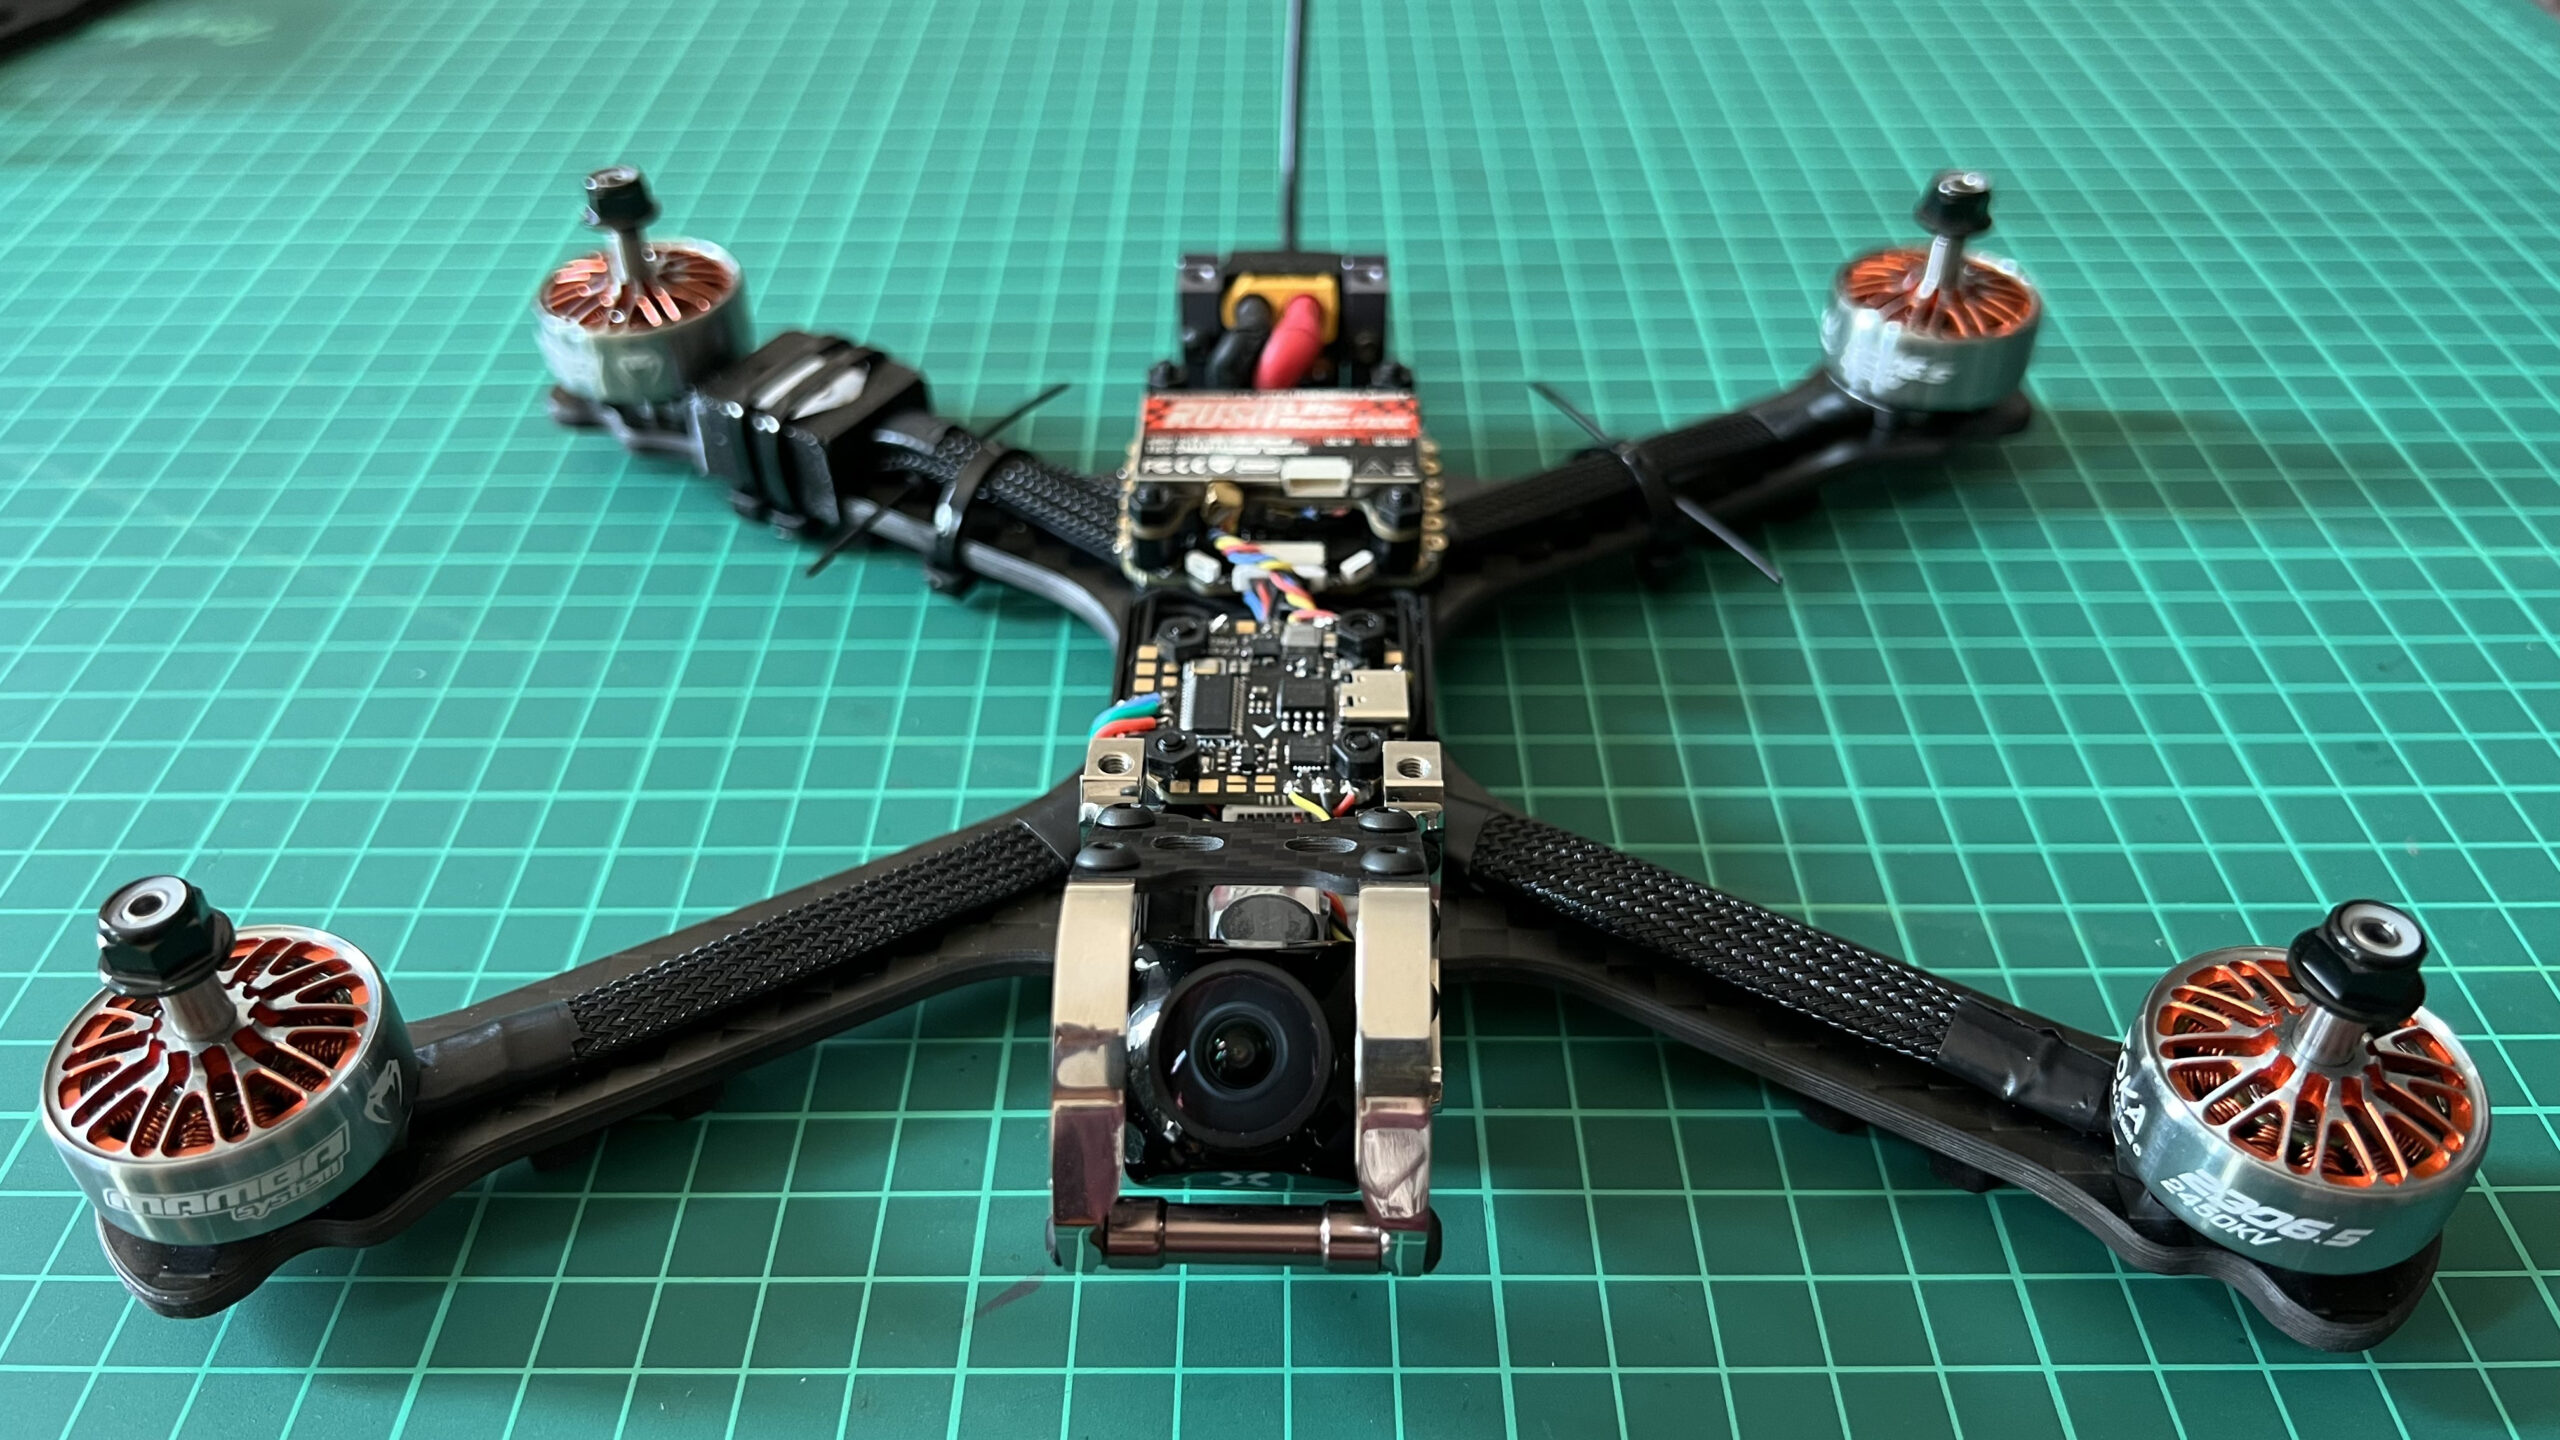
After a heavy session of wire trimming, aligning and soldering, the motors and components are now installed in place. The TBS Tracer is under the FC, with the two antennas on the rear arms. The VTX is above the ESC, and the antenna bolted via a SMA connector to the rear 3D printed mount. The GPS is in a 3D printed housing on the far rear arm. The buzzer is at the front on the 3D printed tray.
The drone is now ready for bench testing, GPS checks, motor direction checks, etc. Once these are completed, I’ll add the GoPro holder on the front, and adjust the camera angle appropriately.
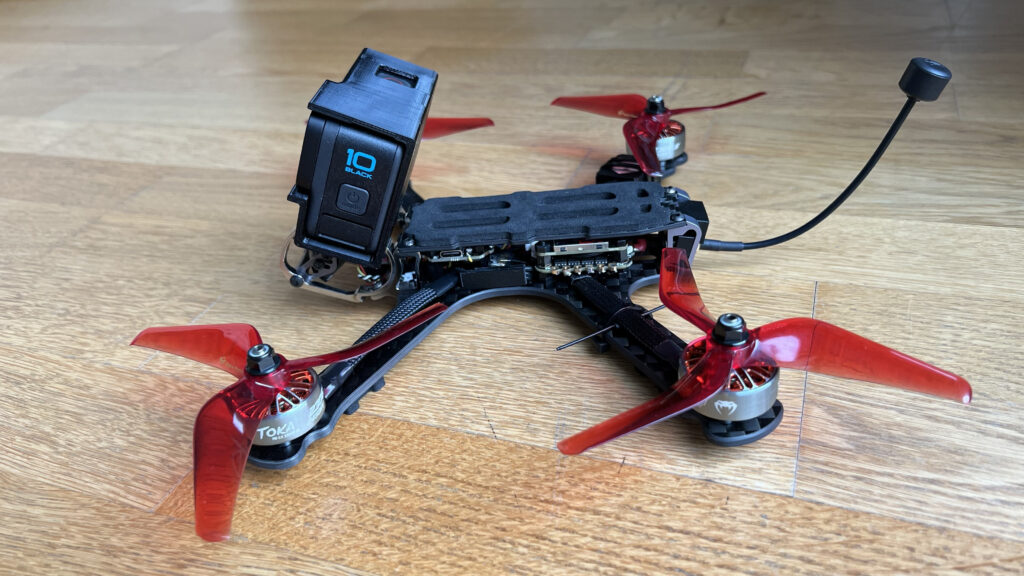

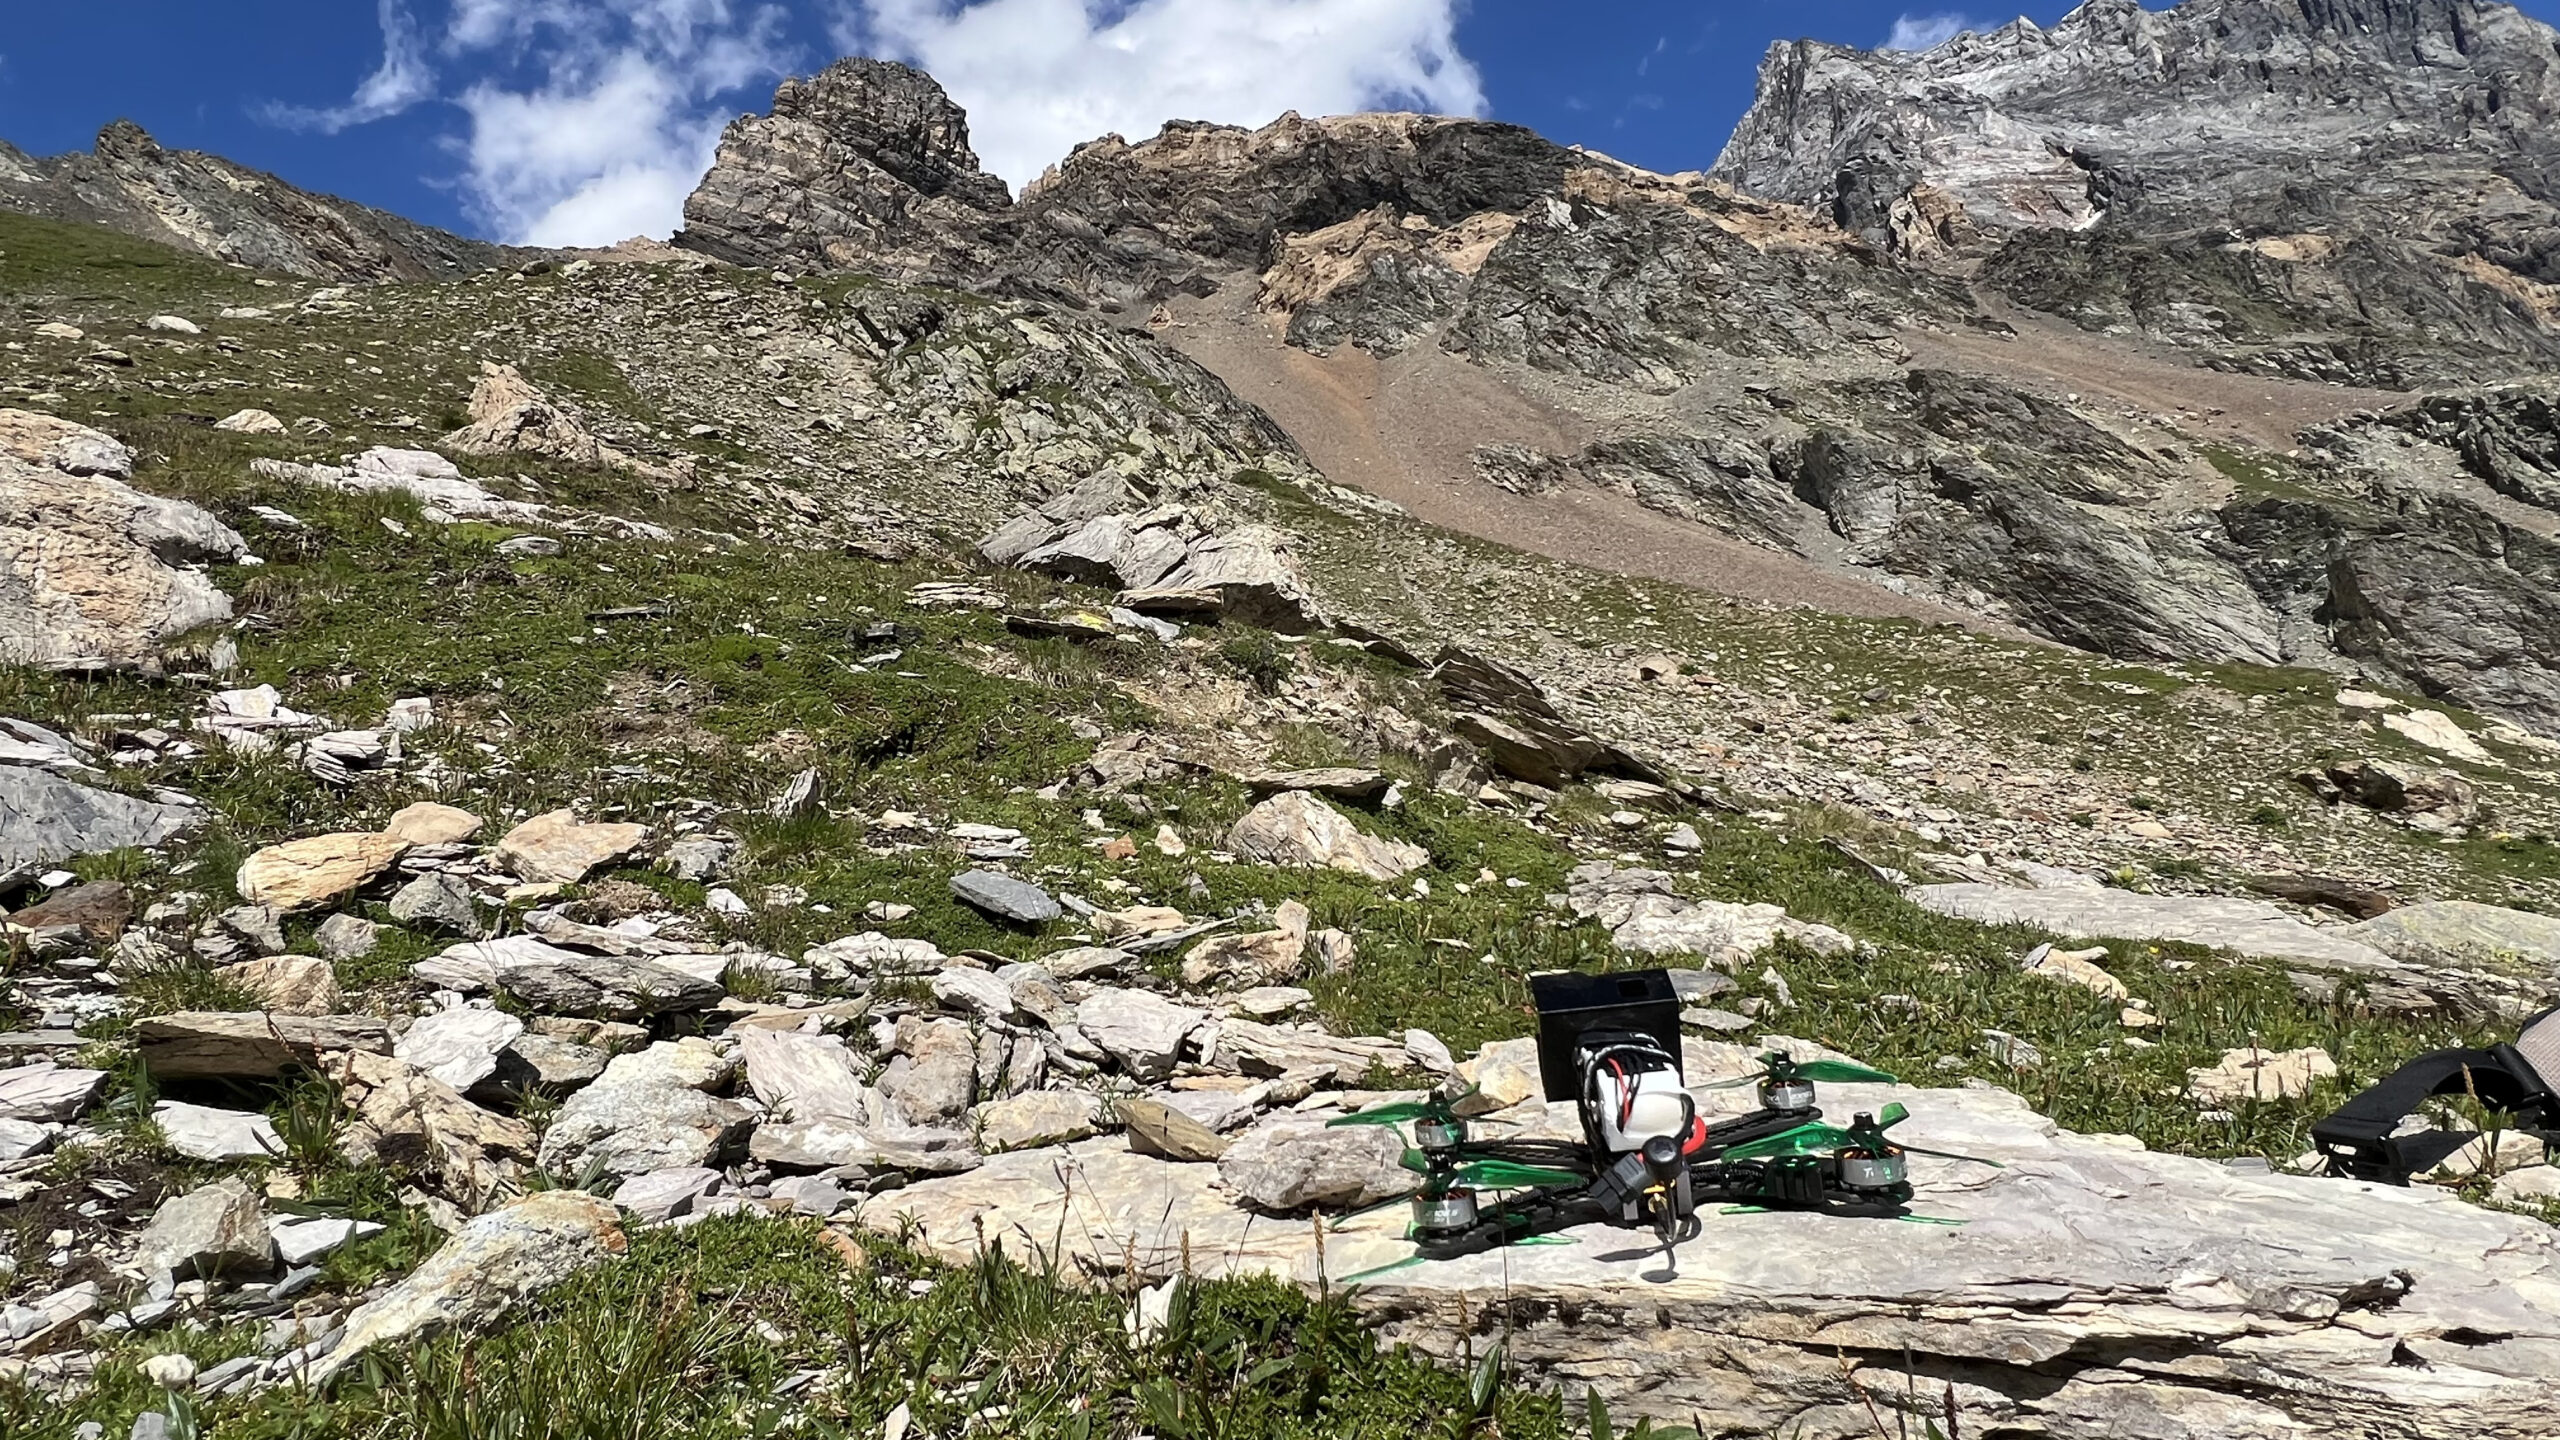
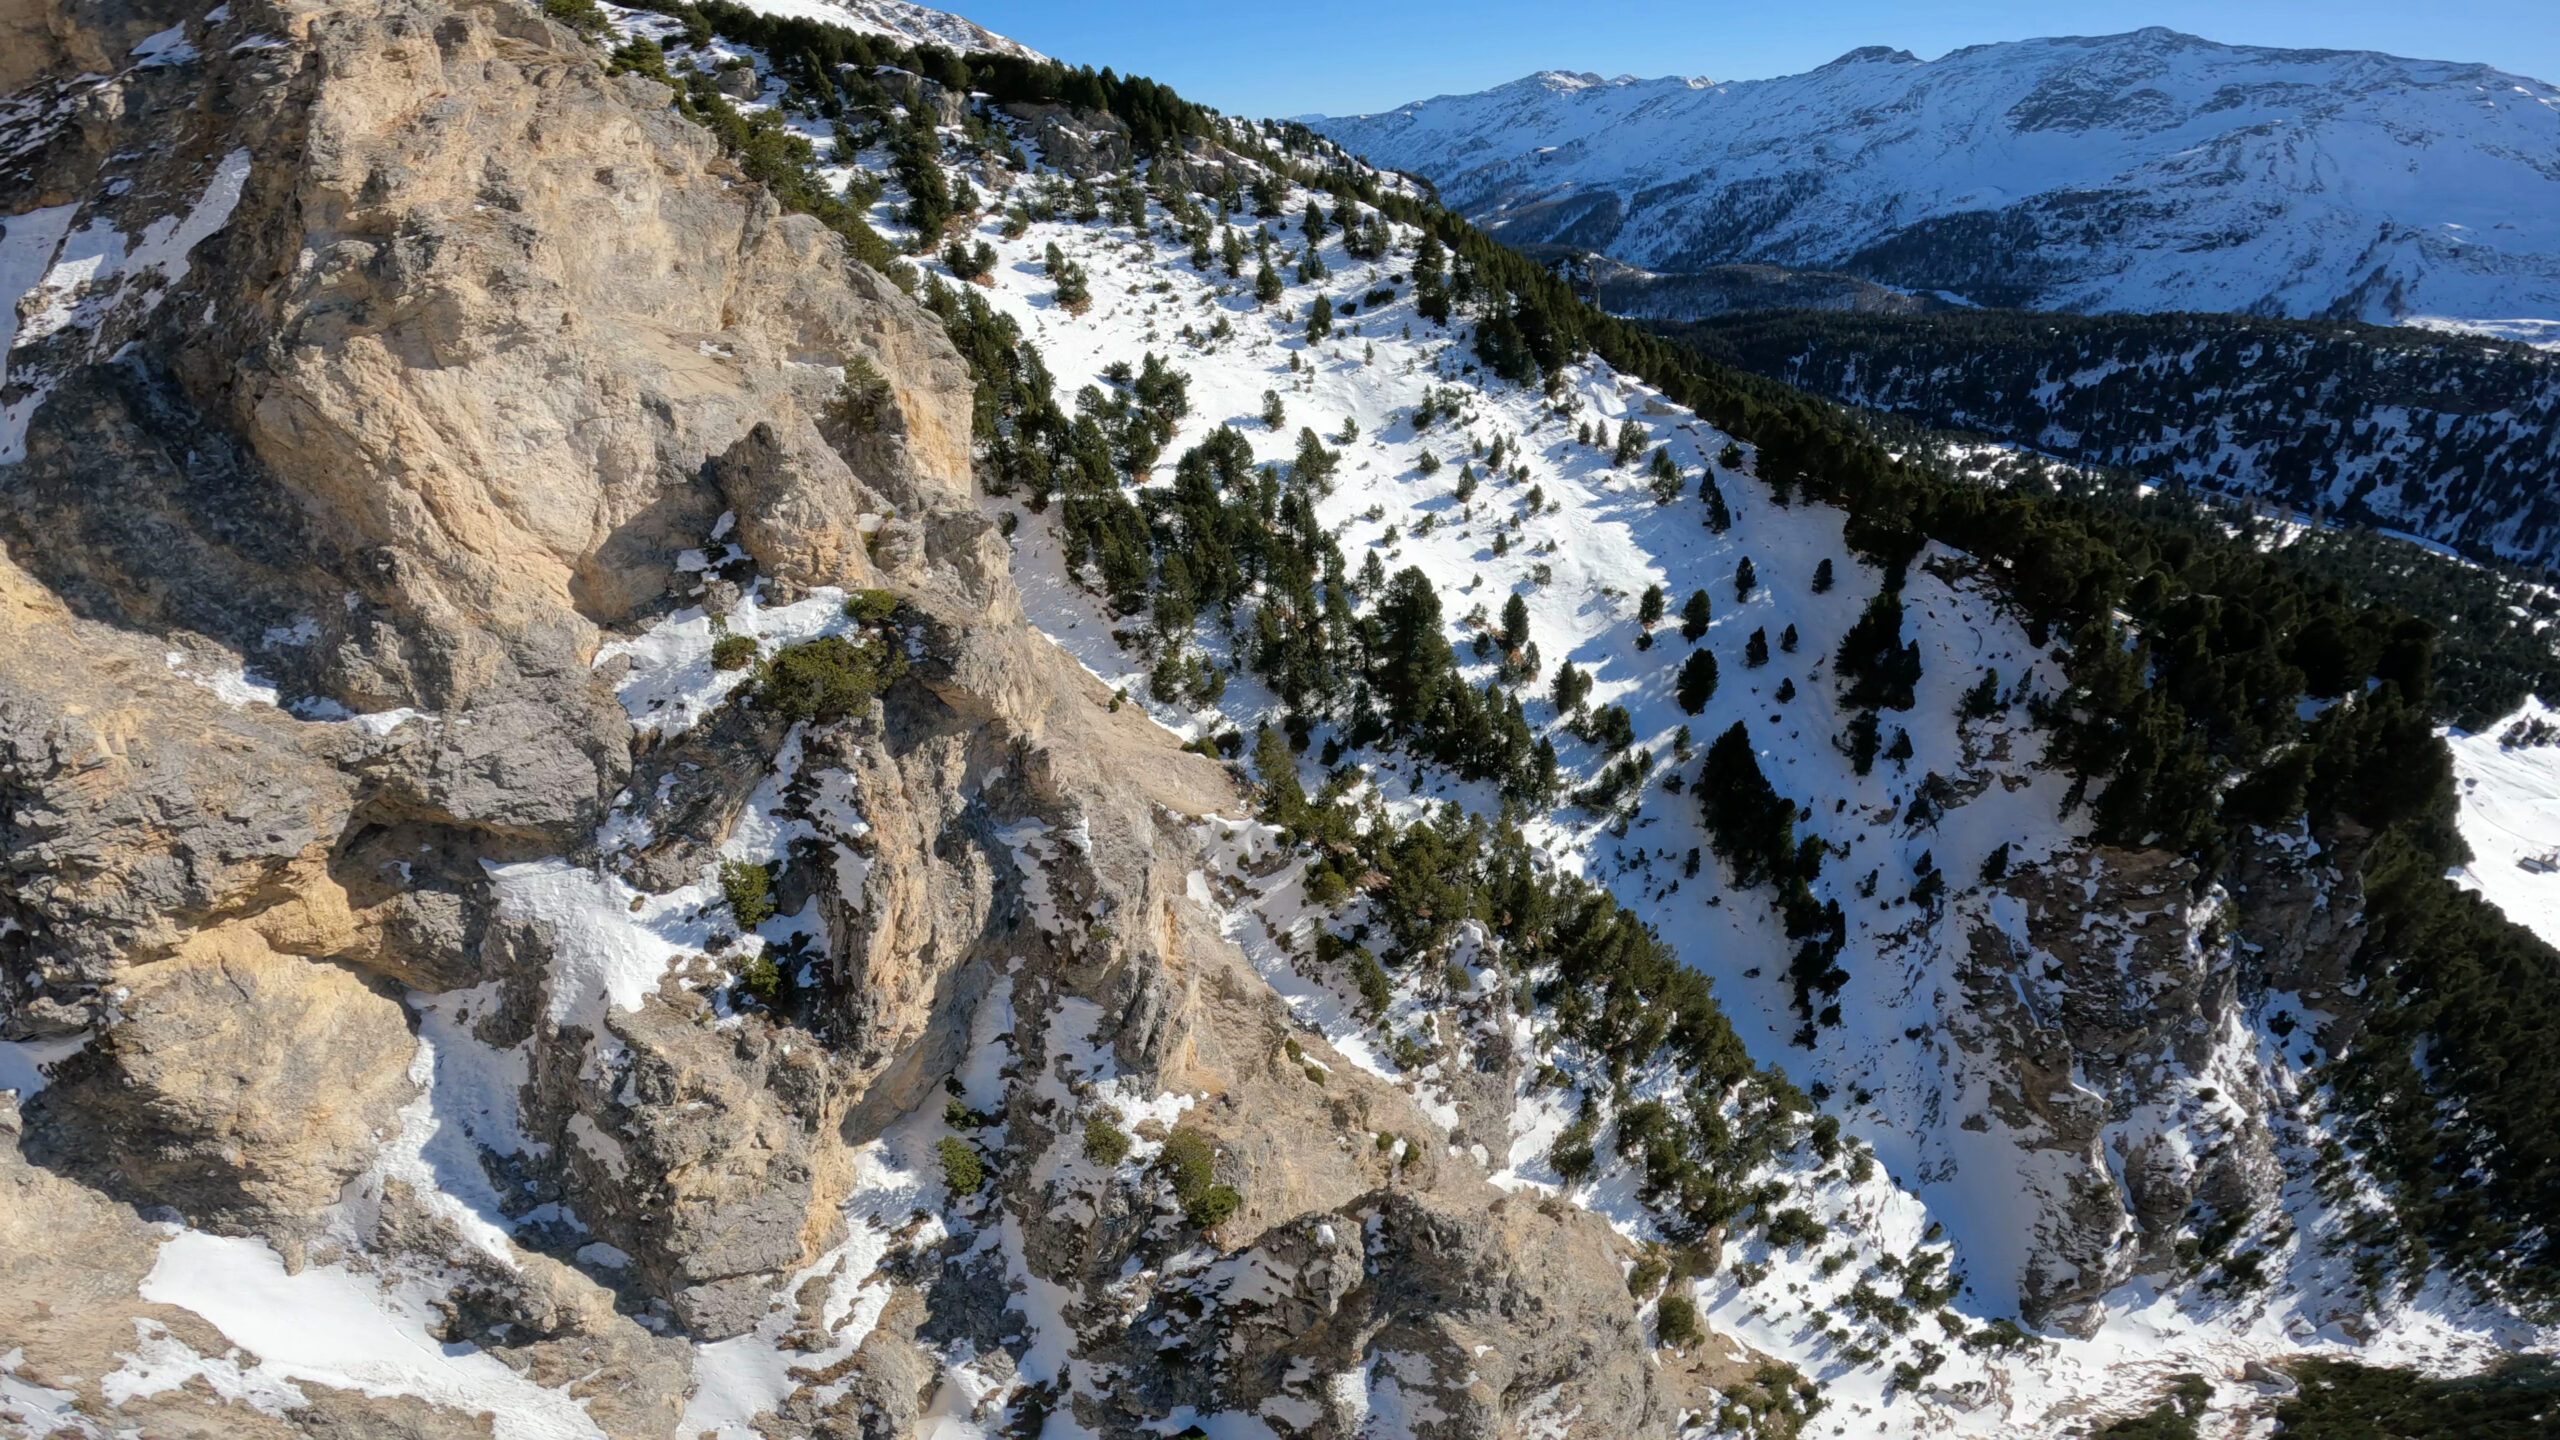
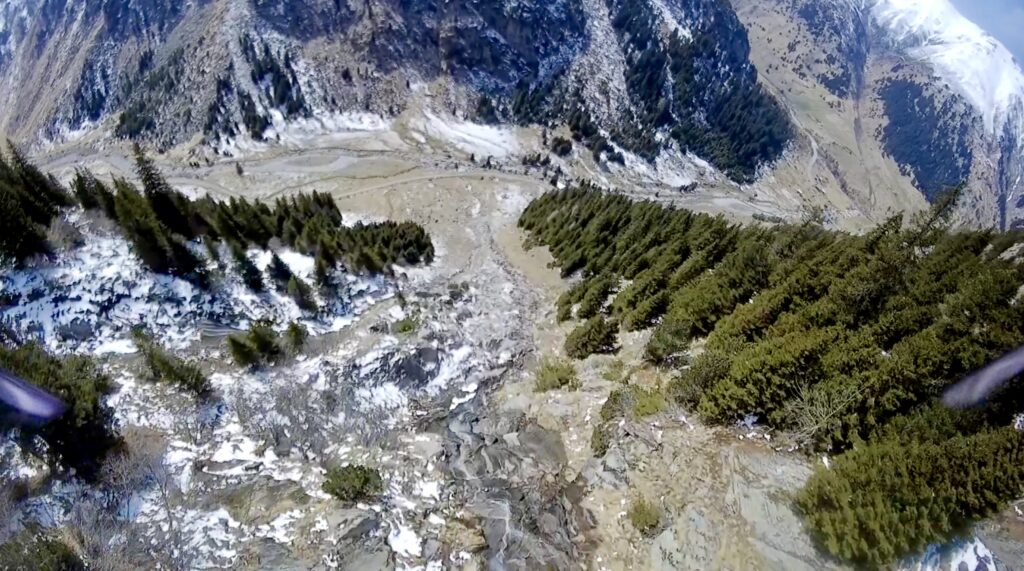
Flight Photographs
Megabat in action.