Operational: November 2020 – May 2022
I lost my Cragon 5″ drone in the mountains, so I wanted my new 5″ drone to be reliable for operation. No jello for movies, no strange motor twitching or stability issues. Thus, my goals:-
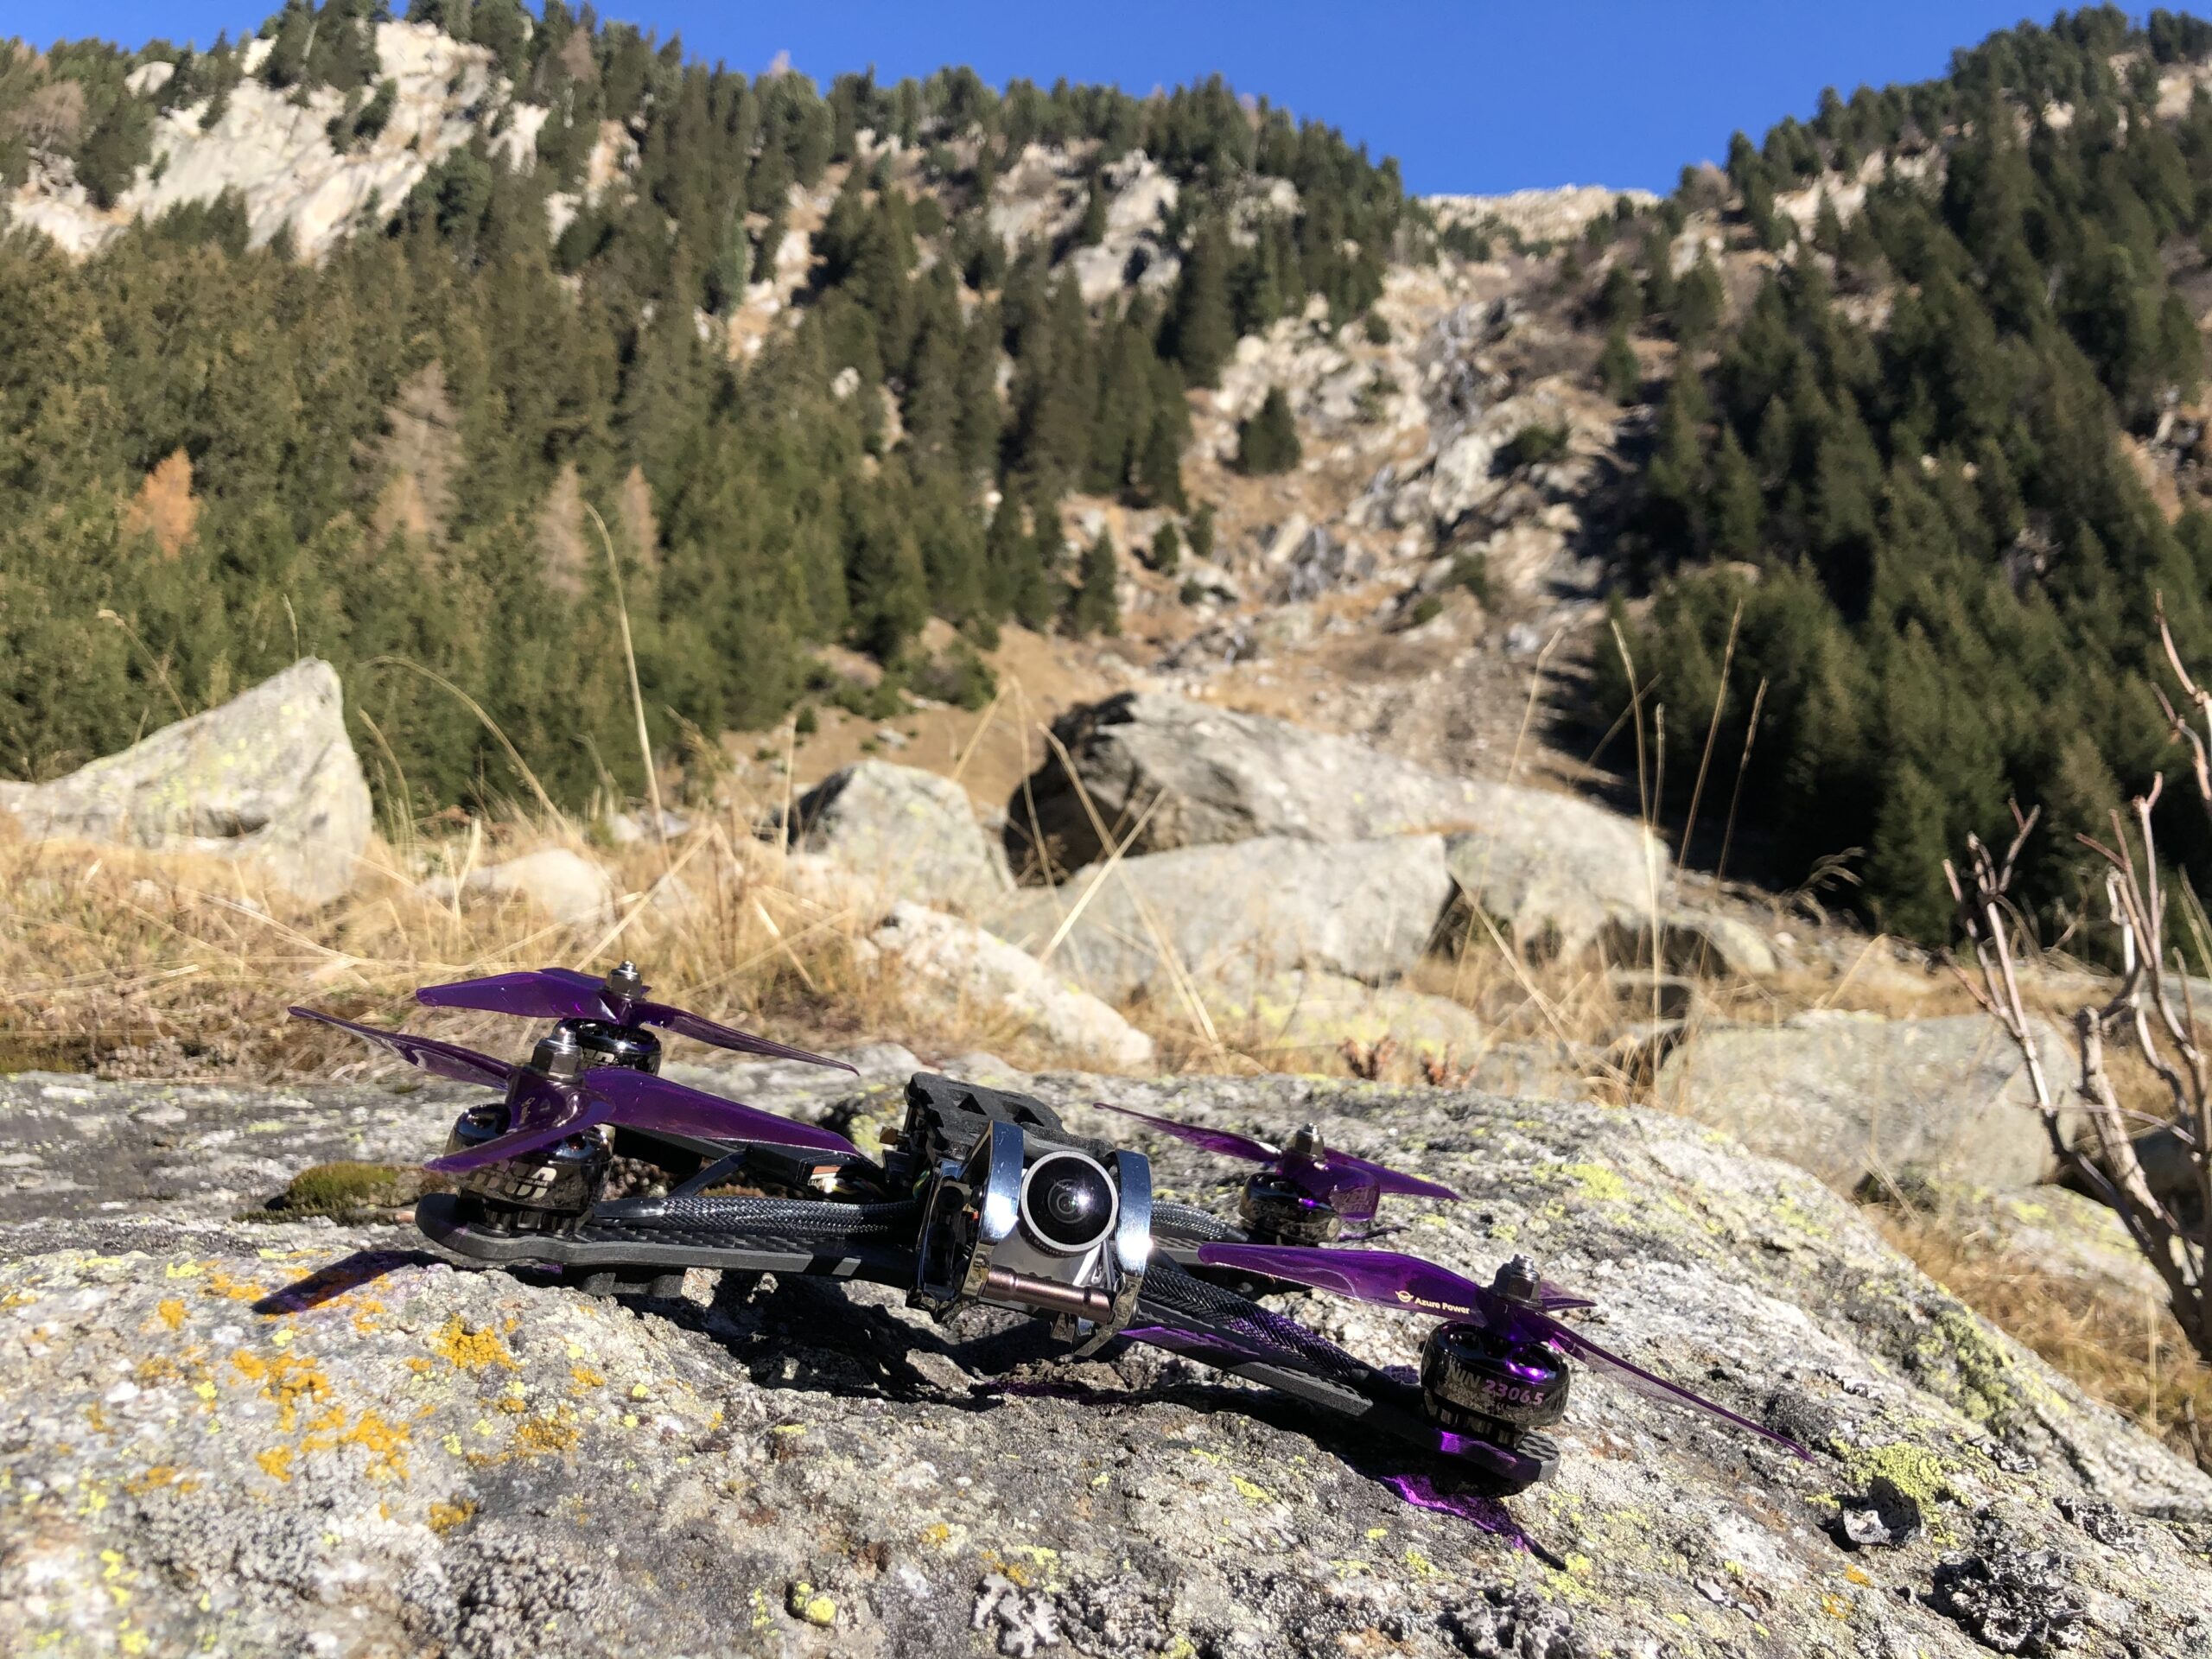
- Stable reliable drone, suitable for freestyle FPV, 5″ frame to fit in rucksack
- Motors smooth running to avoid jello, yet powerful enough to perform stunts
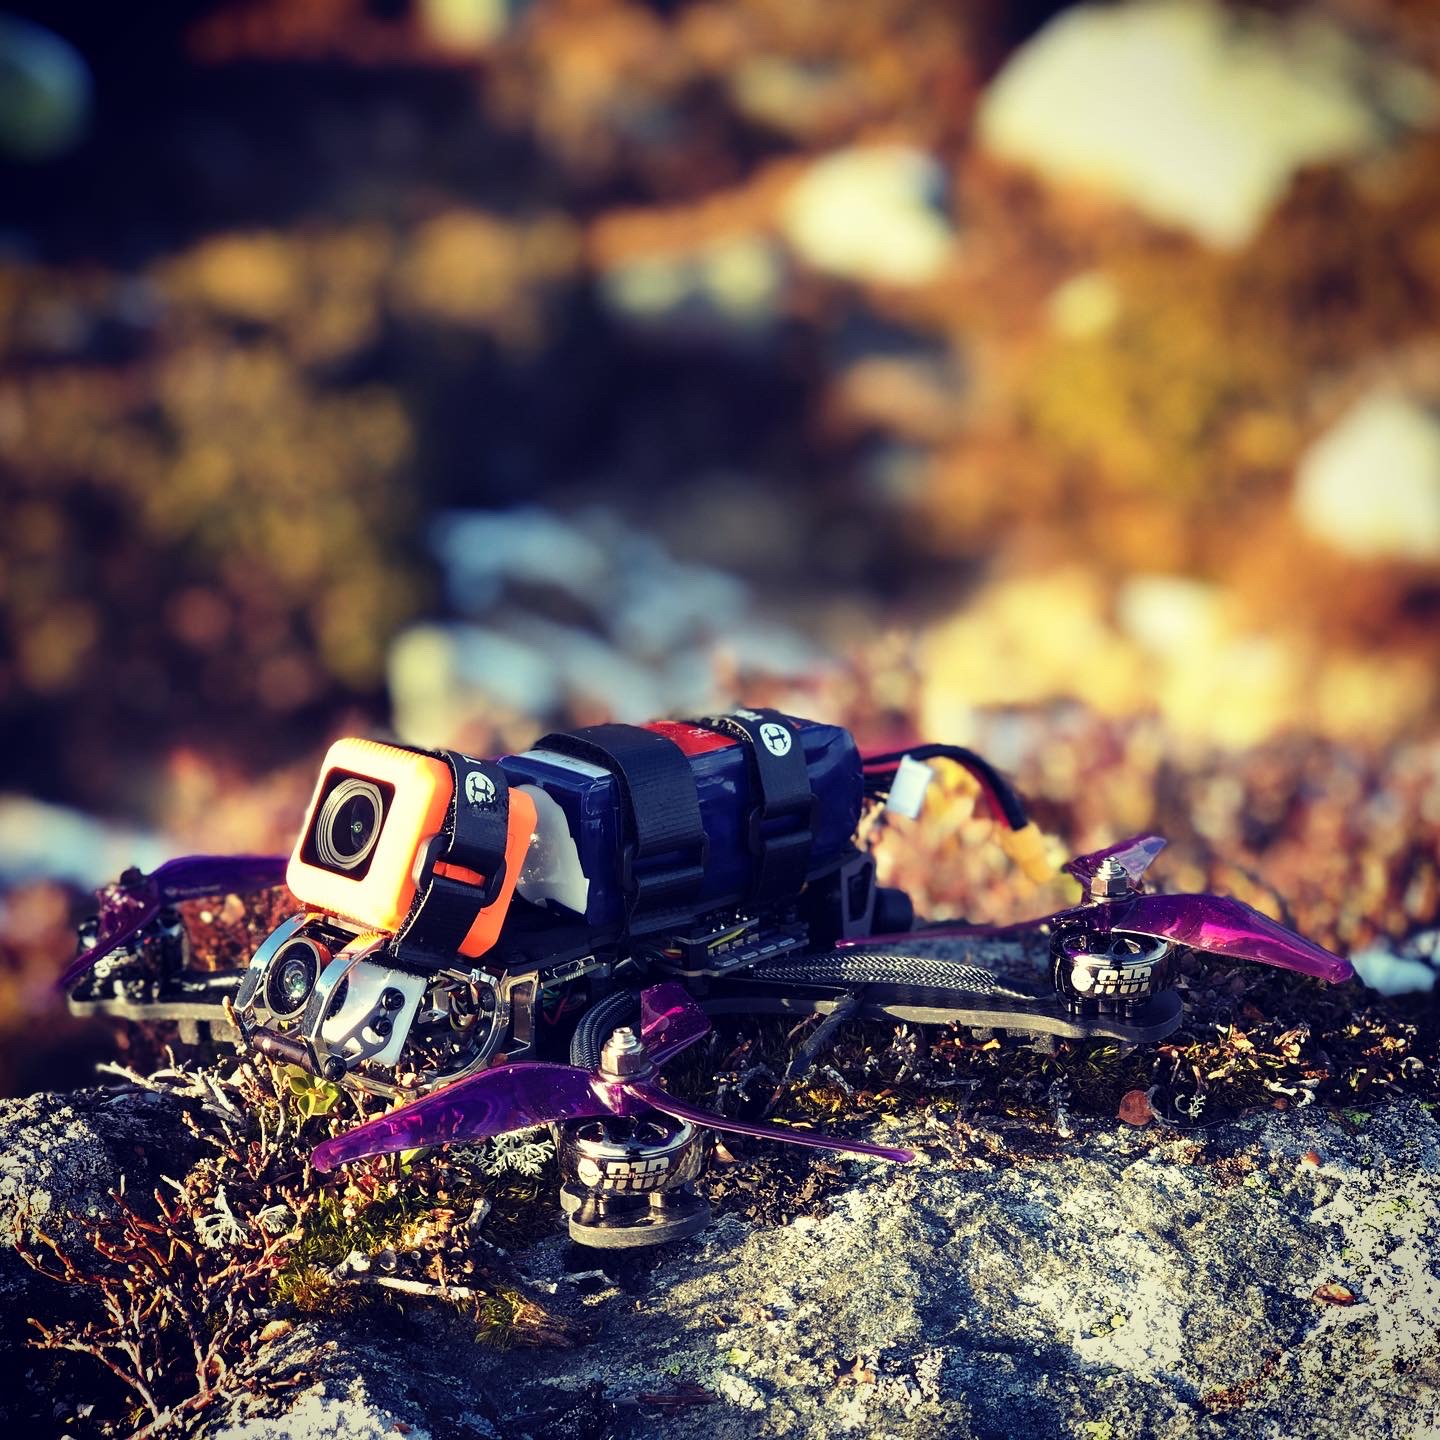
- Mount a GoPro Hero for high quality footage
- Analogue transmitter for now; don’t want to upgrade to DJI HD yet
Components used in the build are as follows:-
| Attribute | Description |
|---|---|
| Frame | Armattan Marmotte 5″ |
| Flight Controller | Matek F722-MiniSE Flight Controller |
| ESCs | Holybro Tekko32 F3 Metal 4in1 ESC 4-6S (65A!) |
| Motors | Flywoo NIN 2306.5 V2 2450KV CINEMATIC FPV MOTOR (TITANIUM) |
| FPV VTX | Rush Tank II Ultimate (previously |
| FPV Camera | Foxeer Falkor 2 Mini 1200TVL |
| Receiver | TBS Tracer RX (previously |
| Extras | iFlight UBLOX GPS, Buzzer, TBS Triumph Pro SMA antenna |
| Weight | 340 grams (with props & battery 550 grams) |
Incremental improvements to the original build:
- Moved from FrSky R-XSR to TBS Tracer RX – for improved crossfire reliability – the R-XSR wasn’t stable
- Moved from Matek VTX to Rush Tank II Ultimate – again for improved stability
- Moved from MMCX TBS Triumph Pro to TBS Triumph SMA connector – little heavier, but better video signal
Posts
Posts related to Shadowfax.
Construction
Using the Armattan 5″ Marmotte frame gives the ability to wire up two two-high component stacks within the frame. My wiring diagram shows the wiring of the Matek F722-miniSE to a 4-in-1 Tekko ESC, along with the other components – namely a Foxeer Falkor camera, the Rush Tank VTX, TBS Tracer RX, GPS and buzzer:
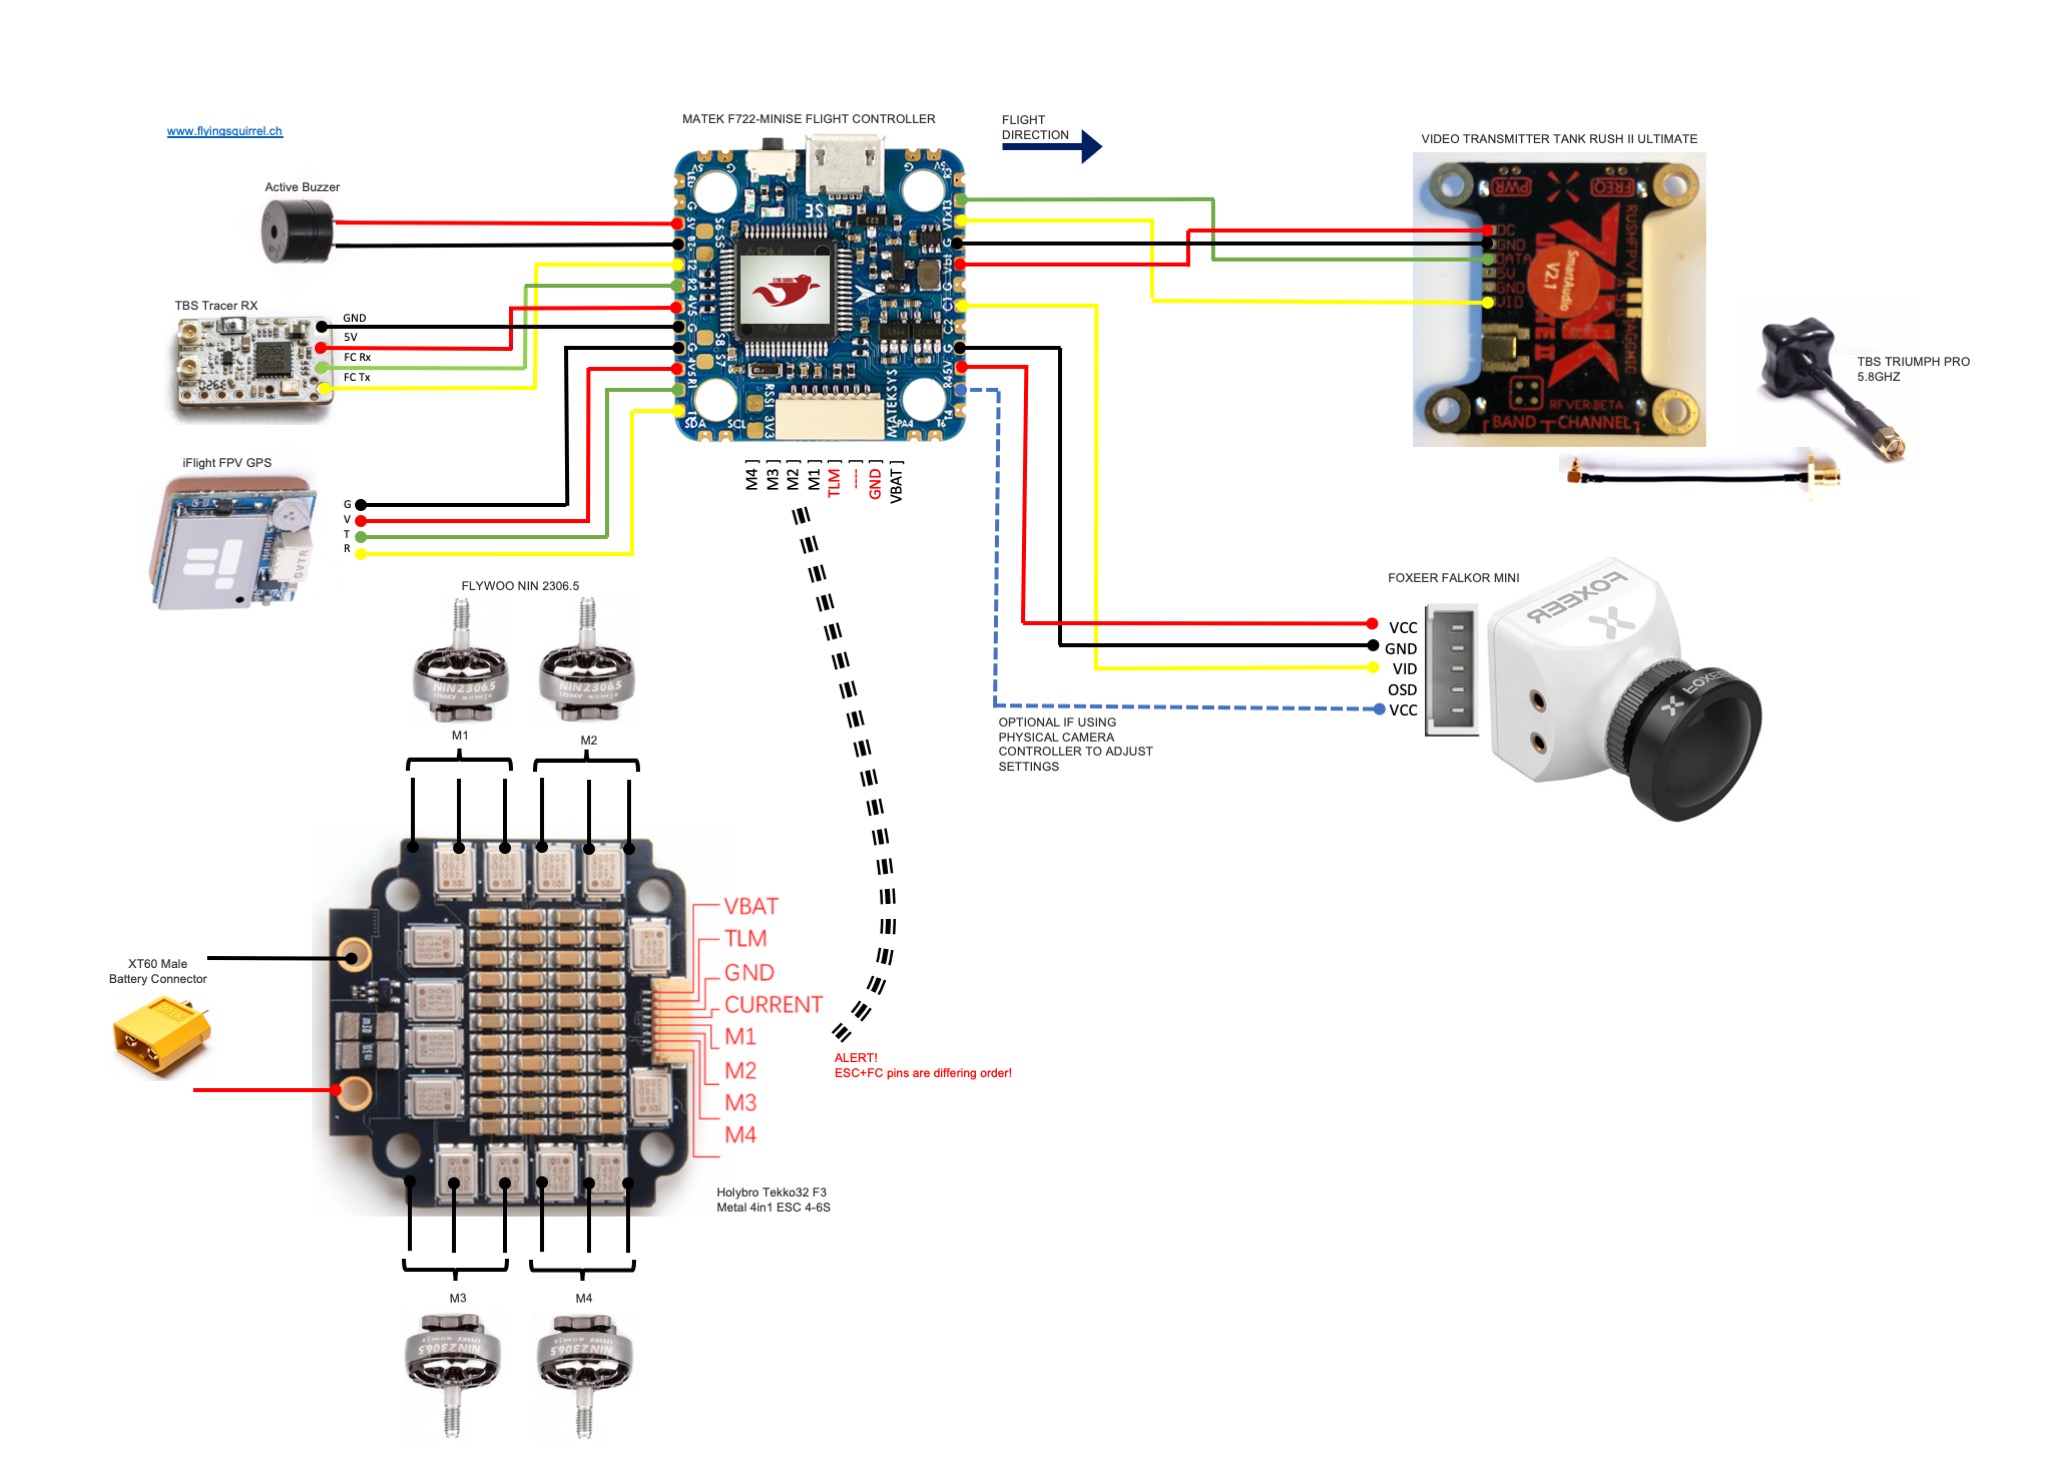
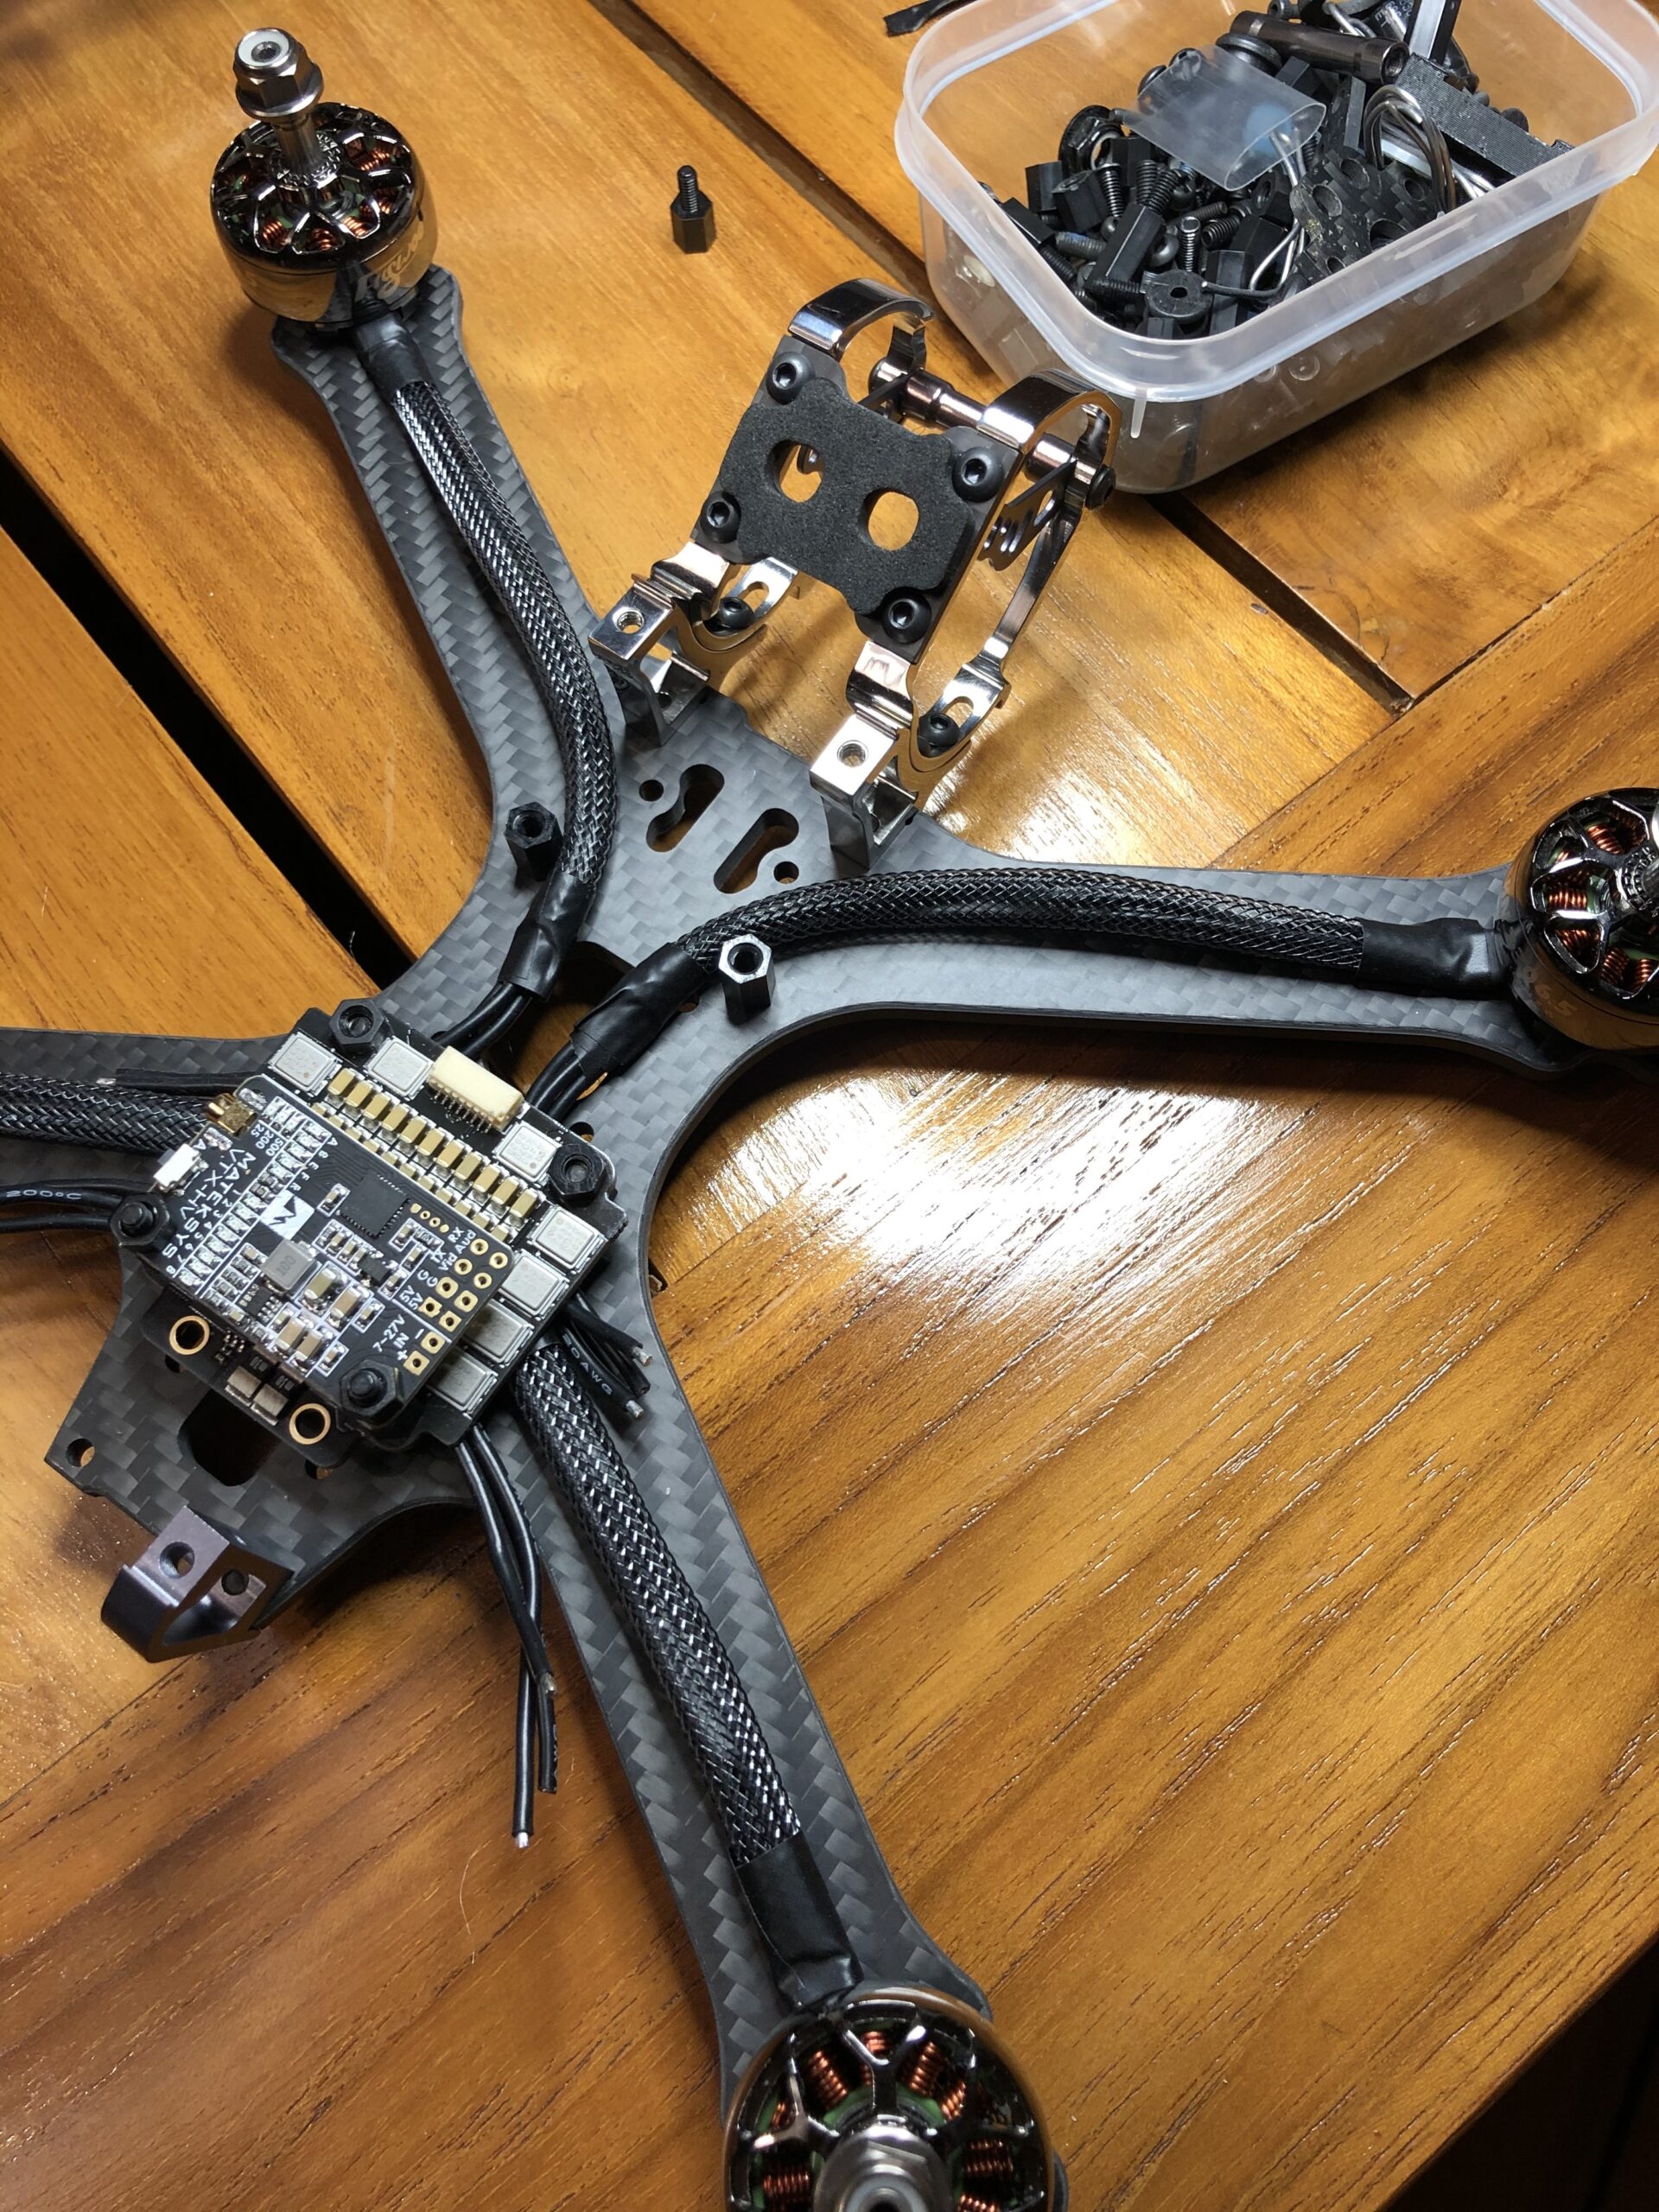
The motors and cables can be covered in an outer protecting cable (taken from an old hifi connector cable) and wired into the centre of the frame, as the ESC unit is a 4-in-1 unit. The Holybro Tekko32 4-in-1 65A ESC is pretty chunky, so based on the width and the preference to have the XT60 battery socket at the rear, I used the rear-frame position for installation, as shown below, with the motor cables not yet soldered to the ESC. The VTX shown is a Matek VTX; in the wiring diagram and a future upgrade I switched to a Rush Tank Ultimate II.
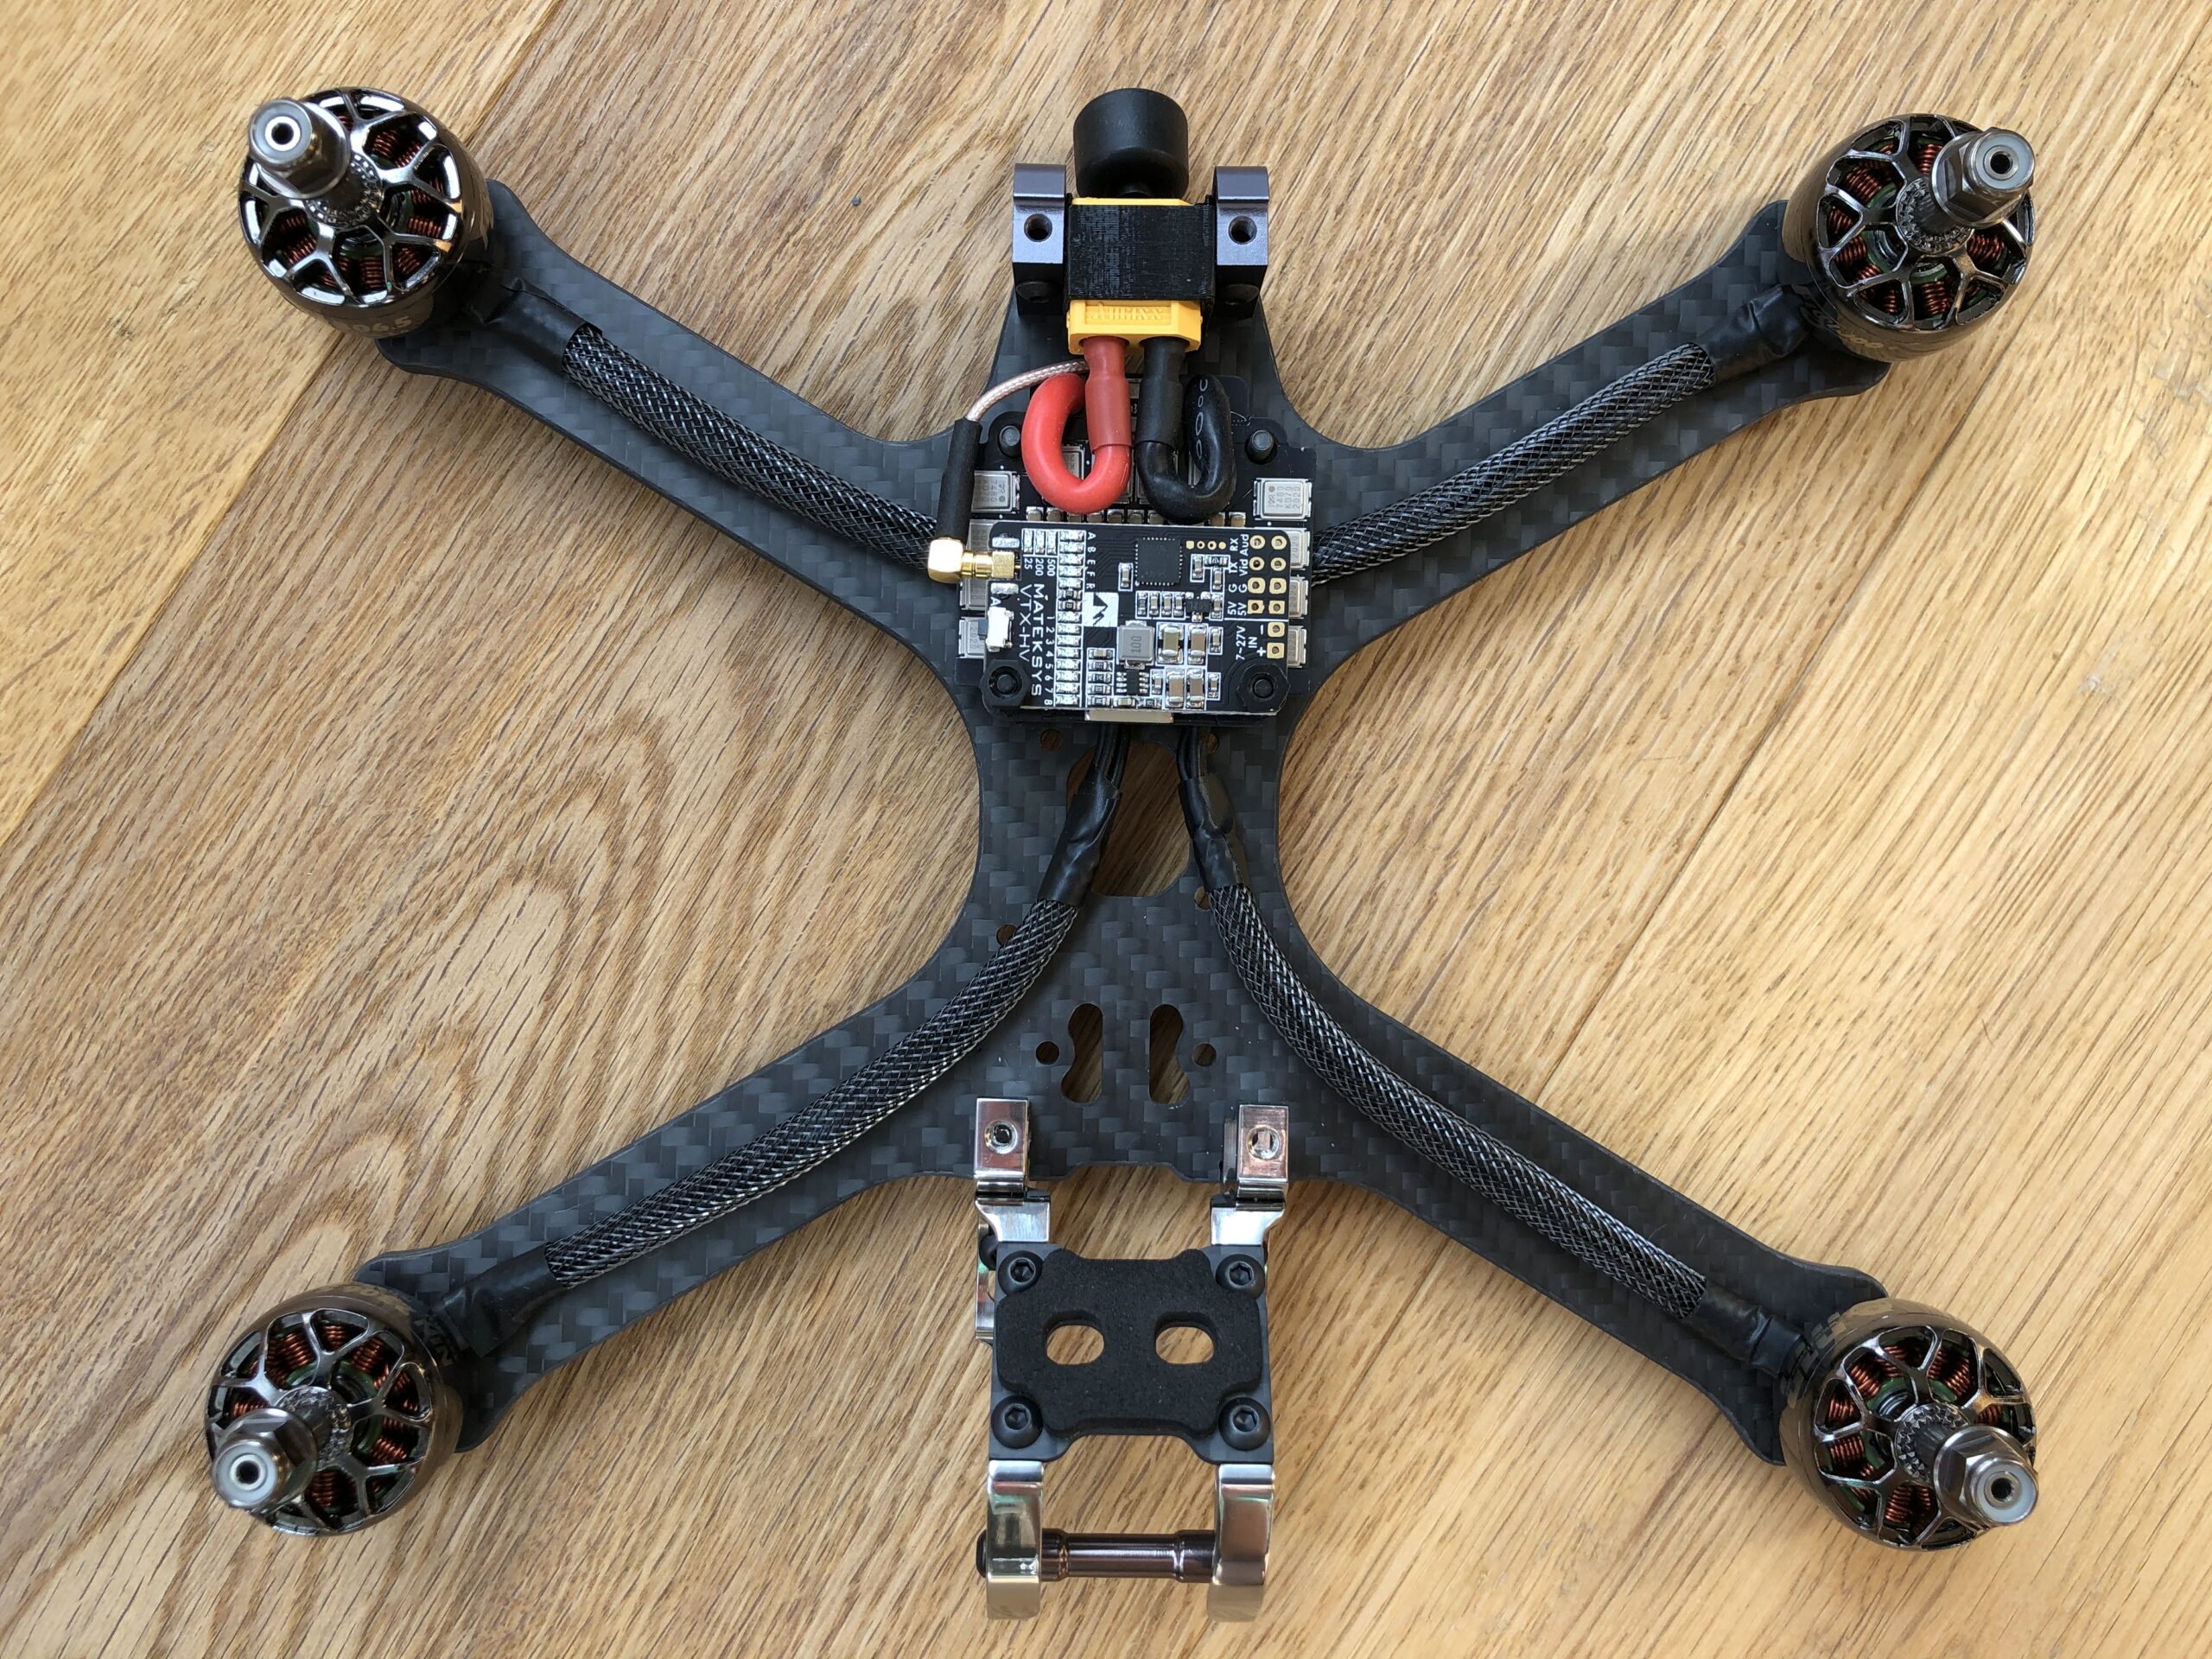
The fewer wires that are visible the better, both from an operational and aesthetic perspective. The below image shows the wired ESC and the connected XT60 battery socket:
It’s now possible to verify the ESC works in combination with the flight controller. A smoke-stopper connector is used on the battery socket to avoid unpleasant surprises! Note the picture below shows the original build with the FrSky R-XSR RX; I have since upgraded to TBS Tracer.

Now the core components work, it’s time to move on the location for the flight controller (front of drone) and wire up the FPV transmitter and peripherals. The Matek mini flight controller has a convenient way of soldering the wires to the side of the board:
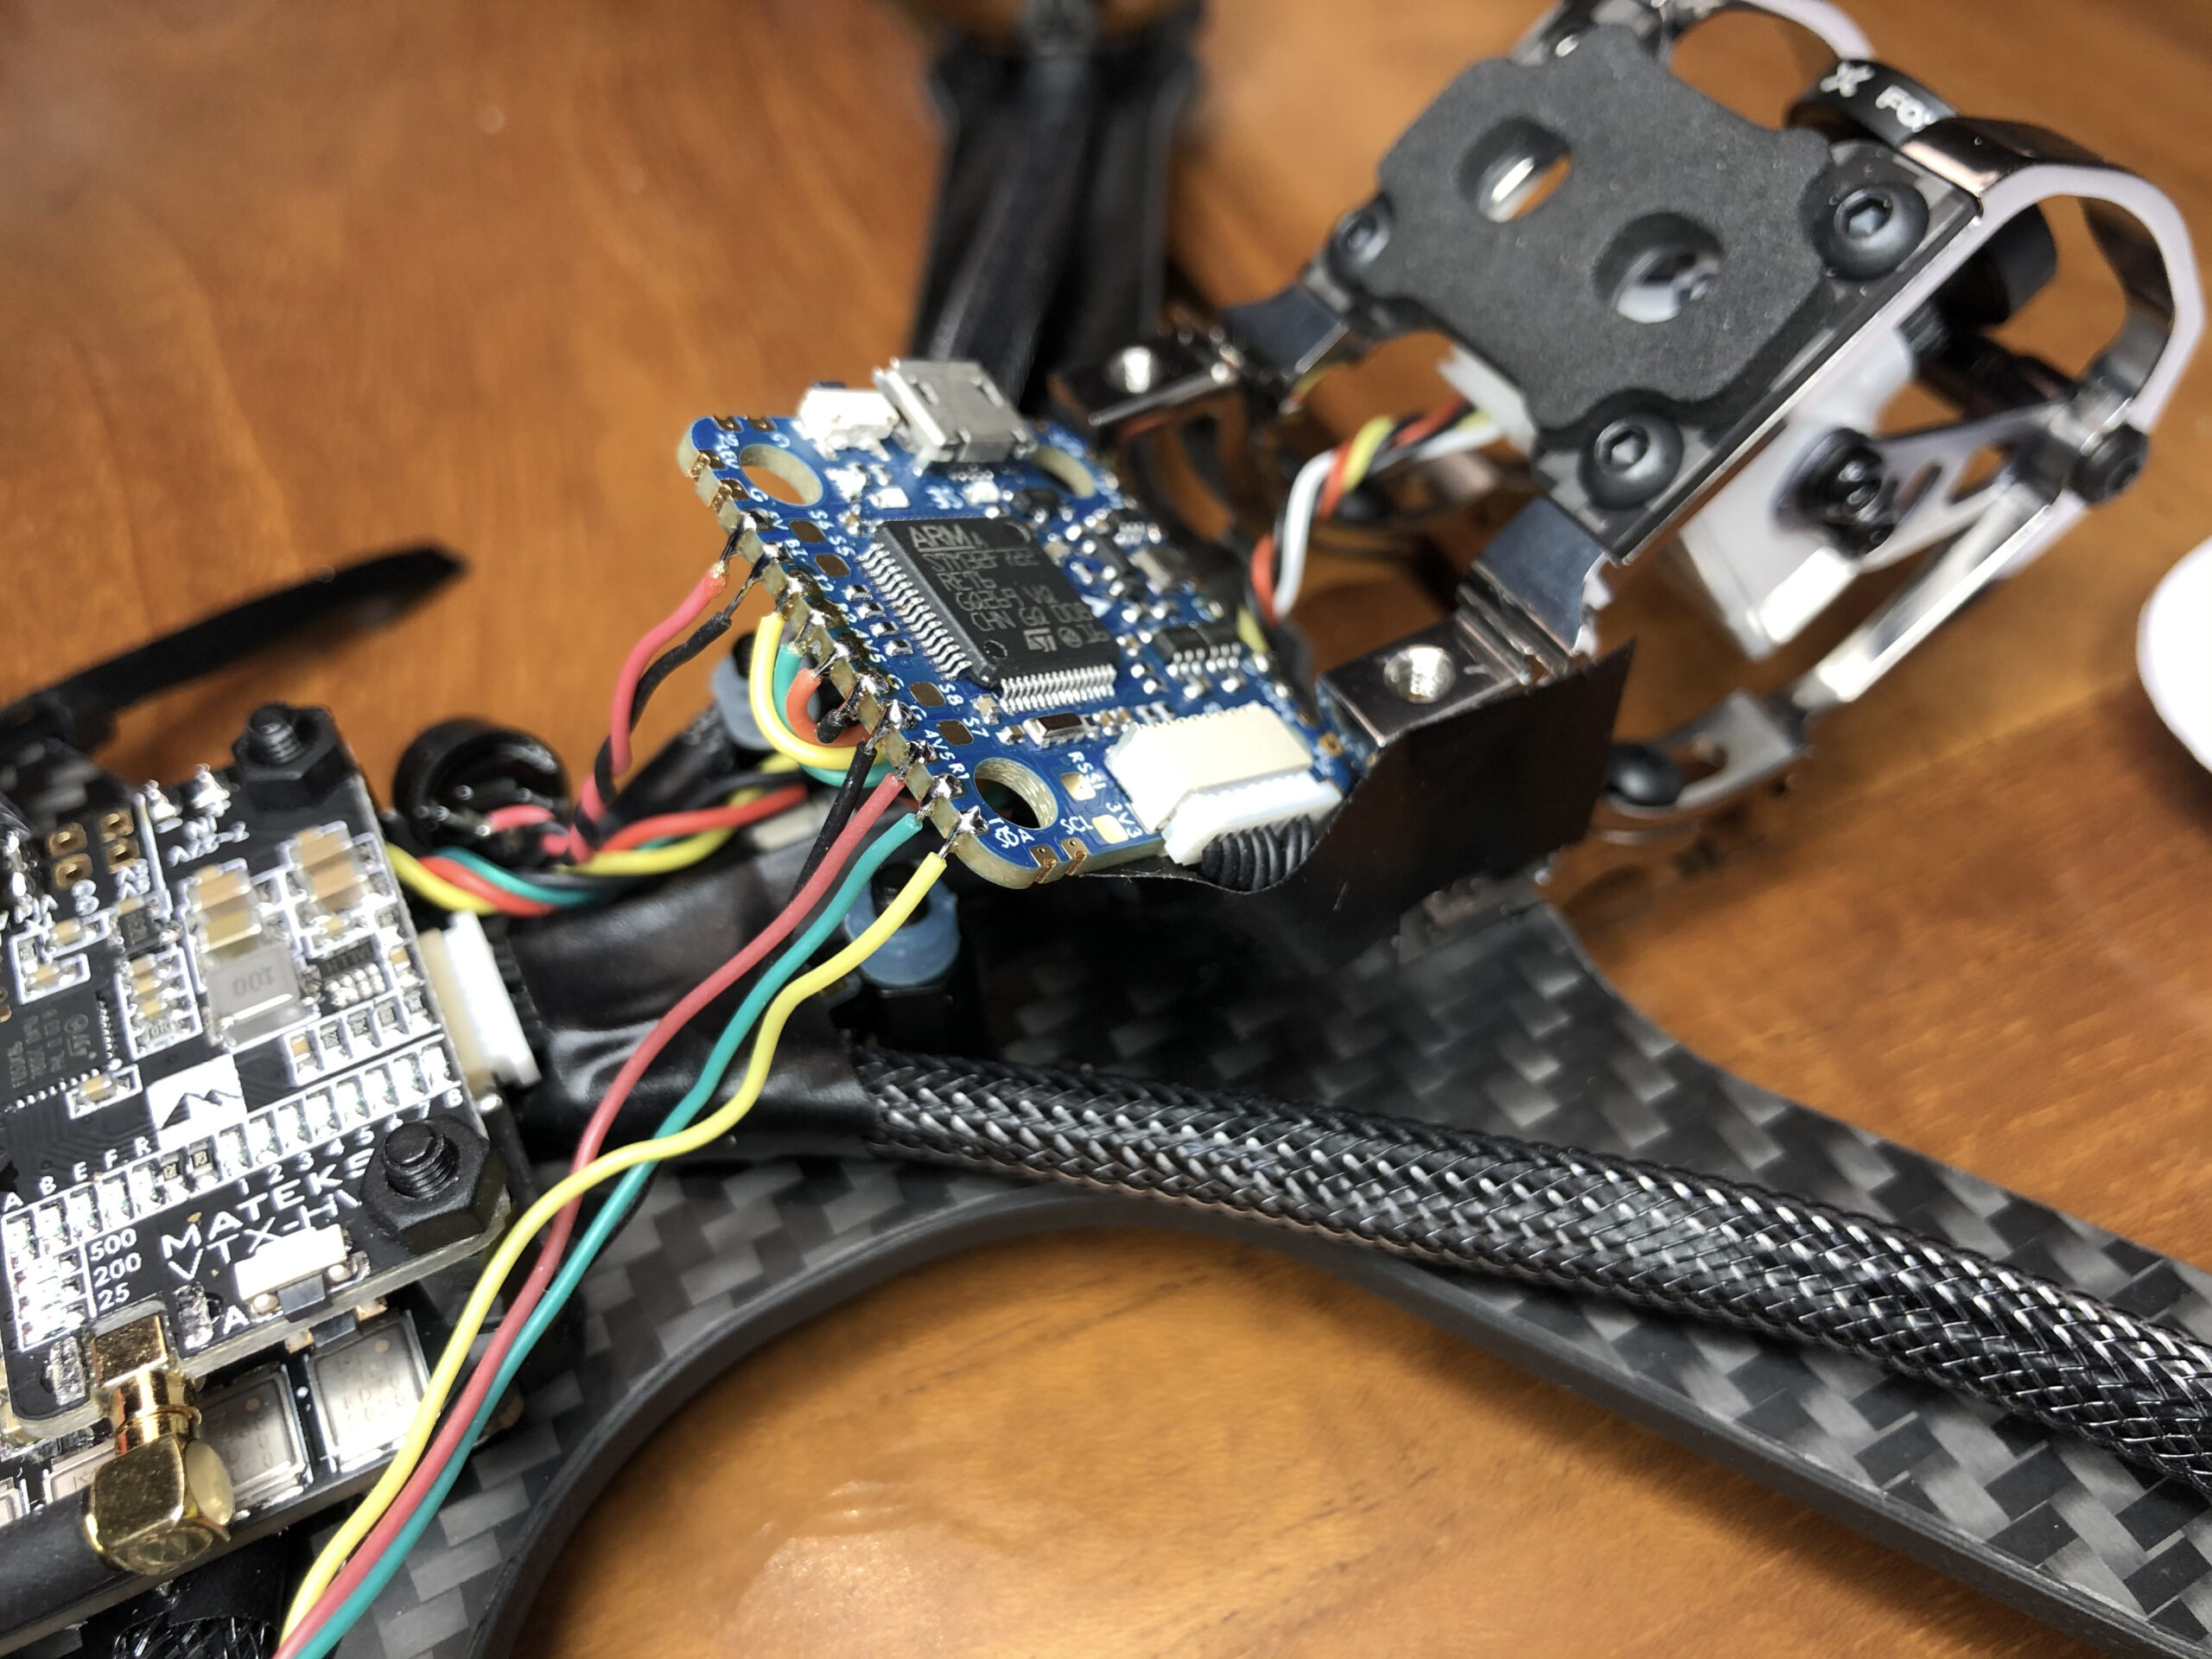
From left to right – the buzzer cable pair, the camera and the GPS:

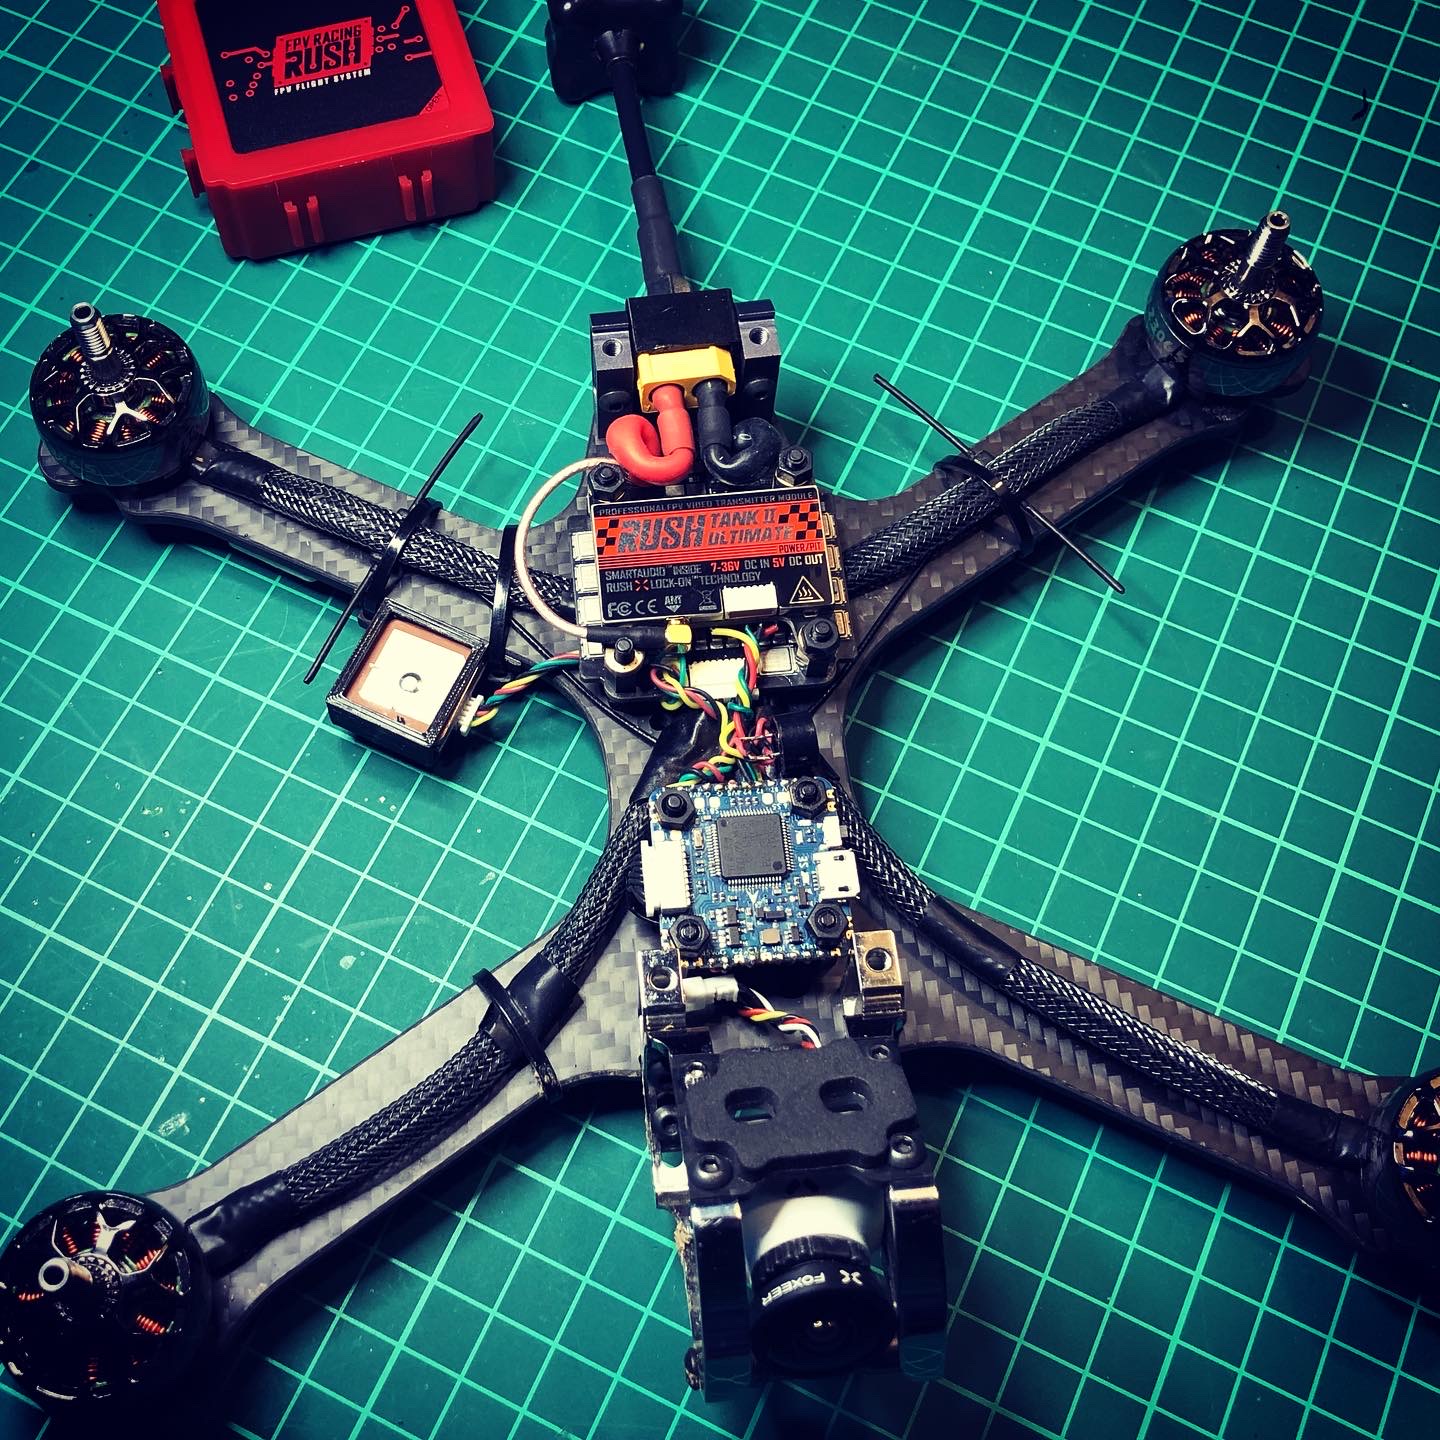
All components are now in place! In the below picture the flight controller is to the left and the receiver below it. The receiver wires are currently held in place to cable ties with black insulating tape – this will be replaced with heat shrink for a more robust install. The same applies with the GPS on the rear arm. The rear circuit boards comprise of a lower 4-in-1 ESC, and above the VTX board.
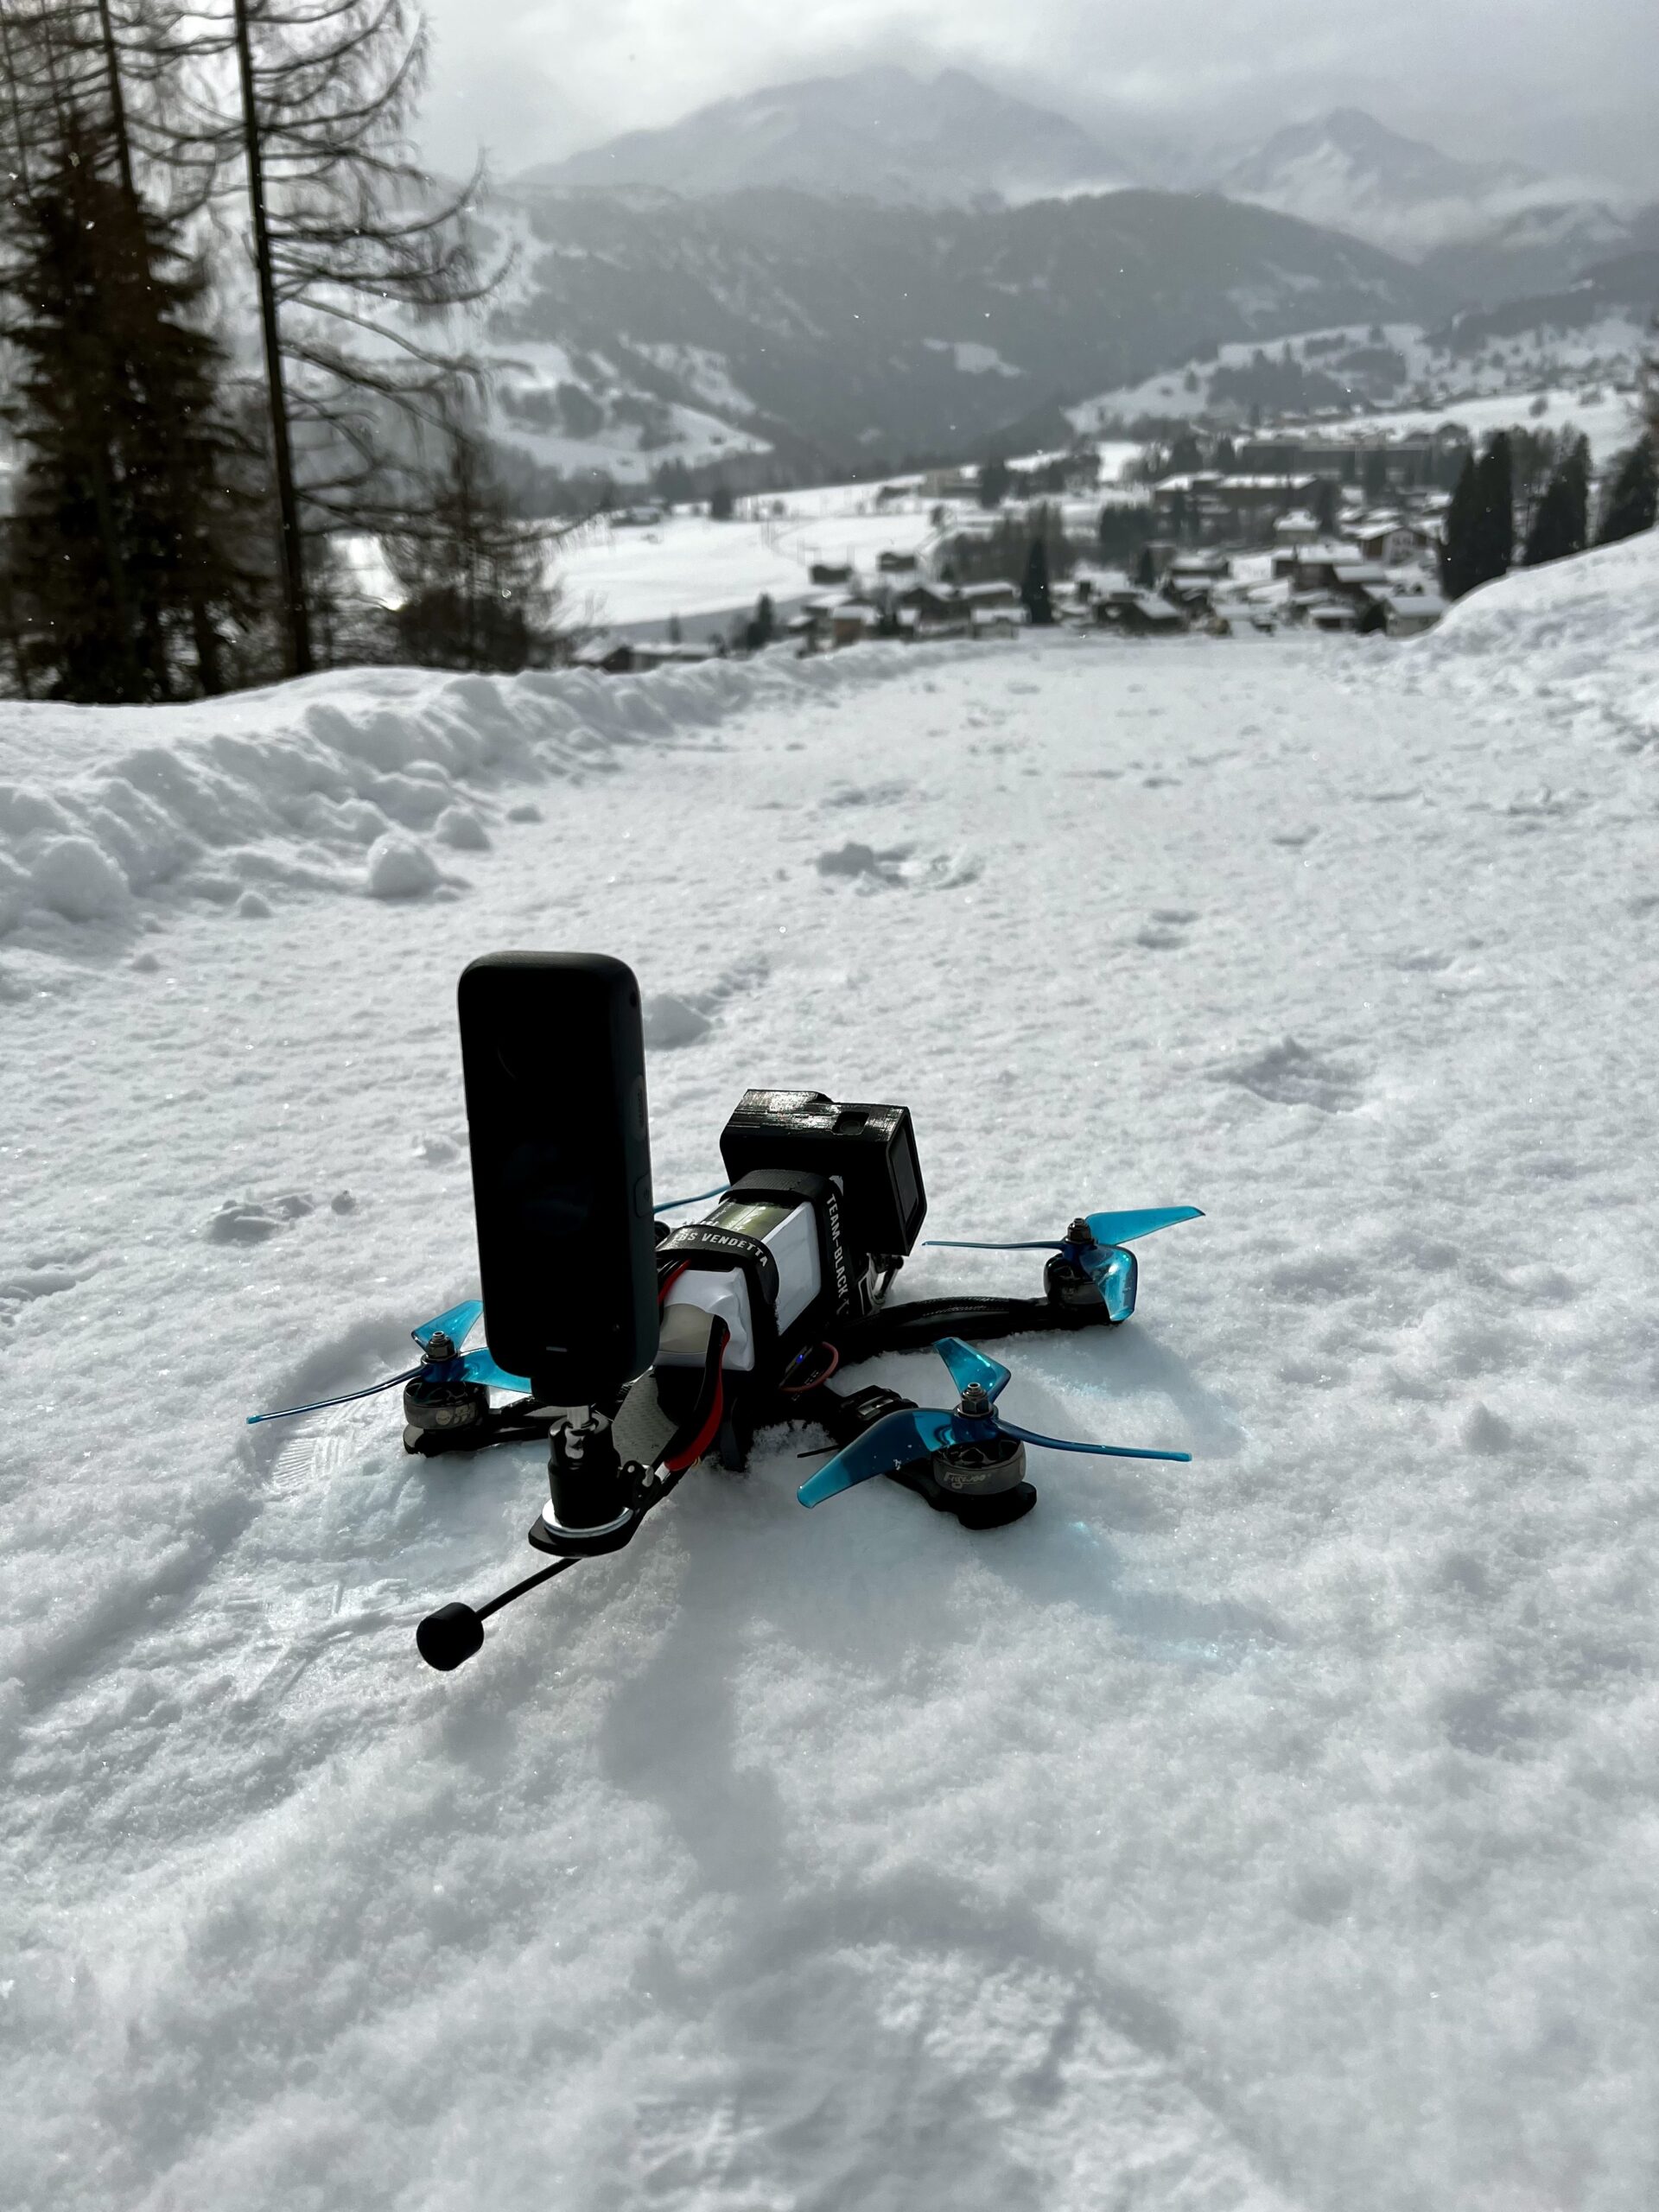
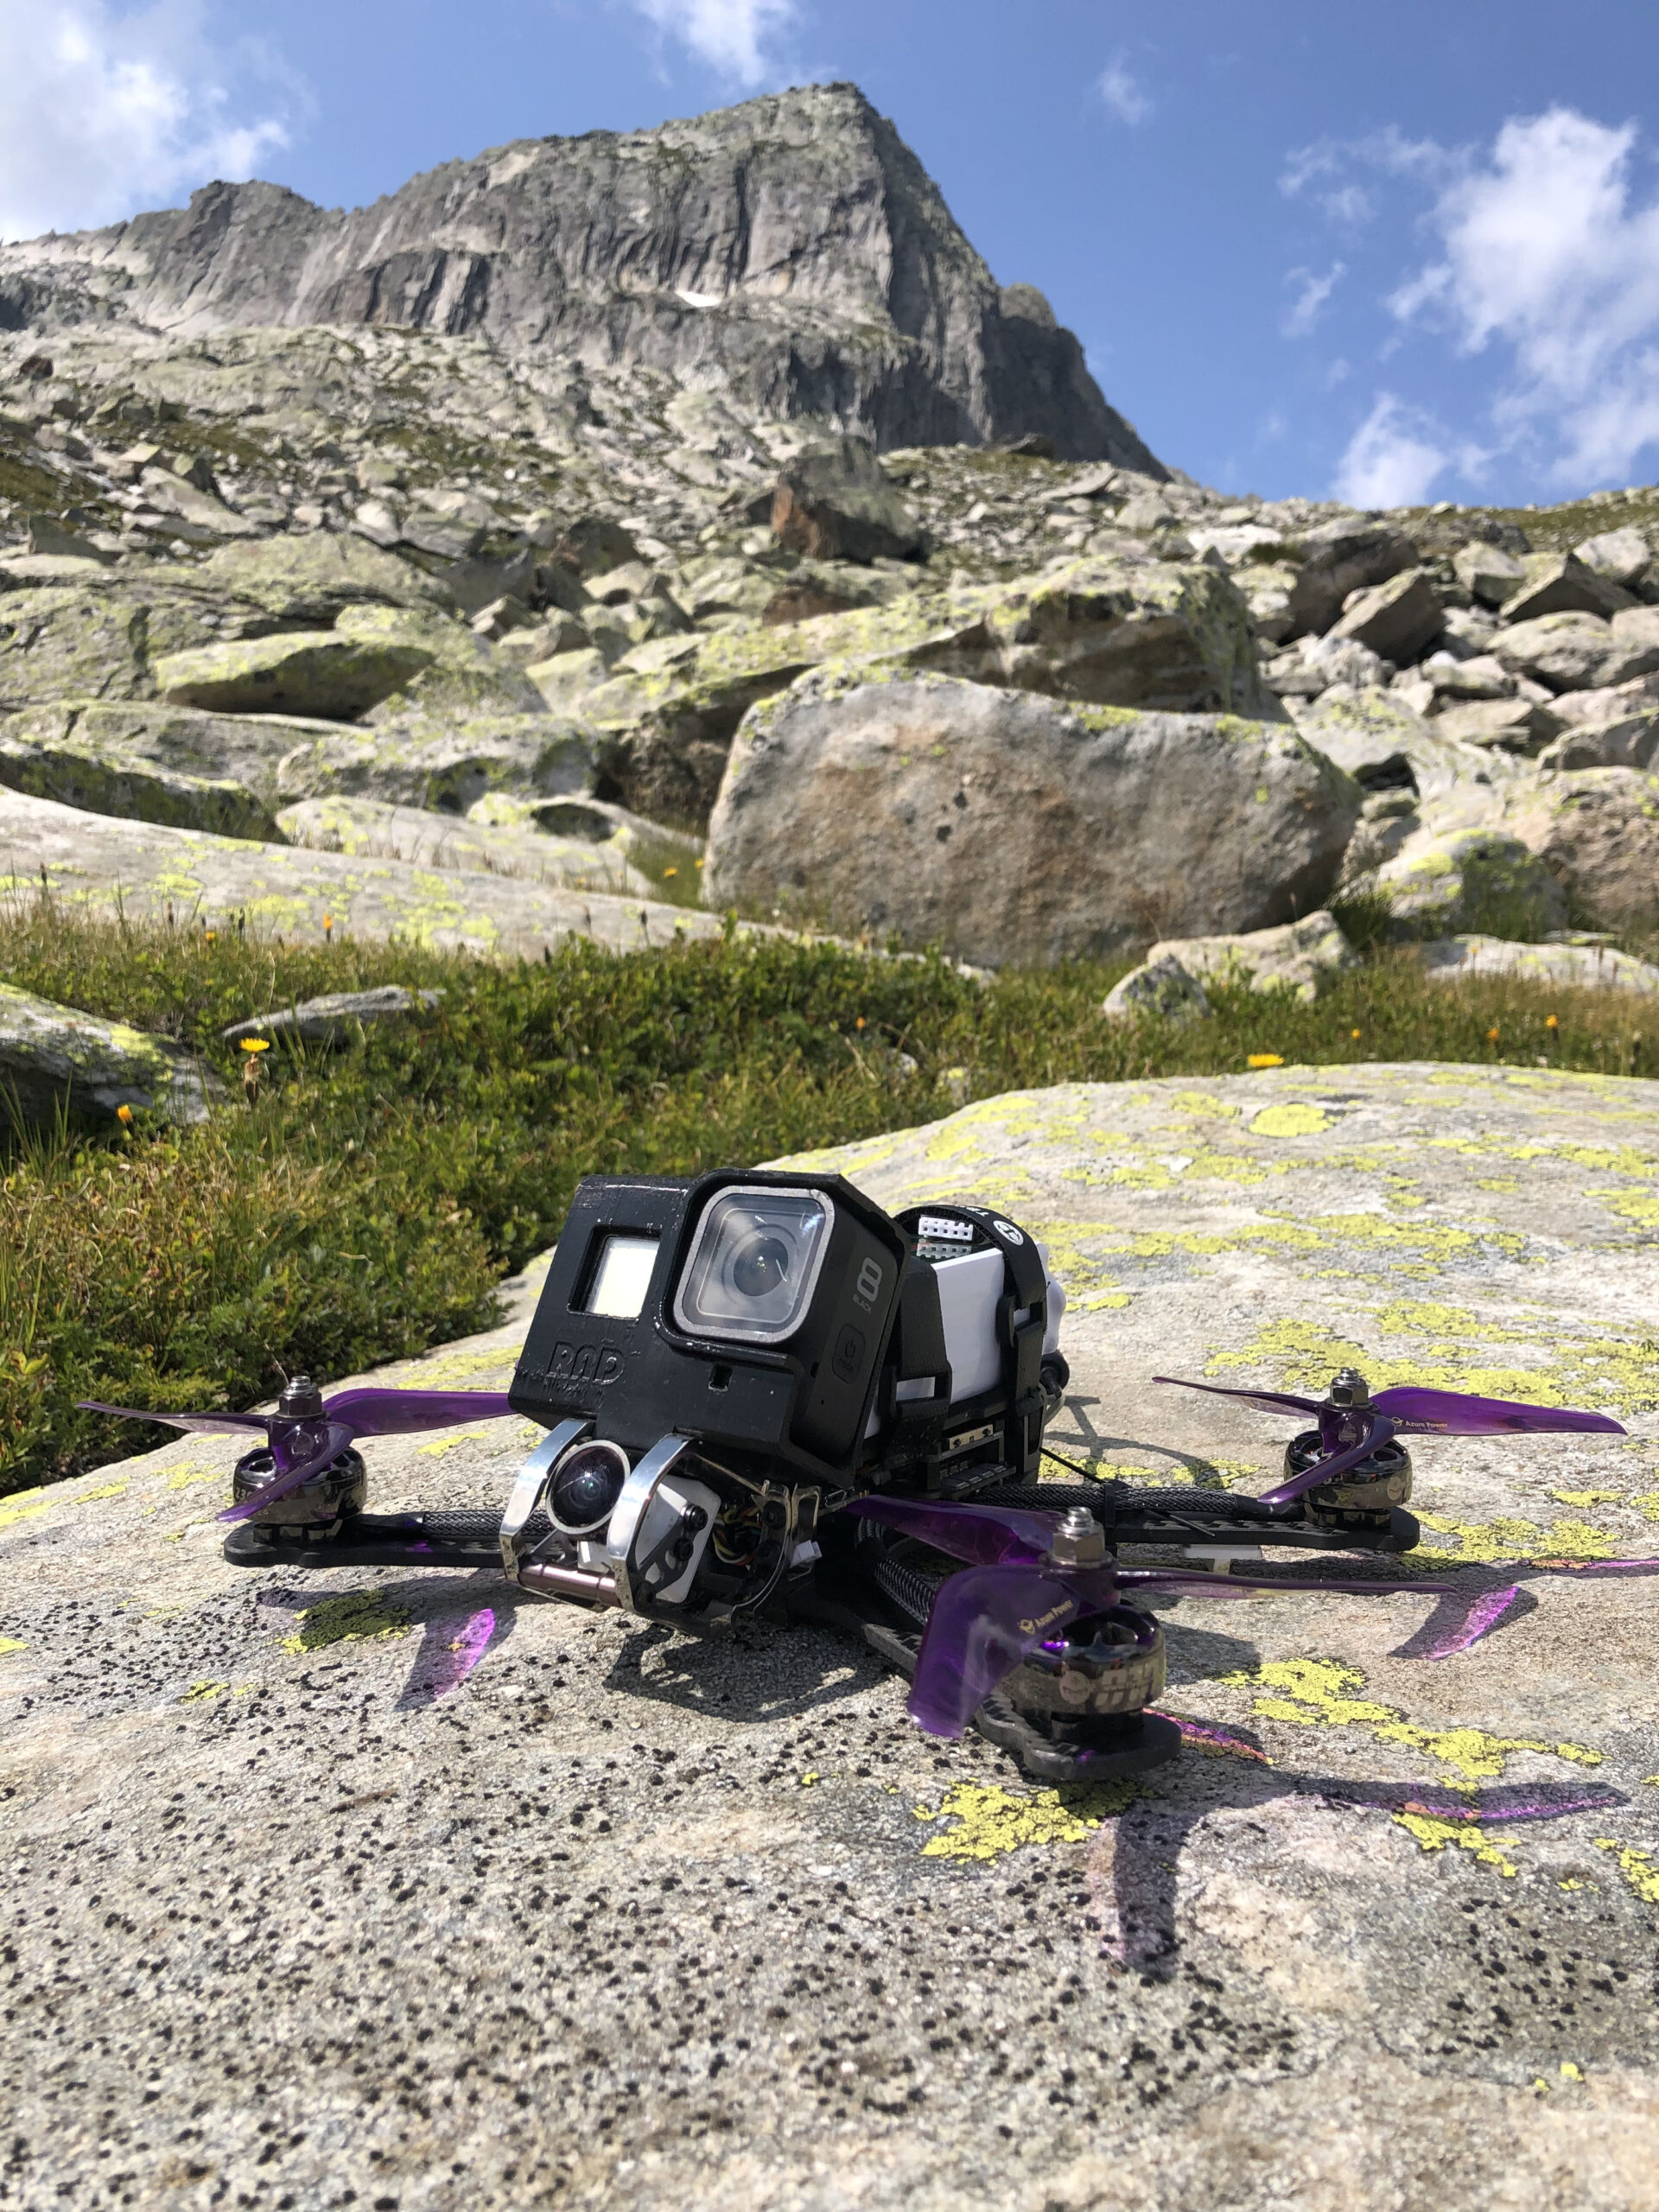
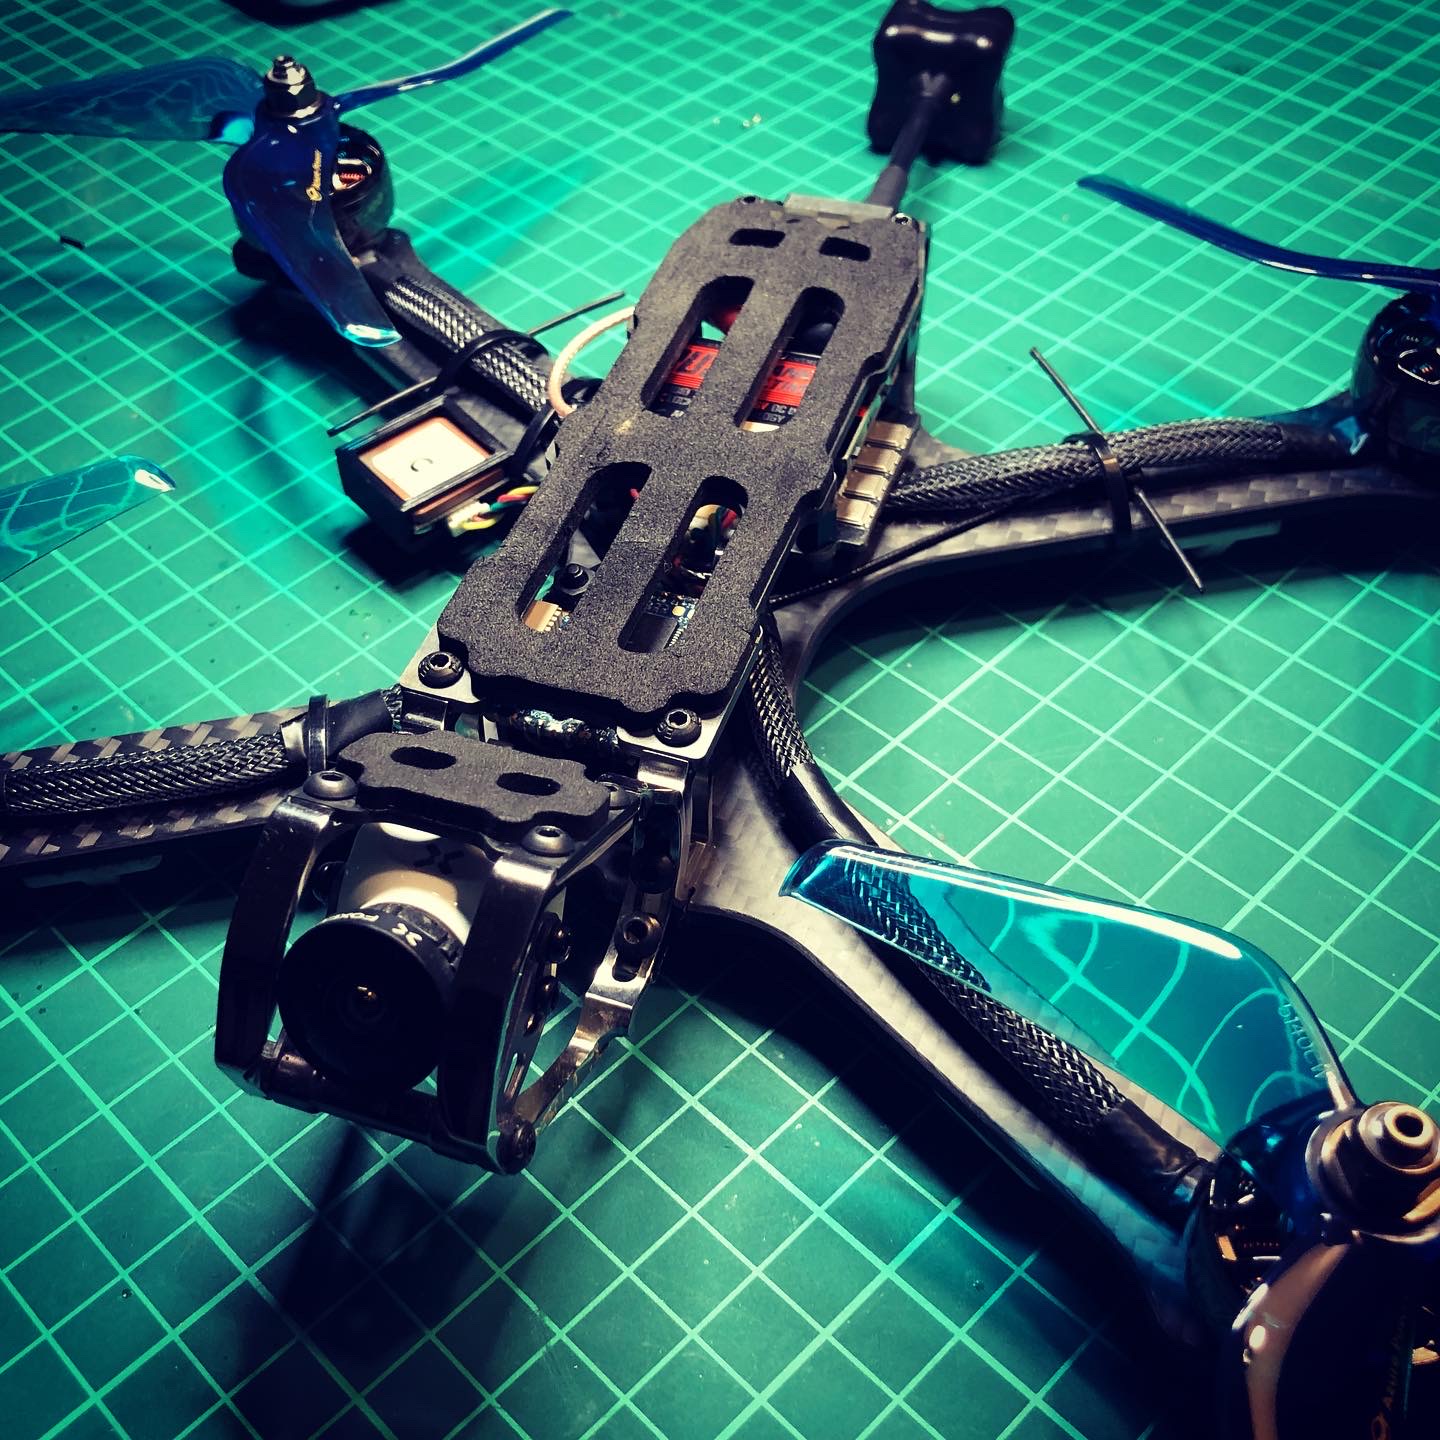
Assembled without props:
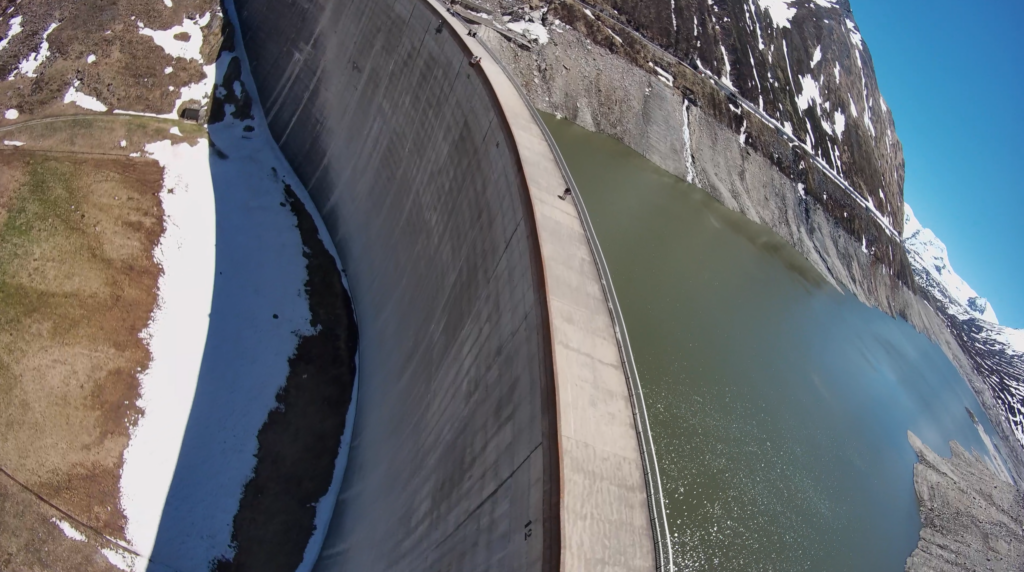
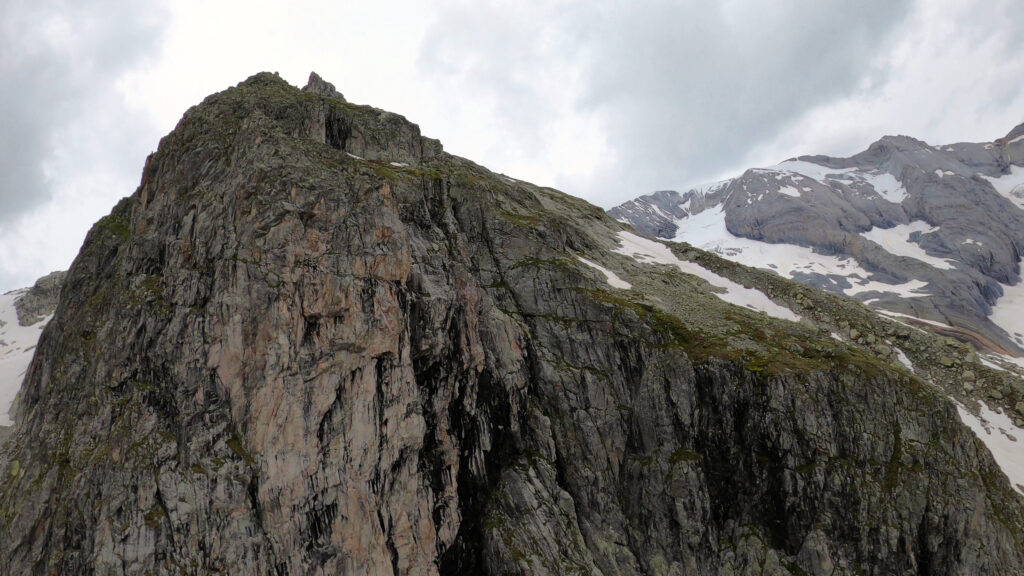
Gallery
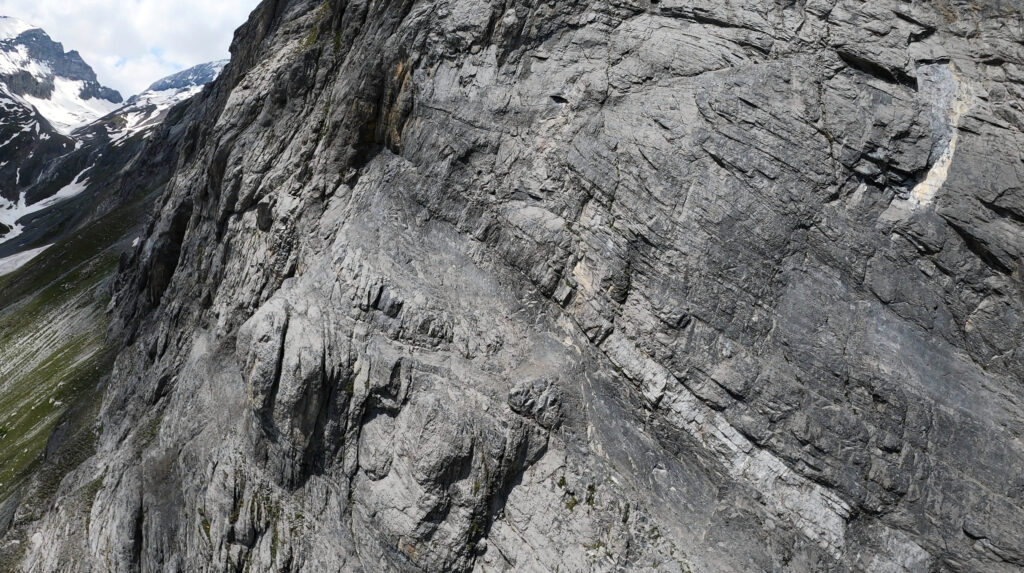
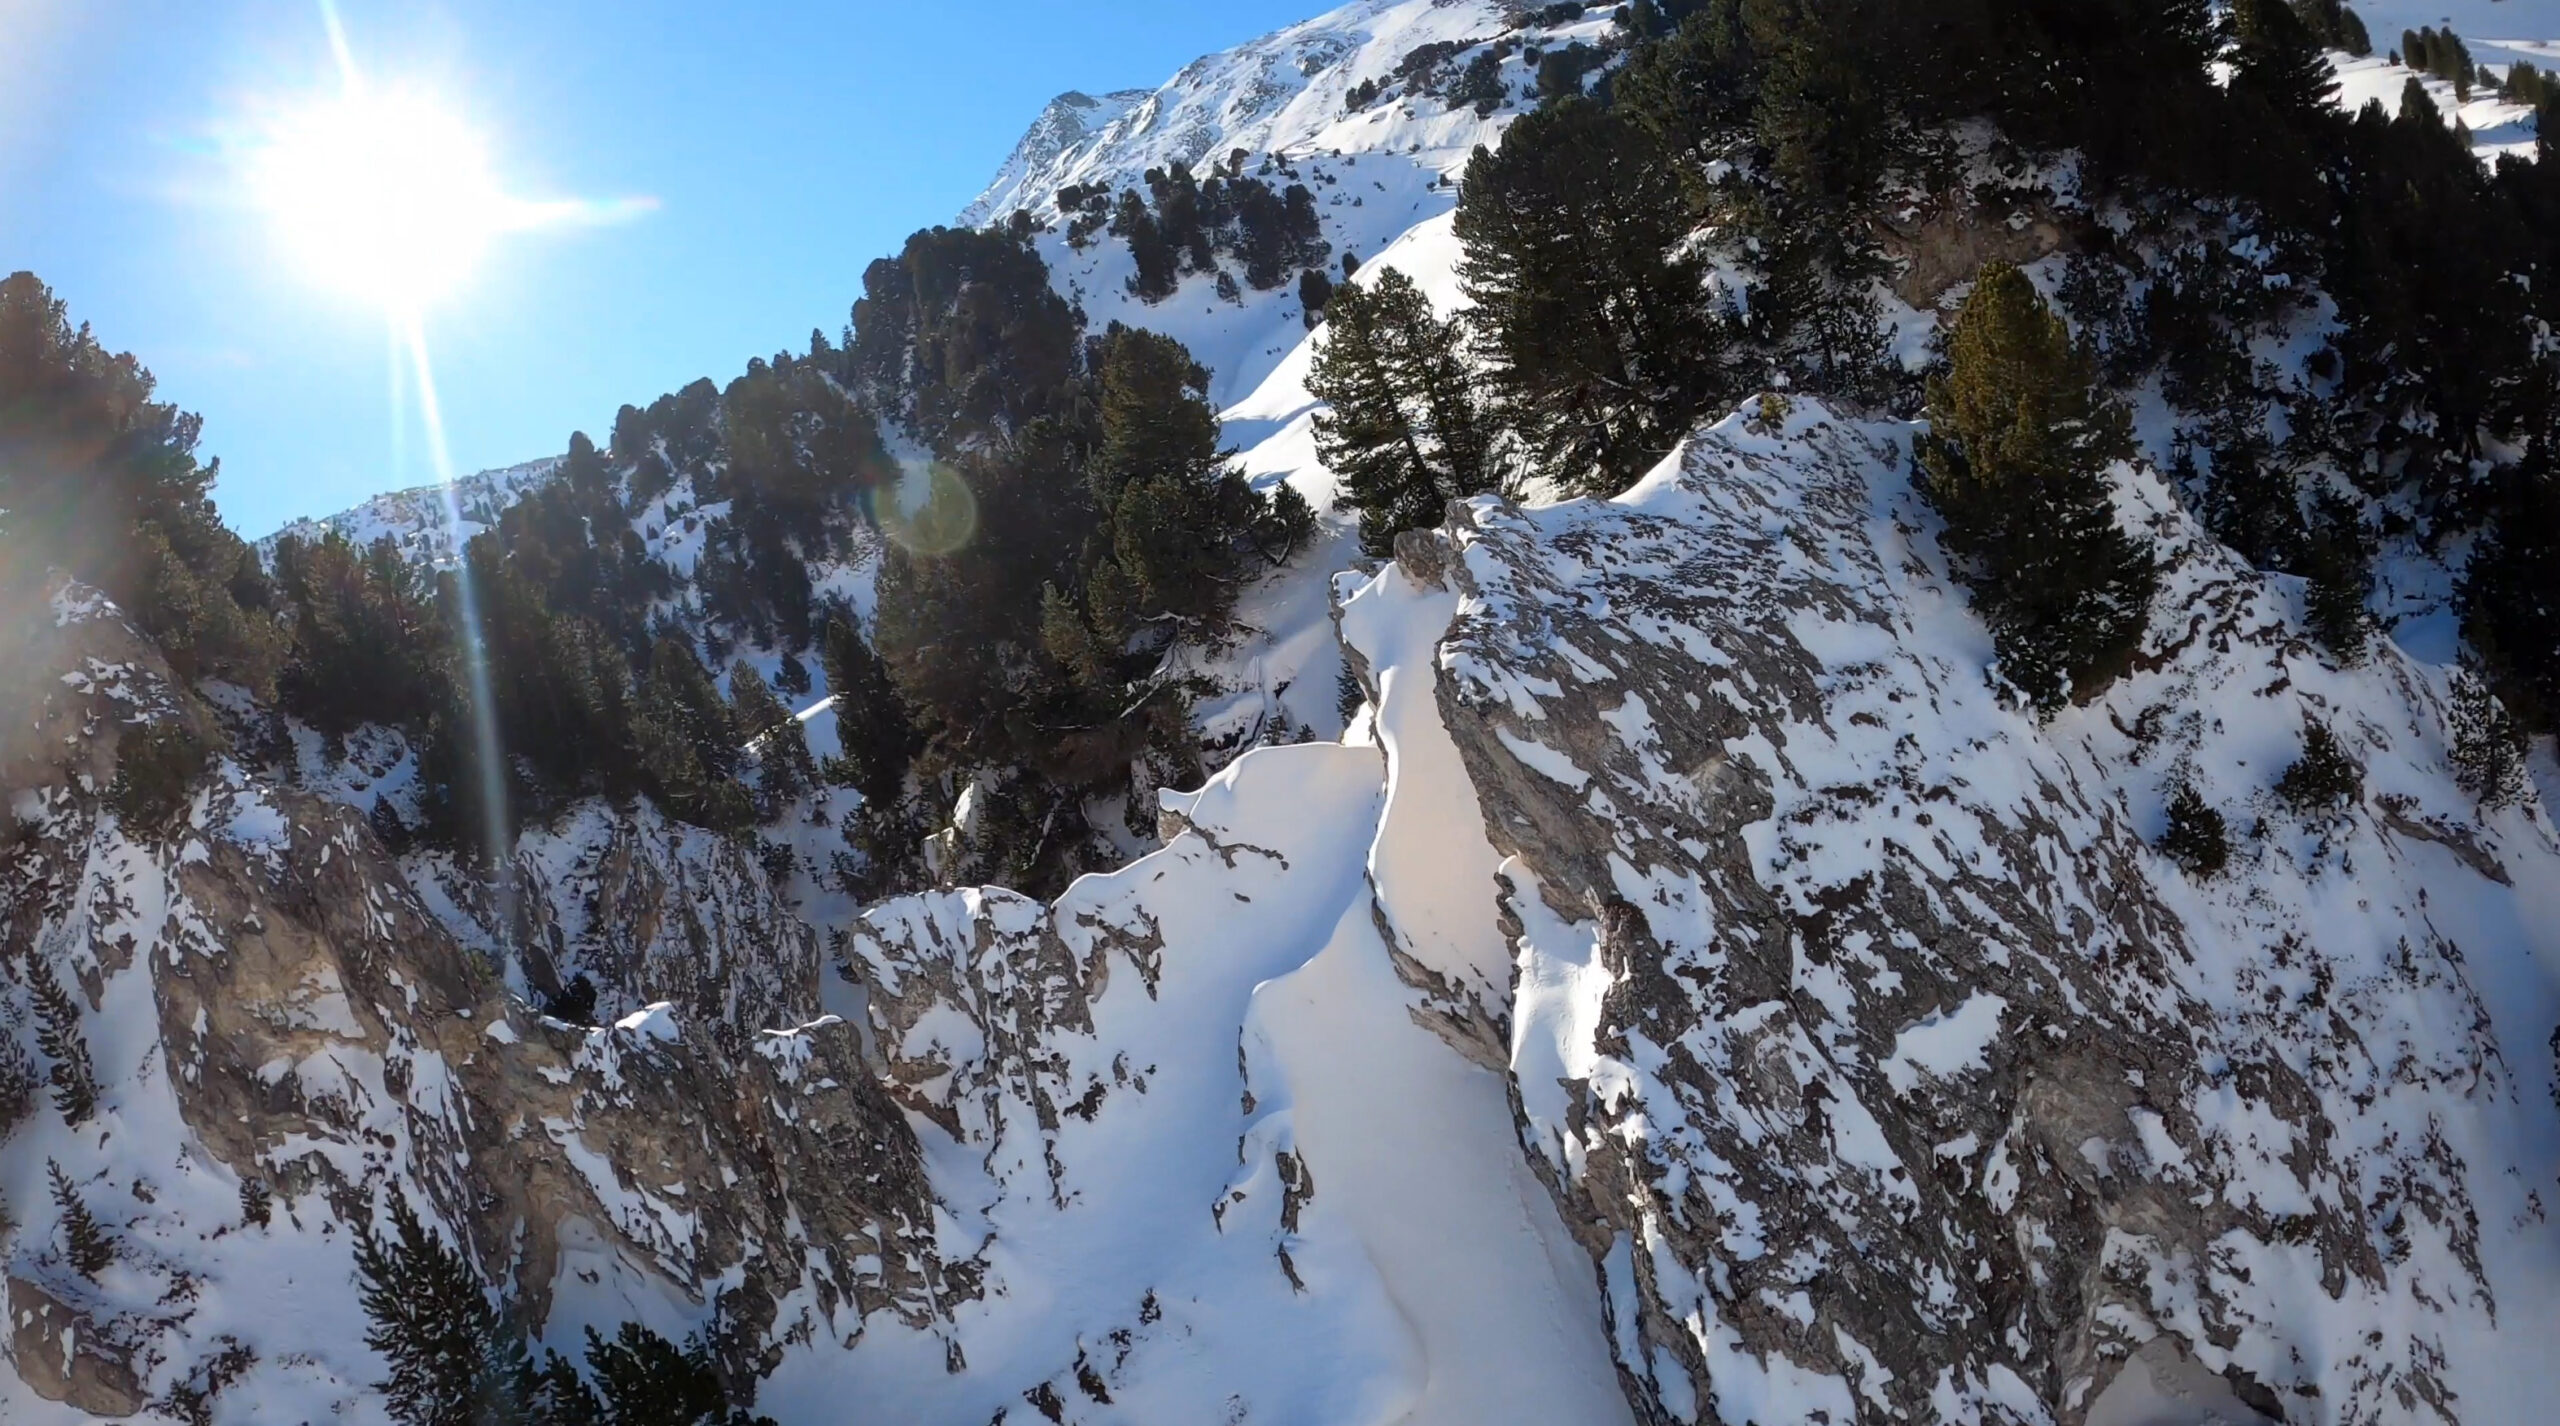
Some images of first flights, etc.